Creating Grid Template
Last updated: May 3, 2026
Creating a Talent Assessment Grid Template
This process walks you through creating a new Talent Assessment Grid template, configuring its grid layout and cell styling, and then defining smart defaults and nomination rules for talent assessments.
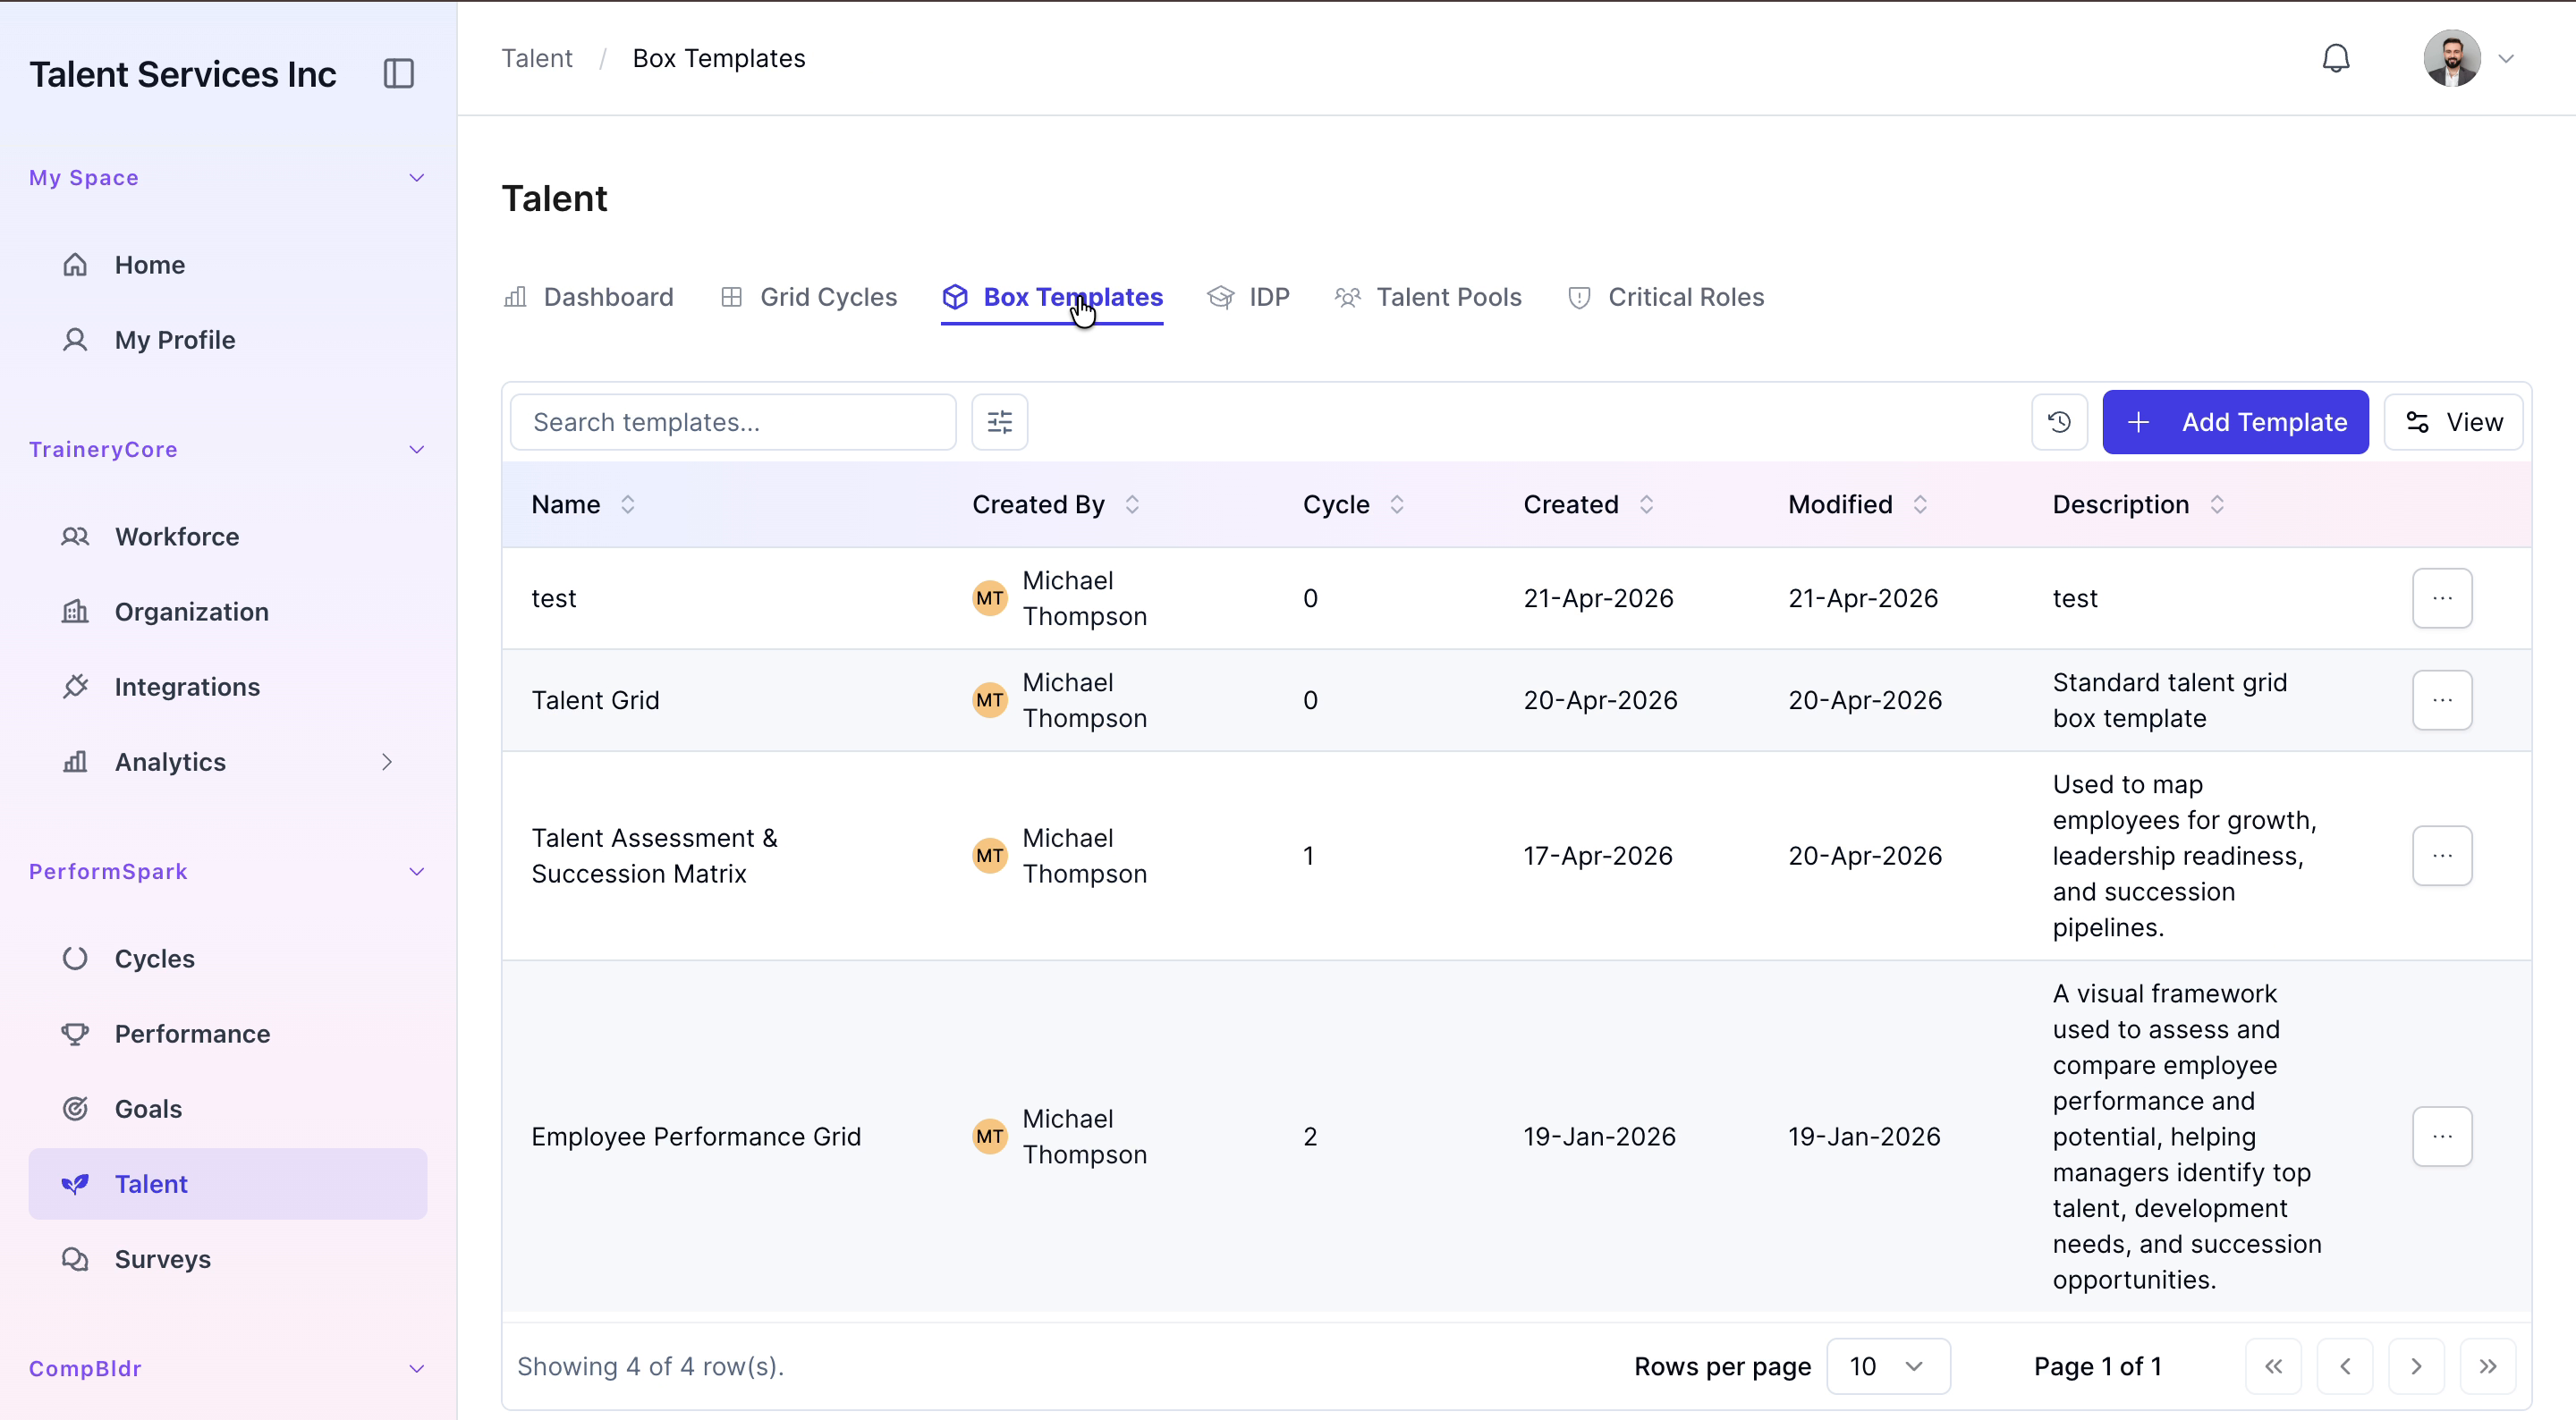
Step 1: Access the Box Templates Section
Navigate to the Talent section from the sidebar, open the Box Templates tab, and click the Add Template button to start creating a new template.
Step 2: Define Basic Template Details and Grid Settings
Enter "Talent Assessment Grid" as the template name and add a clear, detailed description explaining the purpose and usage of this assessment framework.
Under the Settings tab, verify the axis labels for Performance and Potential, then adjust the performance ratings to Low, Medium, and High to match your desired scale.
Select the Star cell in the grid, open Cell Customization, rename the cell to "North Star", and update its background color to visually distinguish it.


Step 3: Create the Template and Open It for Editing
Click the Create button to finalize and save the new template. After it appears in the list, click on the newly created Talent Assessment Grid entry to open it for further editing.


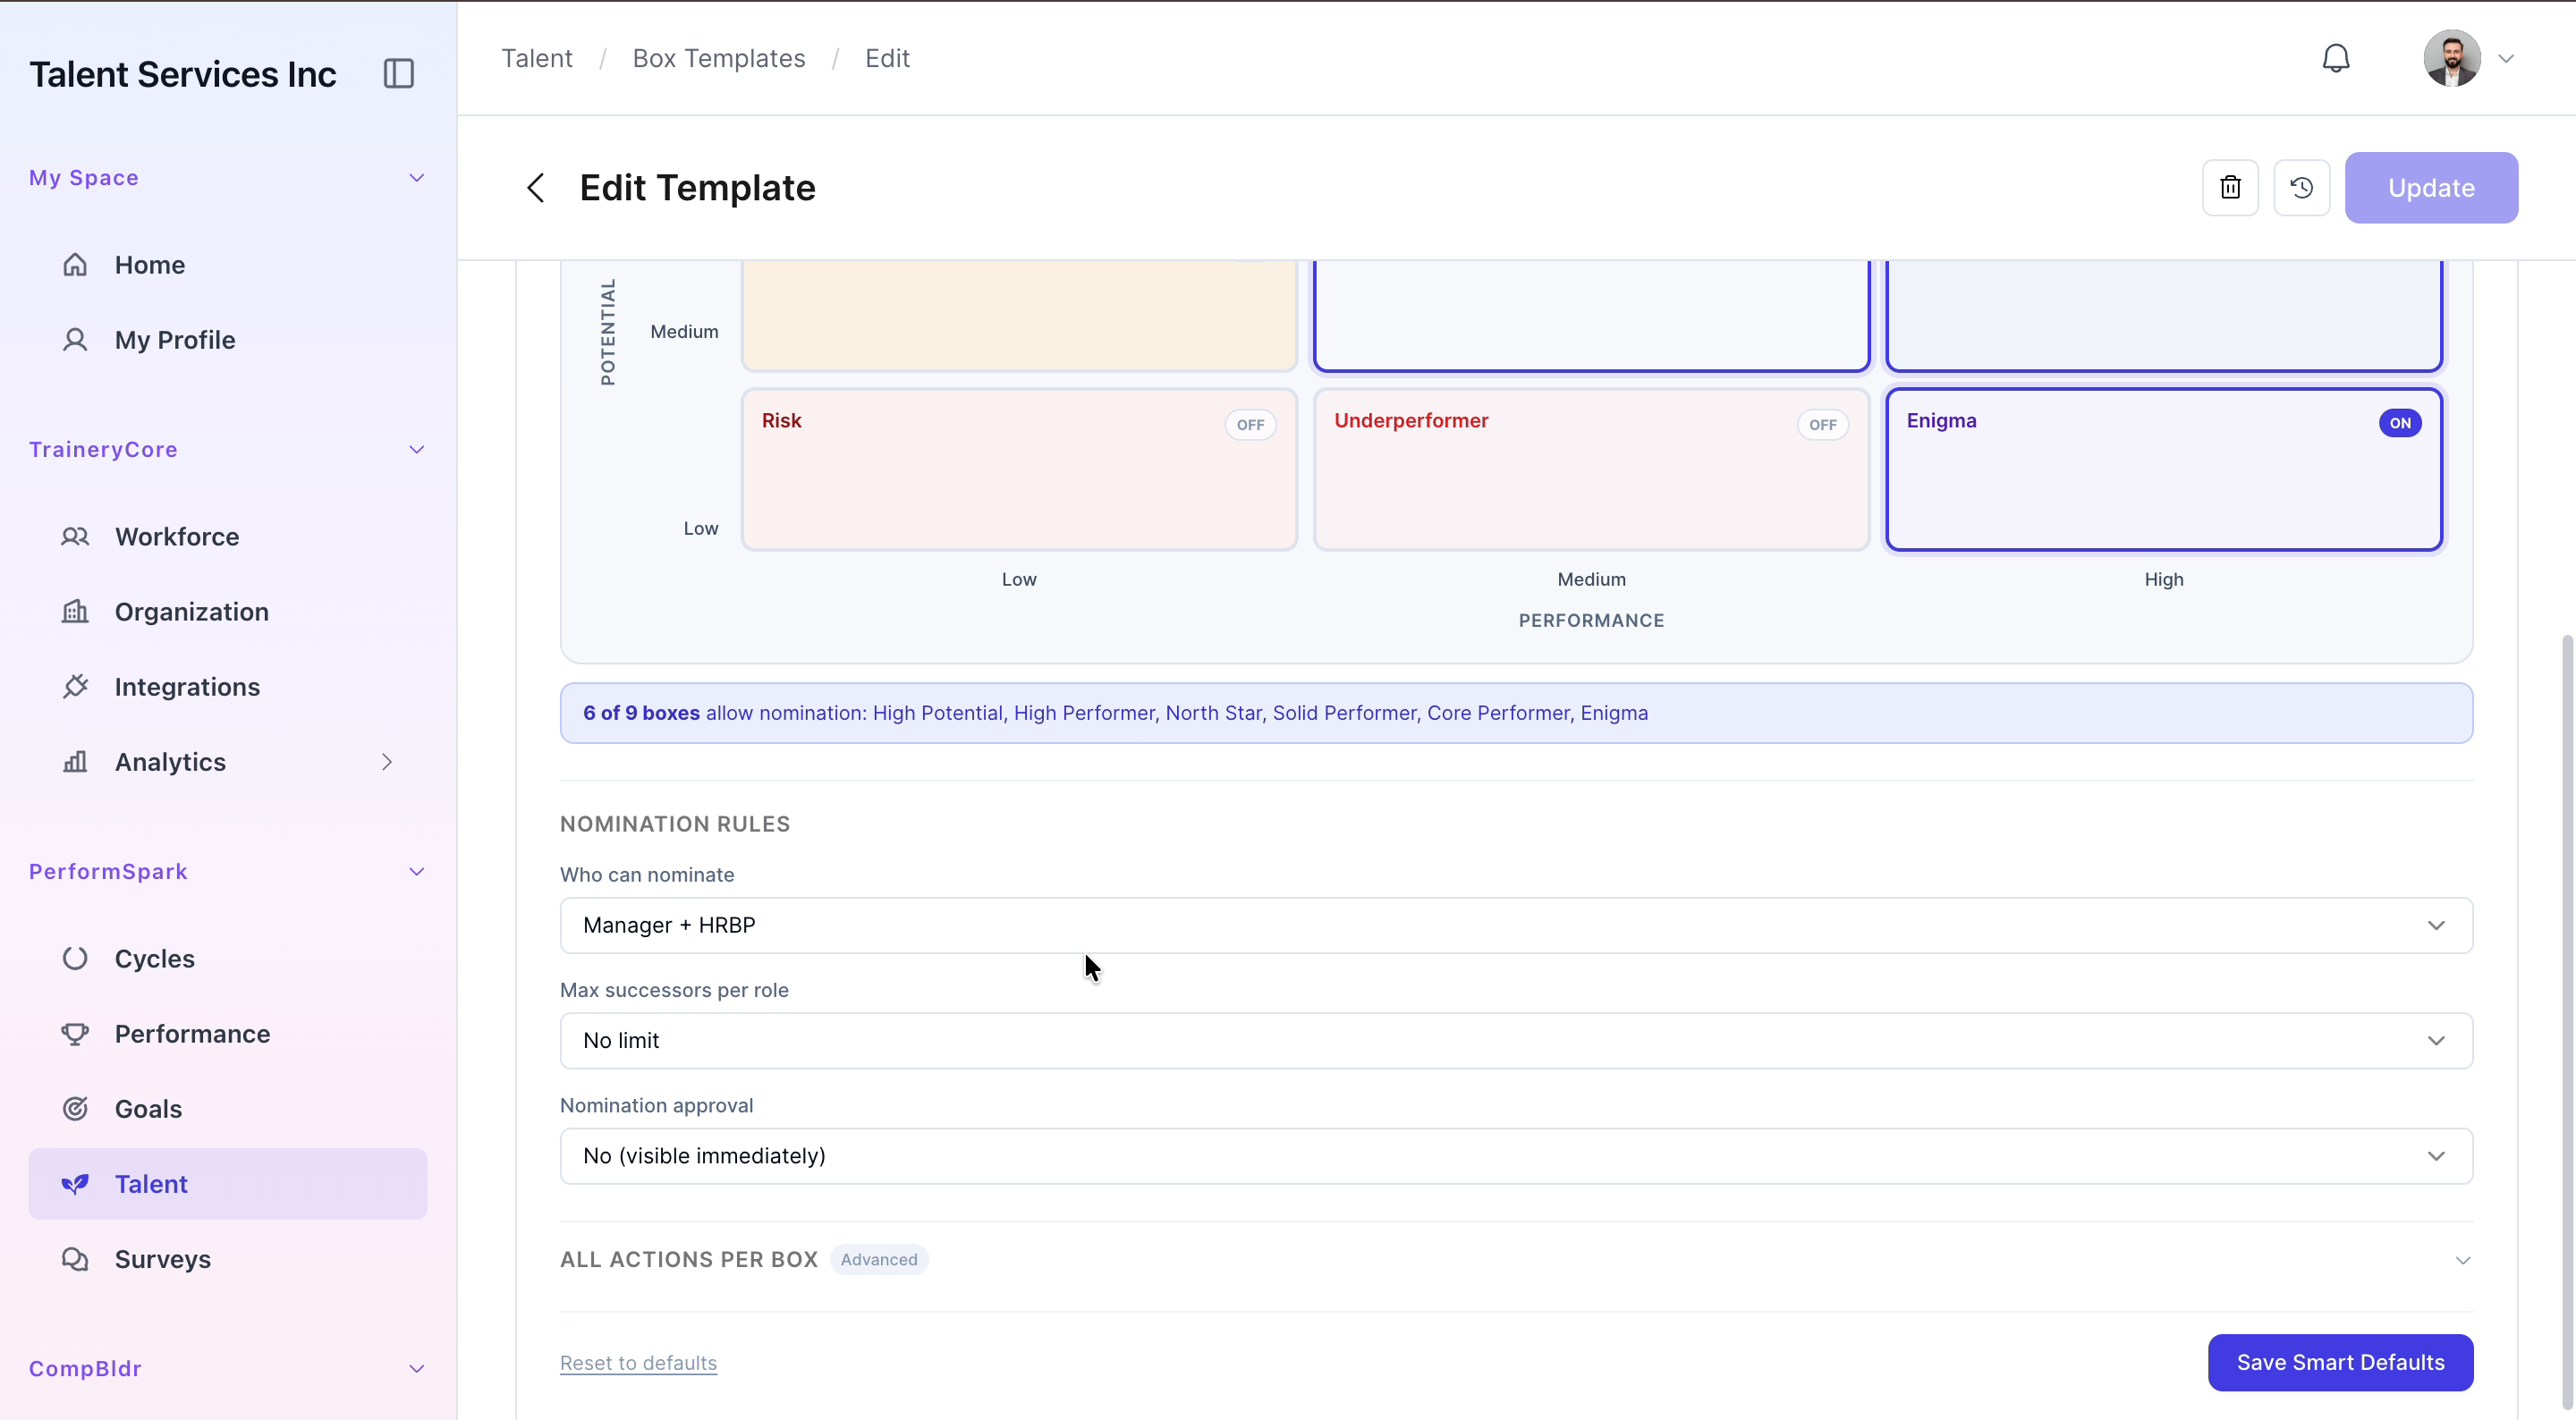
Step 4: Configure Smart Defaults and Nomination Eligibility
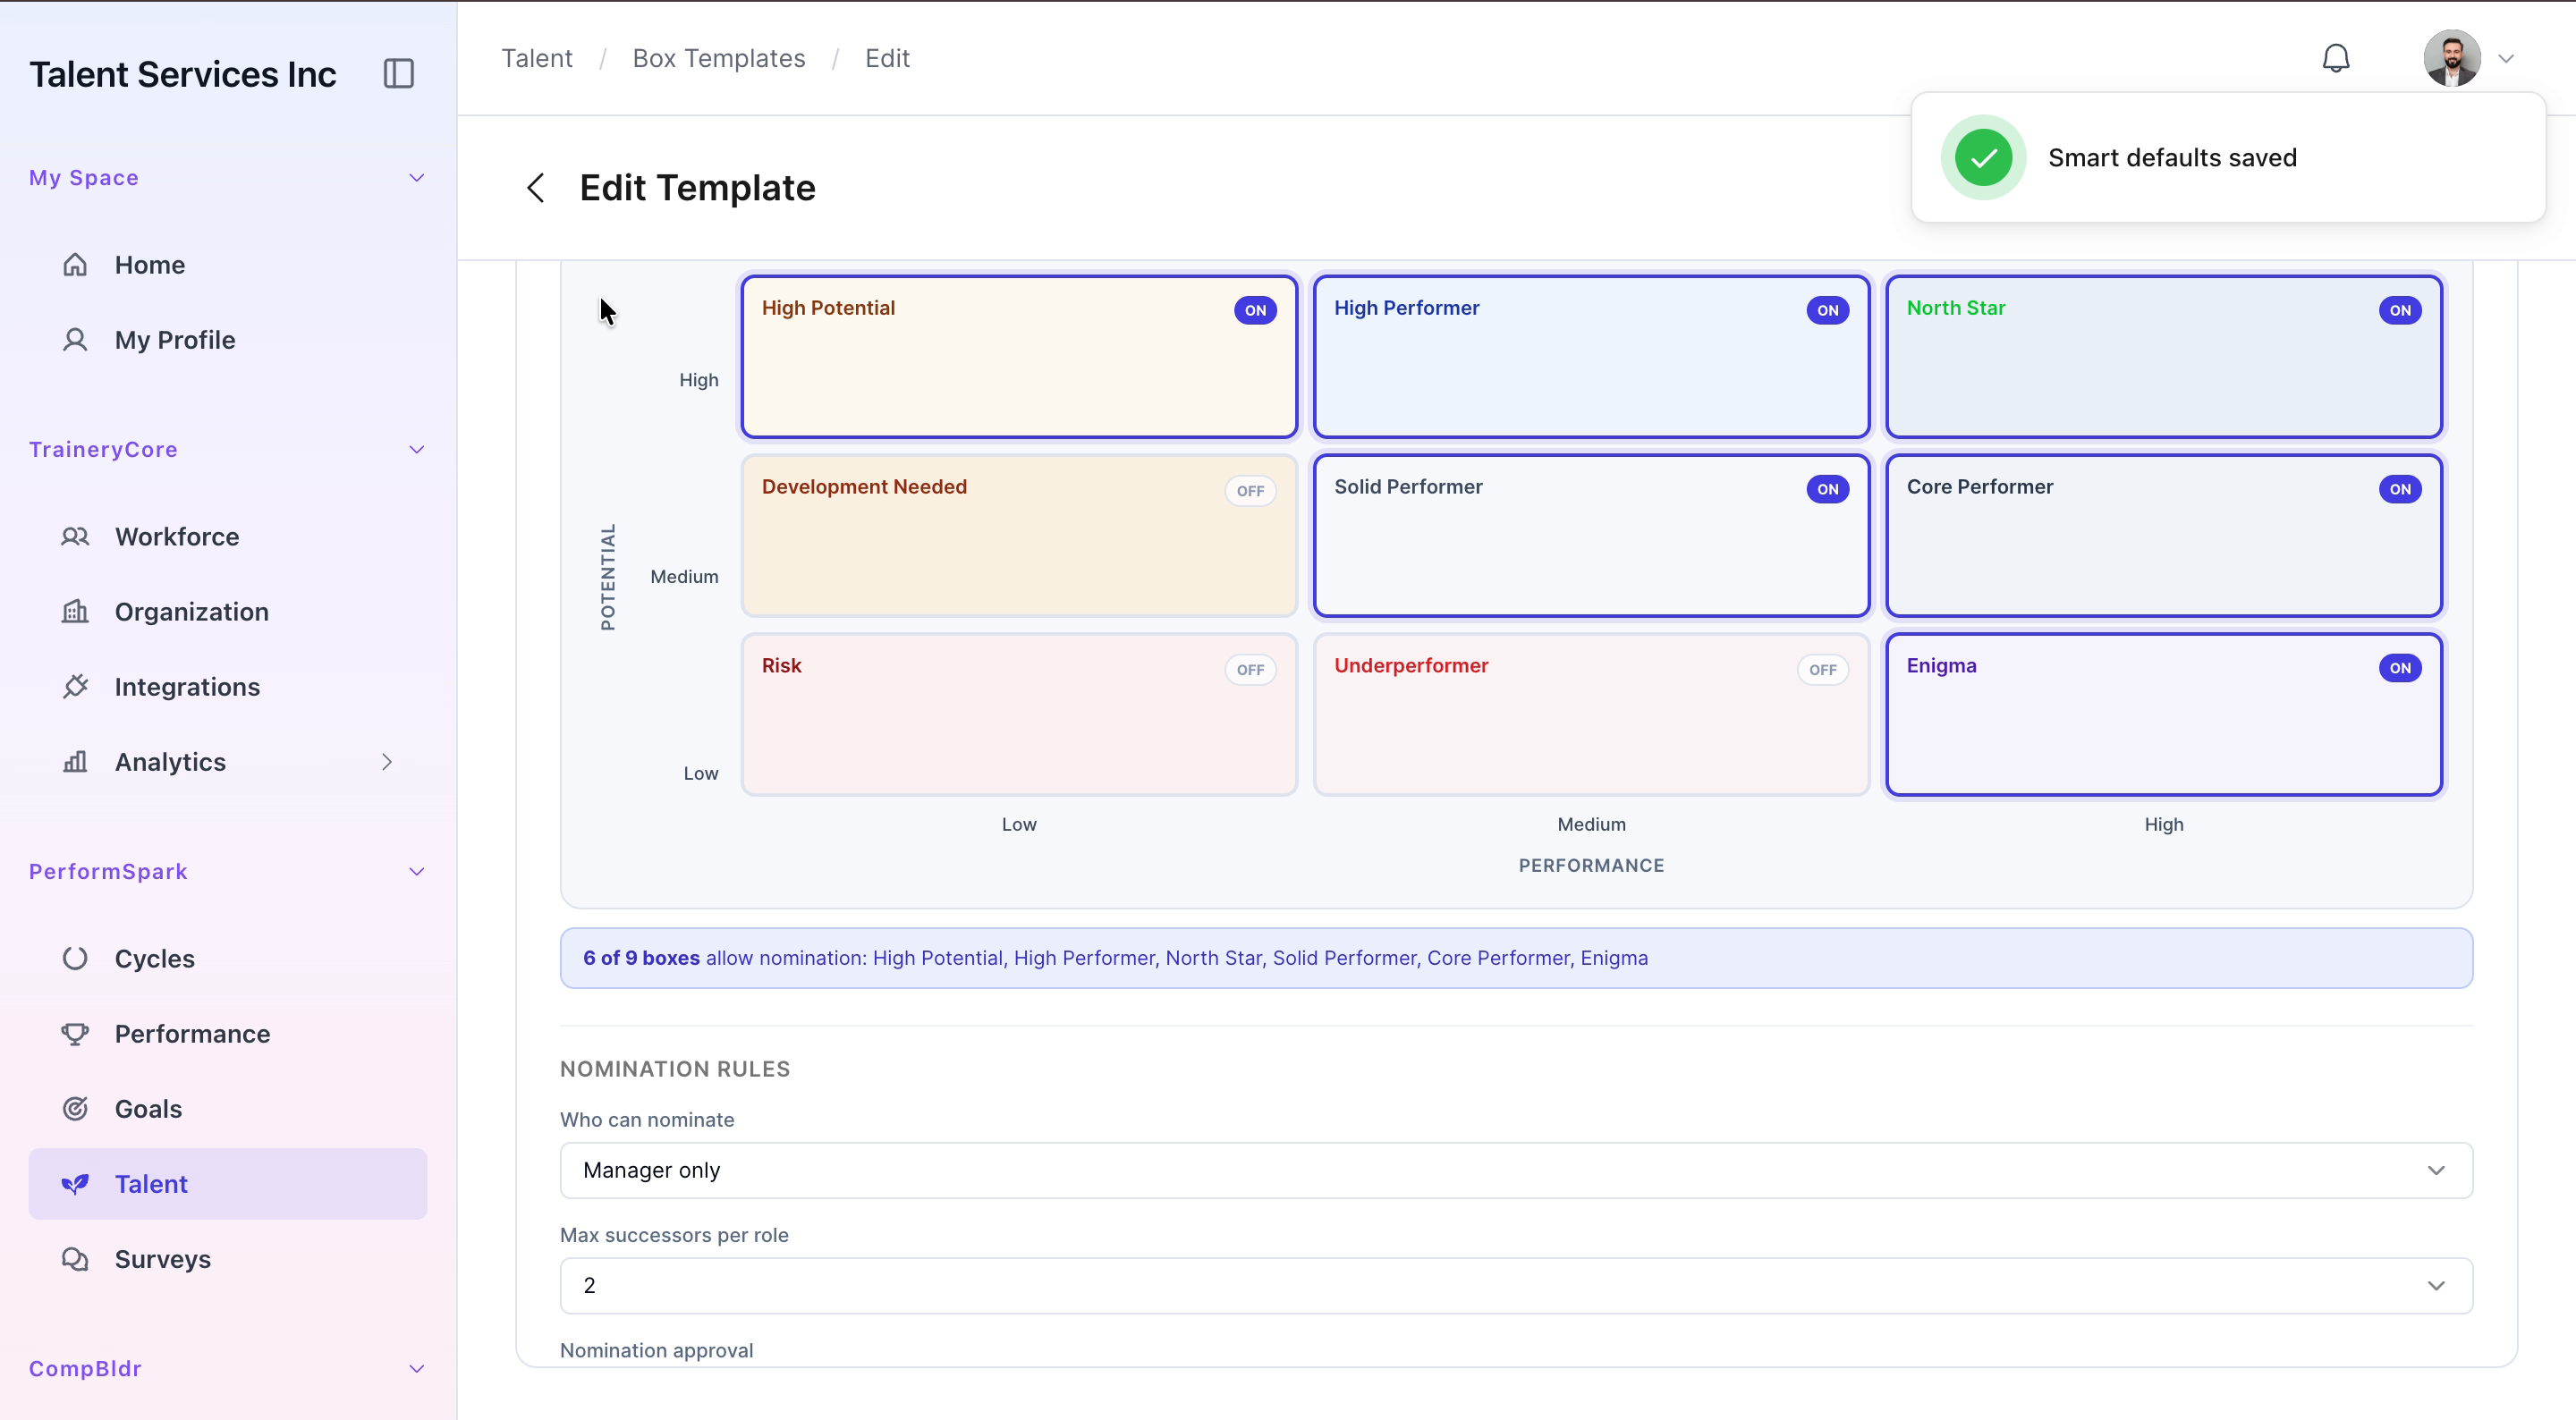
In the Edit Template view, switch to the Smart Defaults tab. Toggle nomination eligibility settings for the relevant performance categories, enabling or disabling nomination options as required for each category.


Step 5: Set Nomination Rules and Save Changes
Scroll down to the Nomination Rules section. Set the nomination source to Manager only and specify a limit of two successors per nomination (or per role, depending on the configuration option available). When all rules are defined, click Save to apply and store your changes.