Creating and Managing a Compensation Cycle
Last updated: May 3, 2026
Creating a New Compensation Cycle in CompliDir
This document describes how to configure and activate a new compensation cycle in CompliDir, including defining cycle details, assigning administrators, setting rules and budgets, configuring workflow and approvals, and selecting templates.
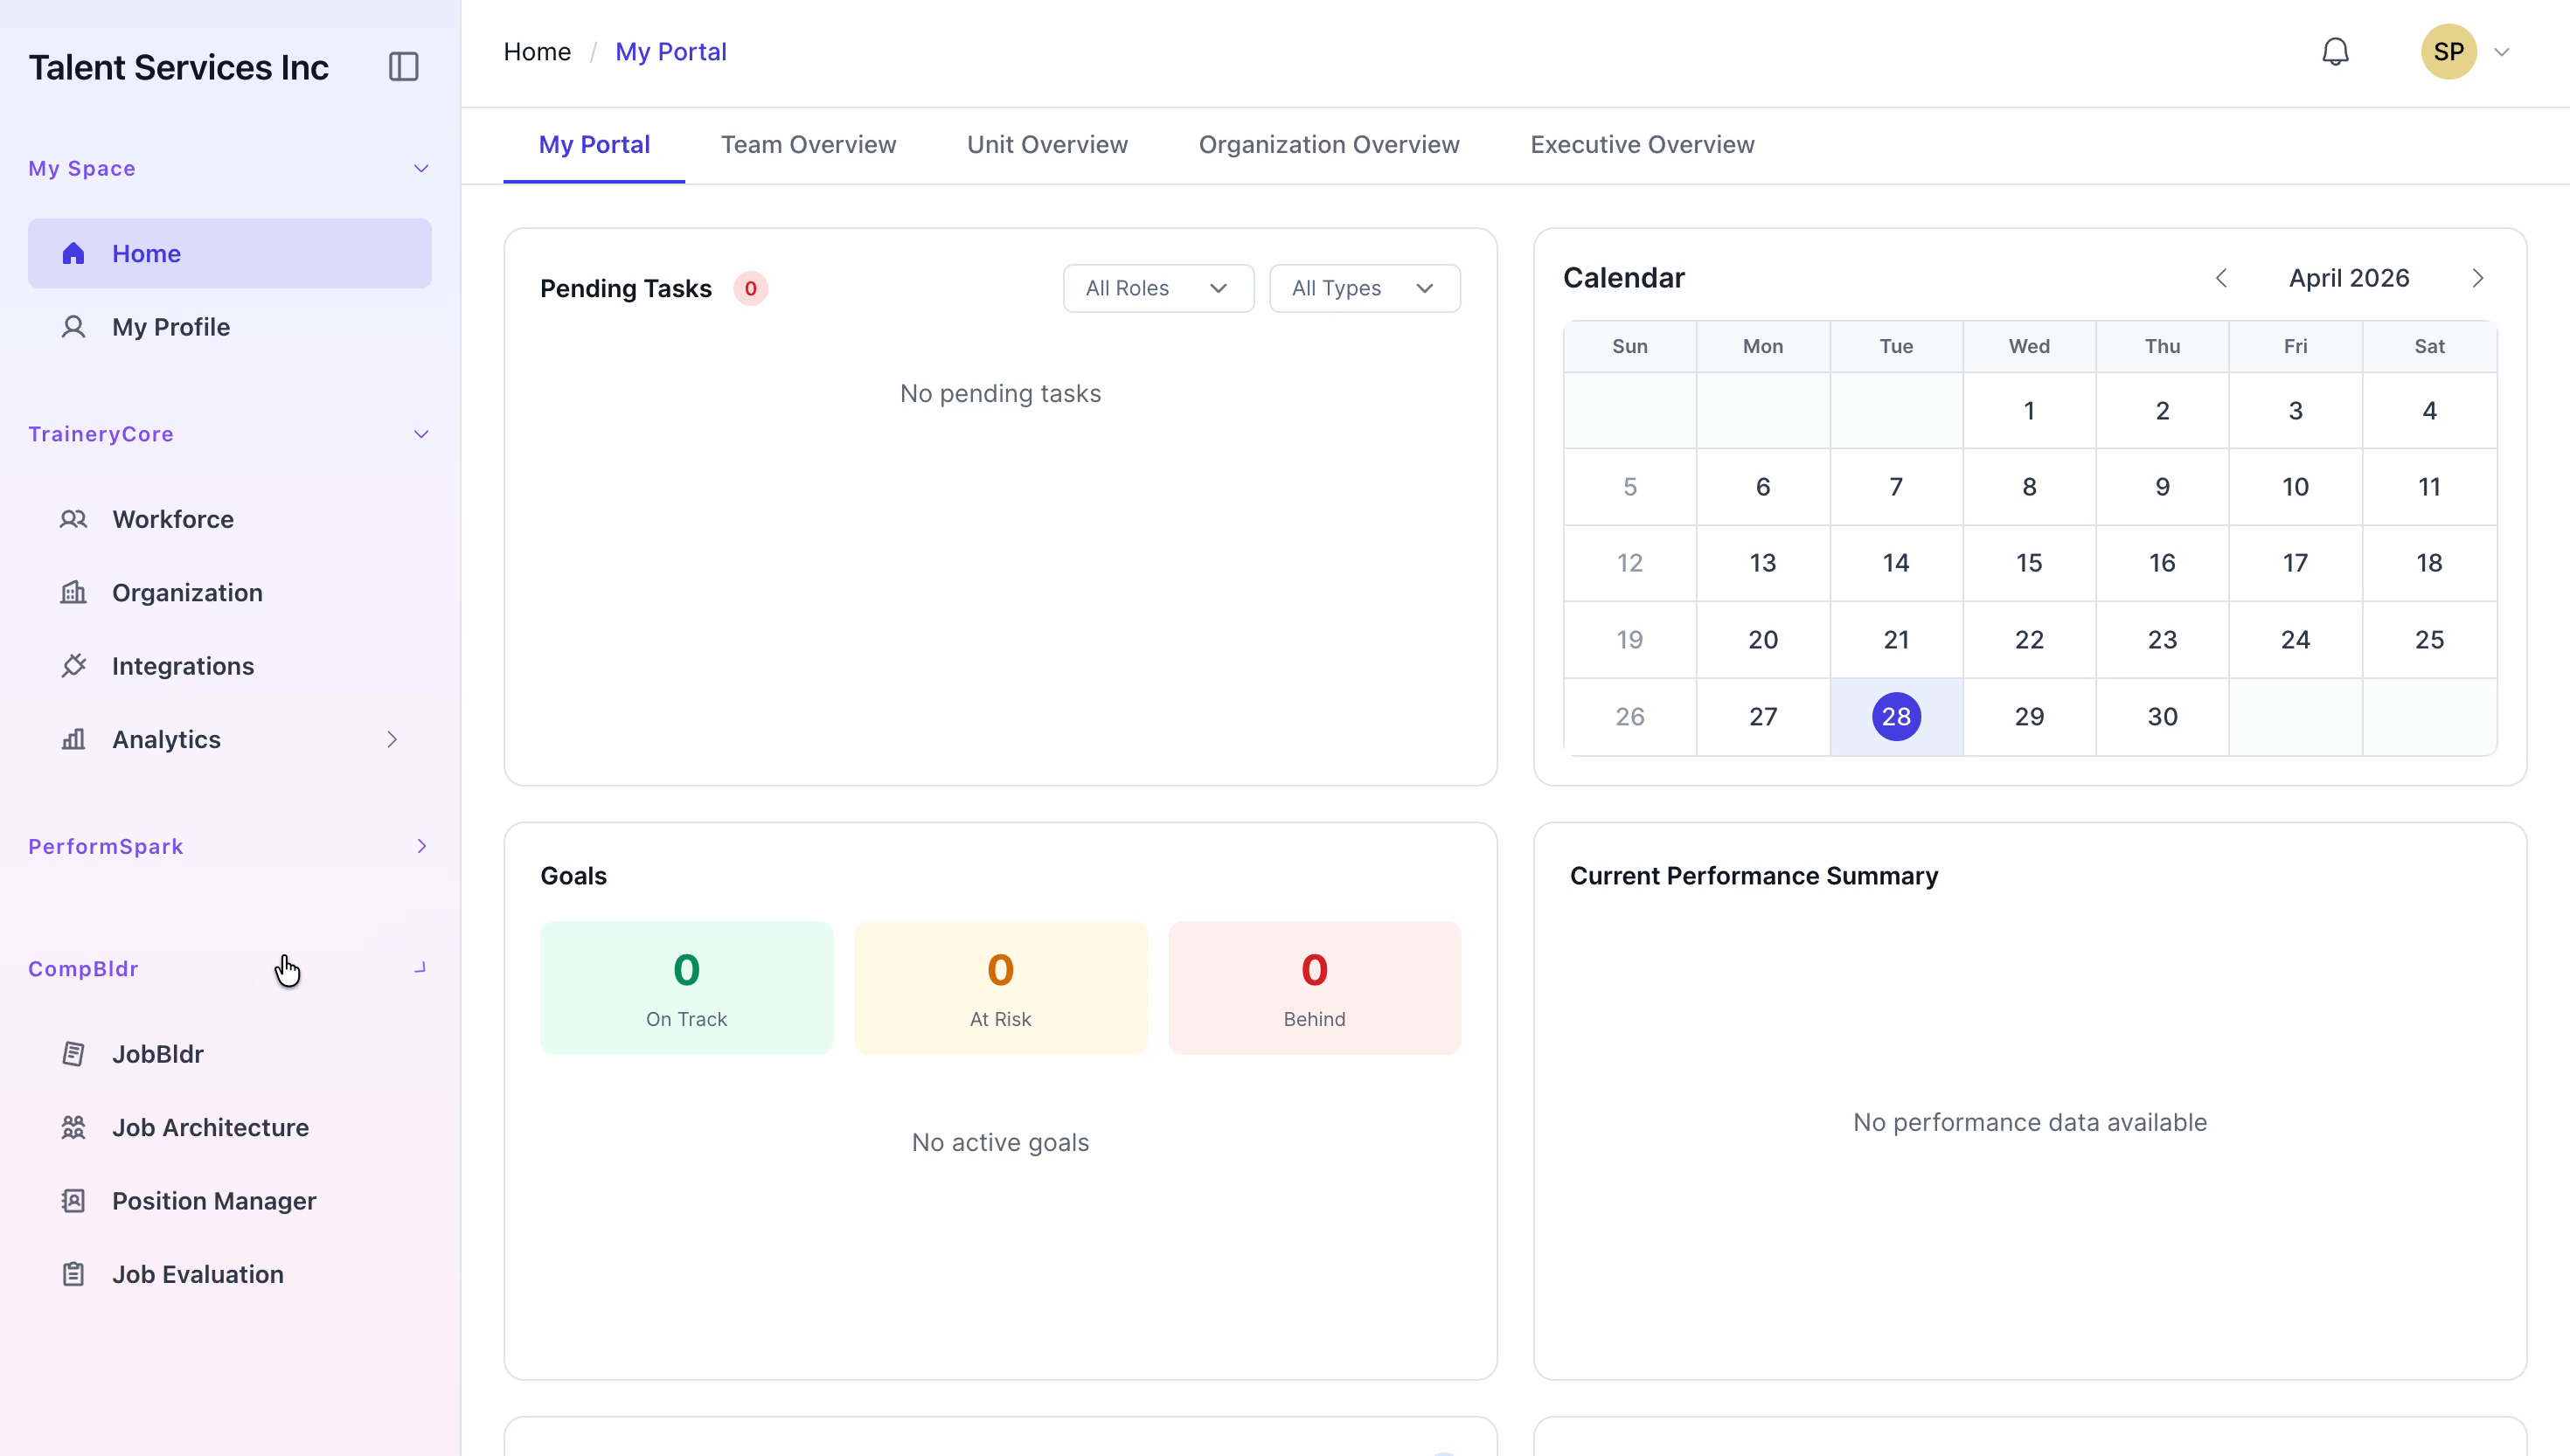
Step 1: Open the Cycles Section in CompliDir
Navigate to the CompliDir section, expand Comp Planner, and select Cycles from the menu.
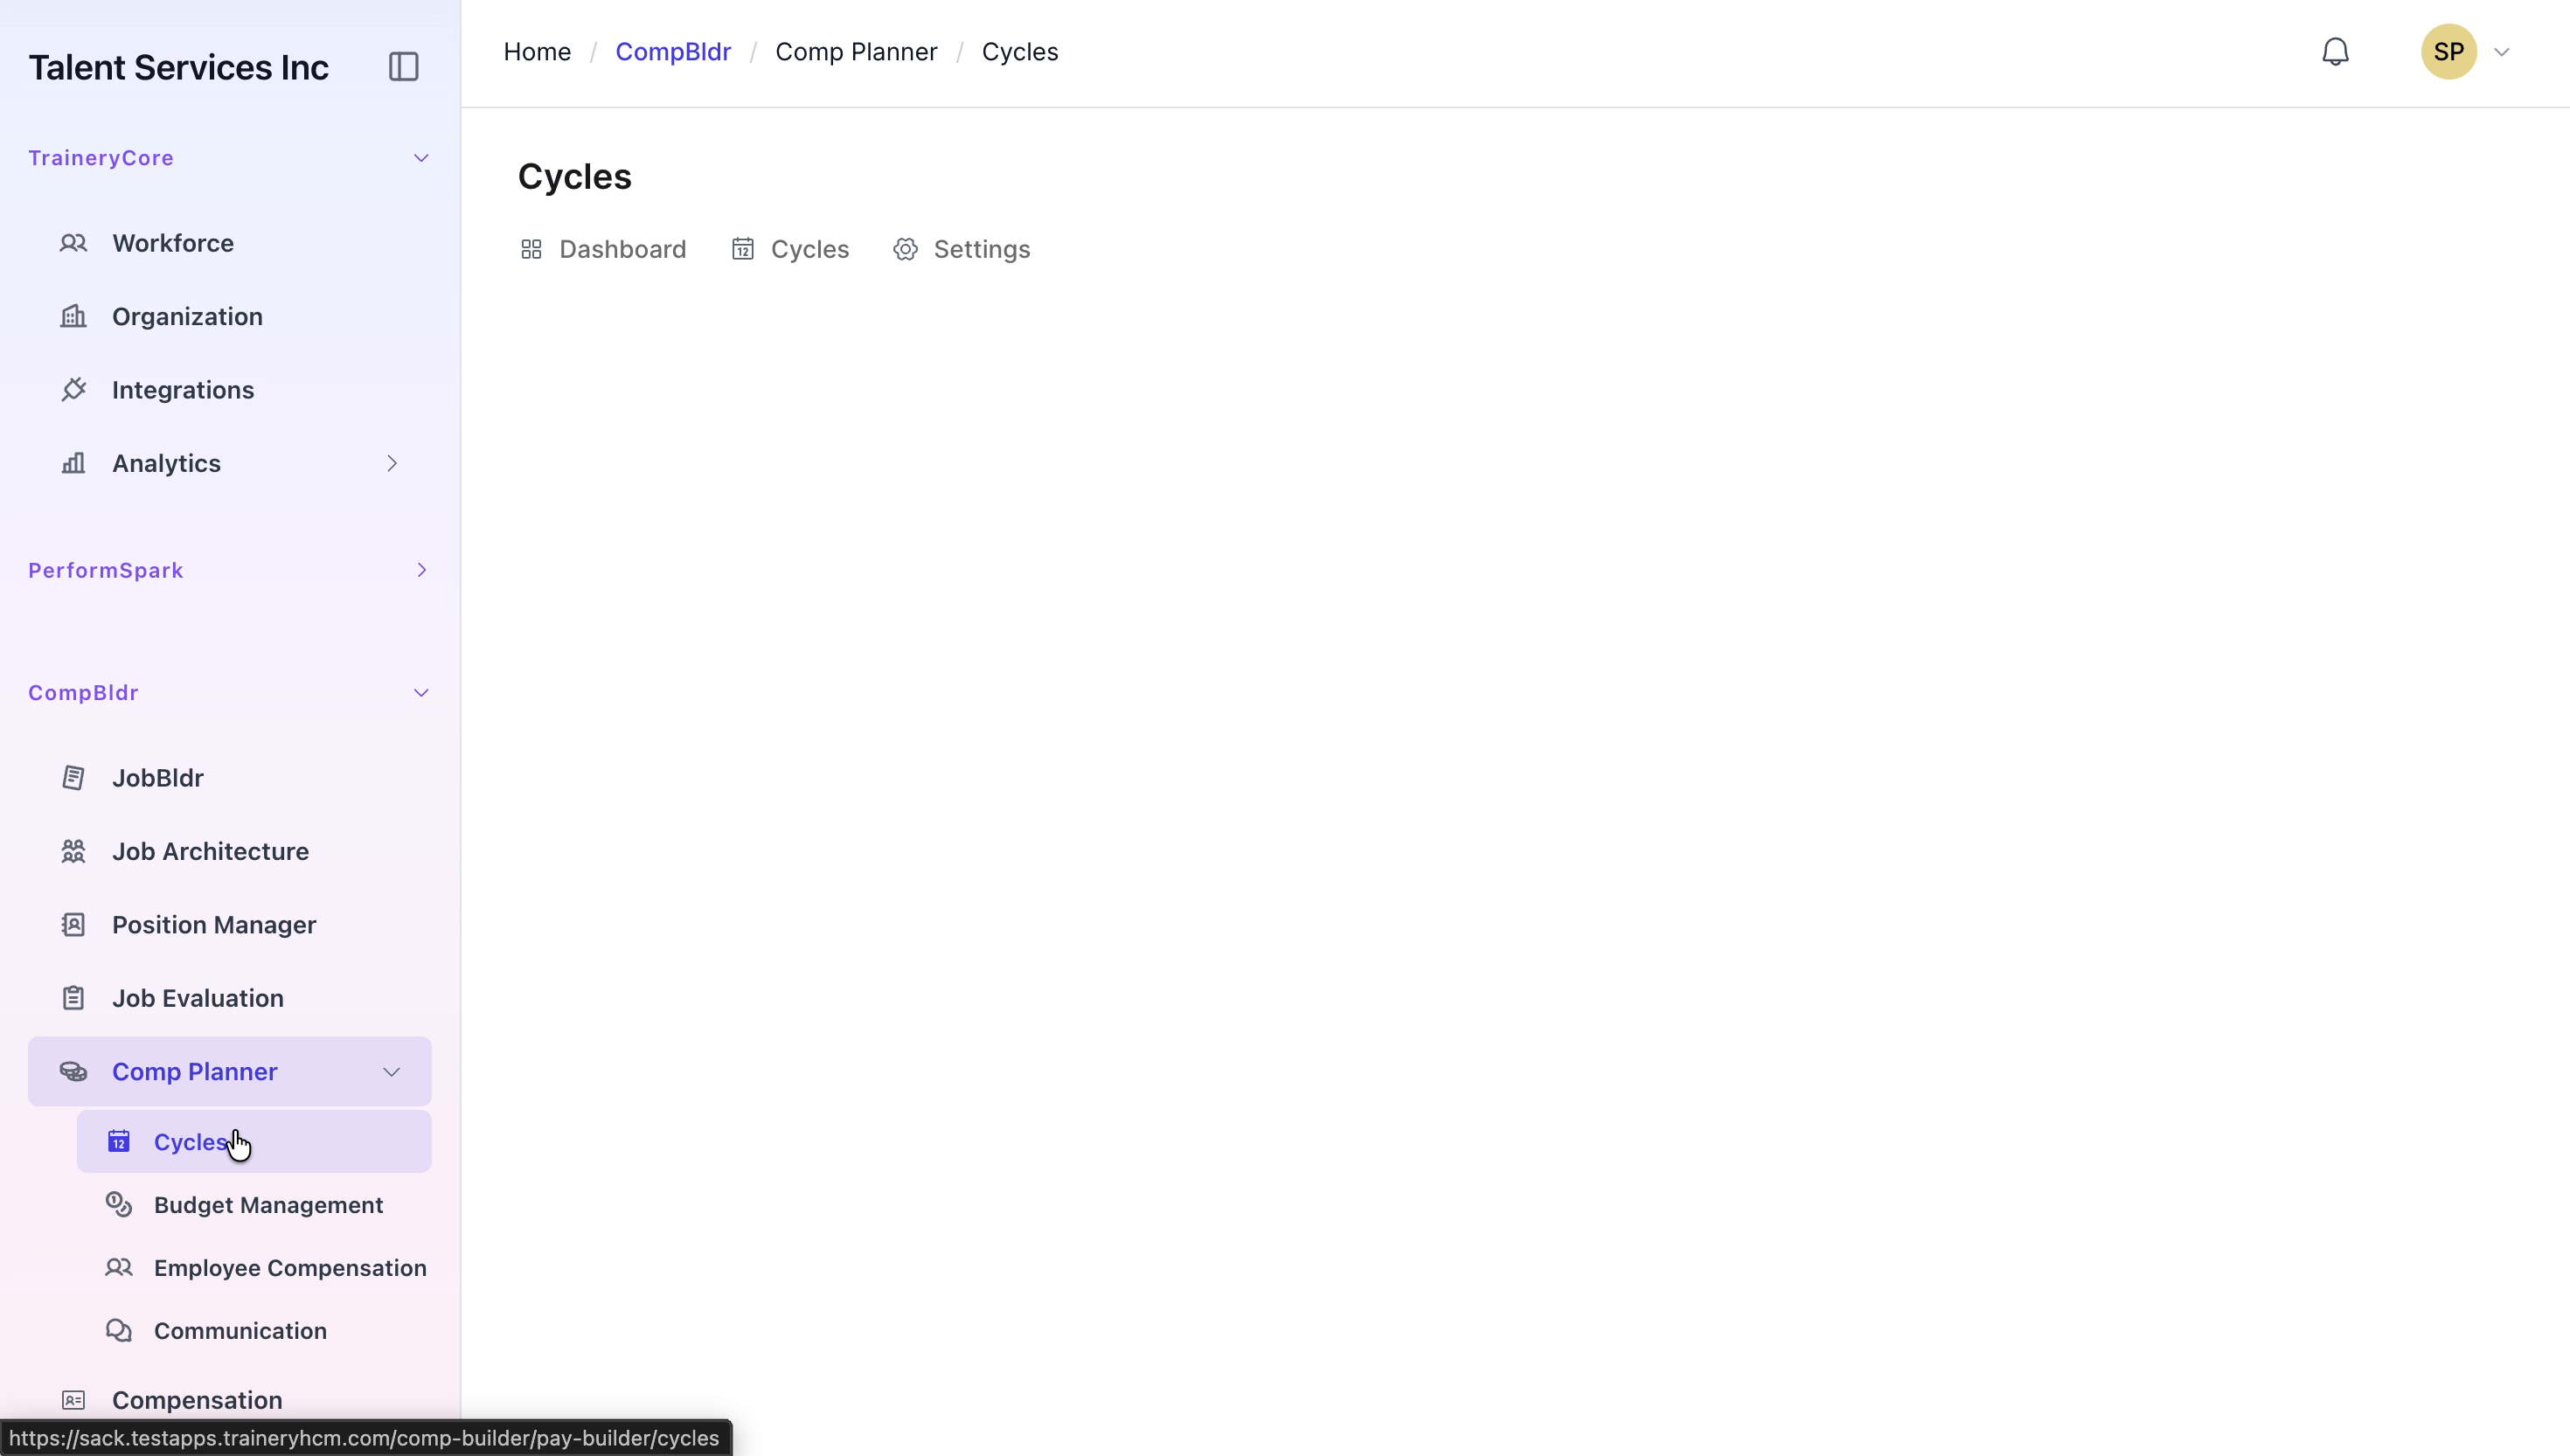
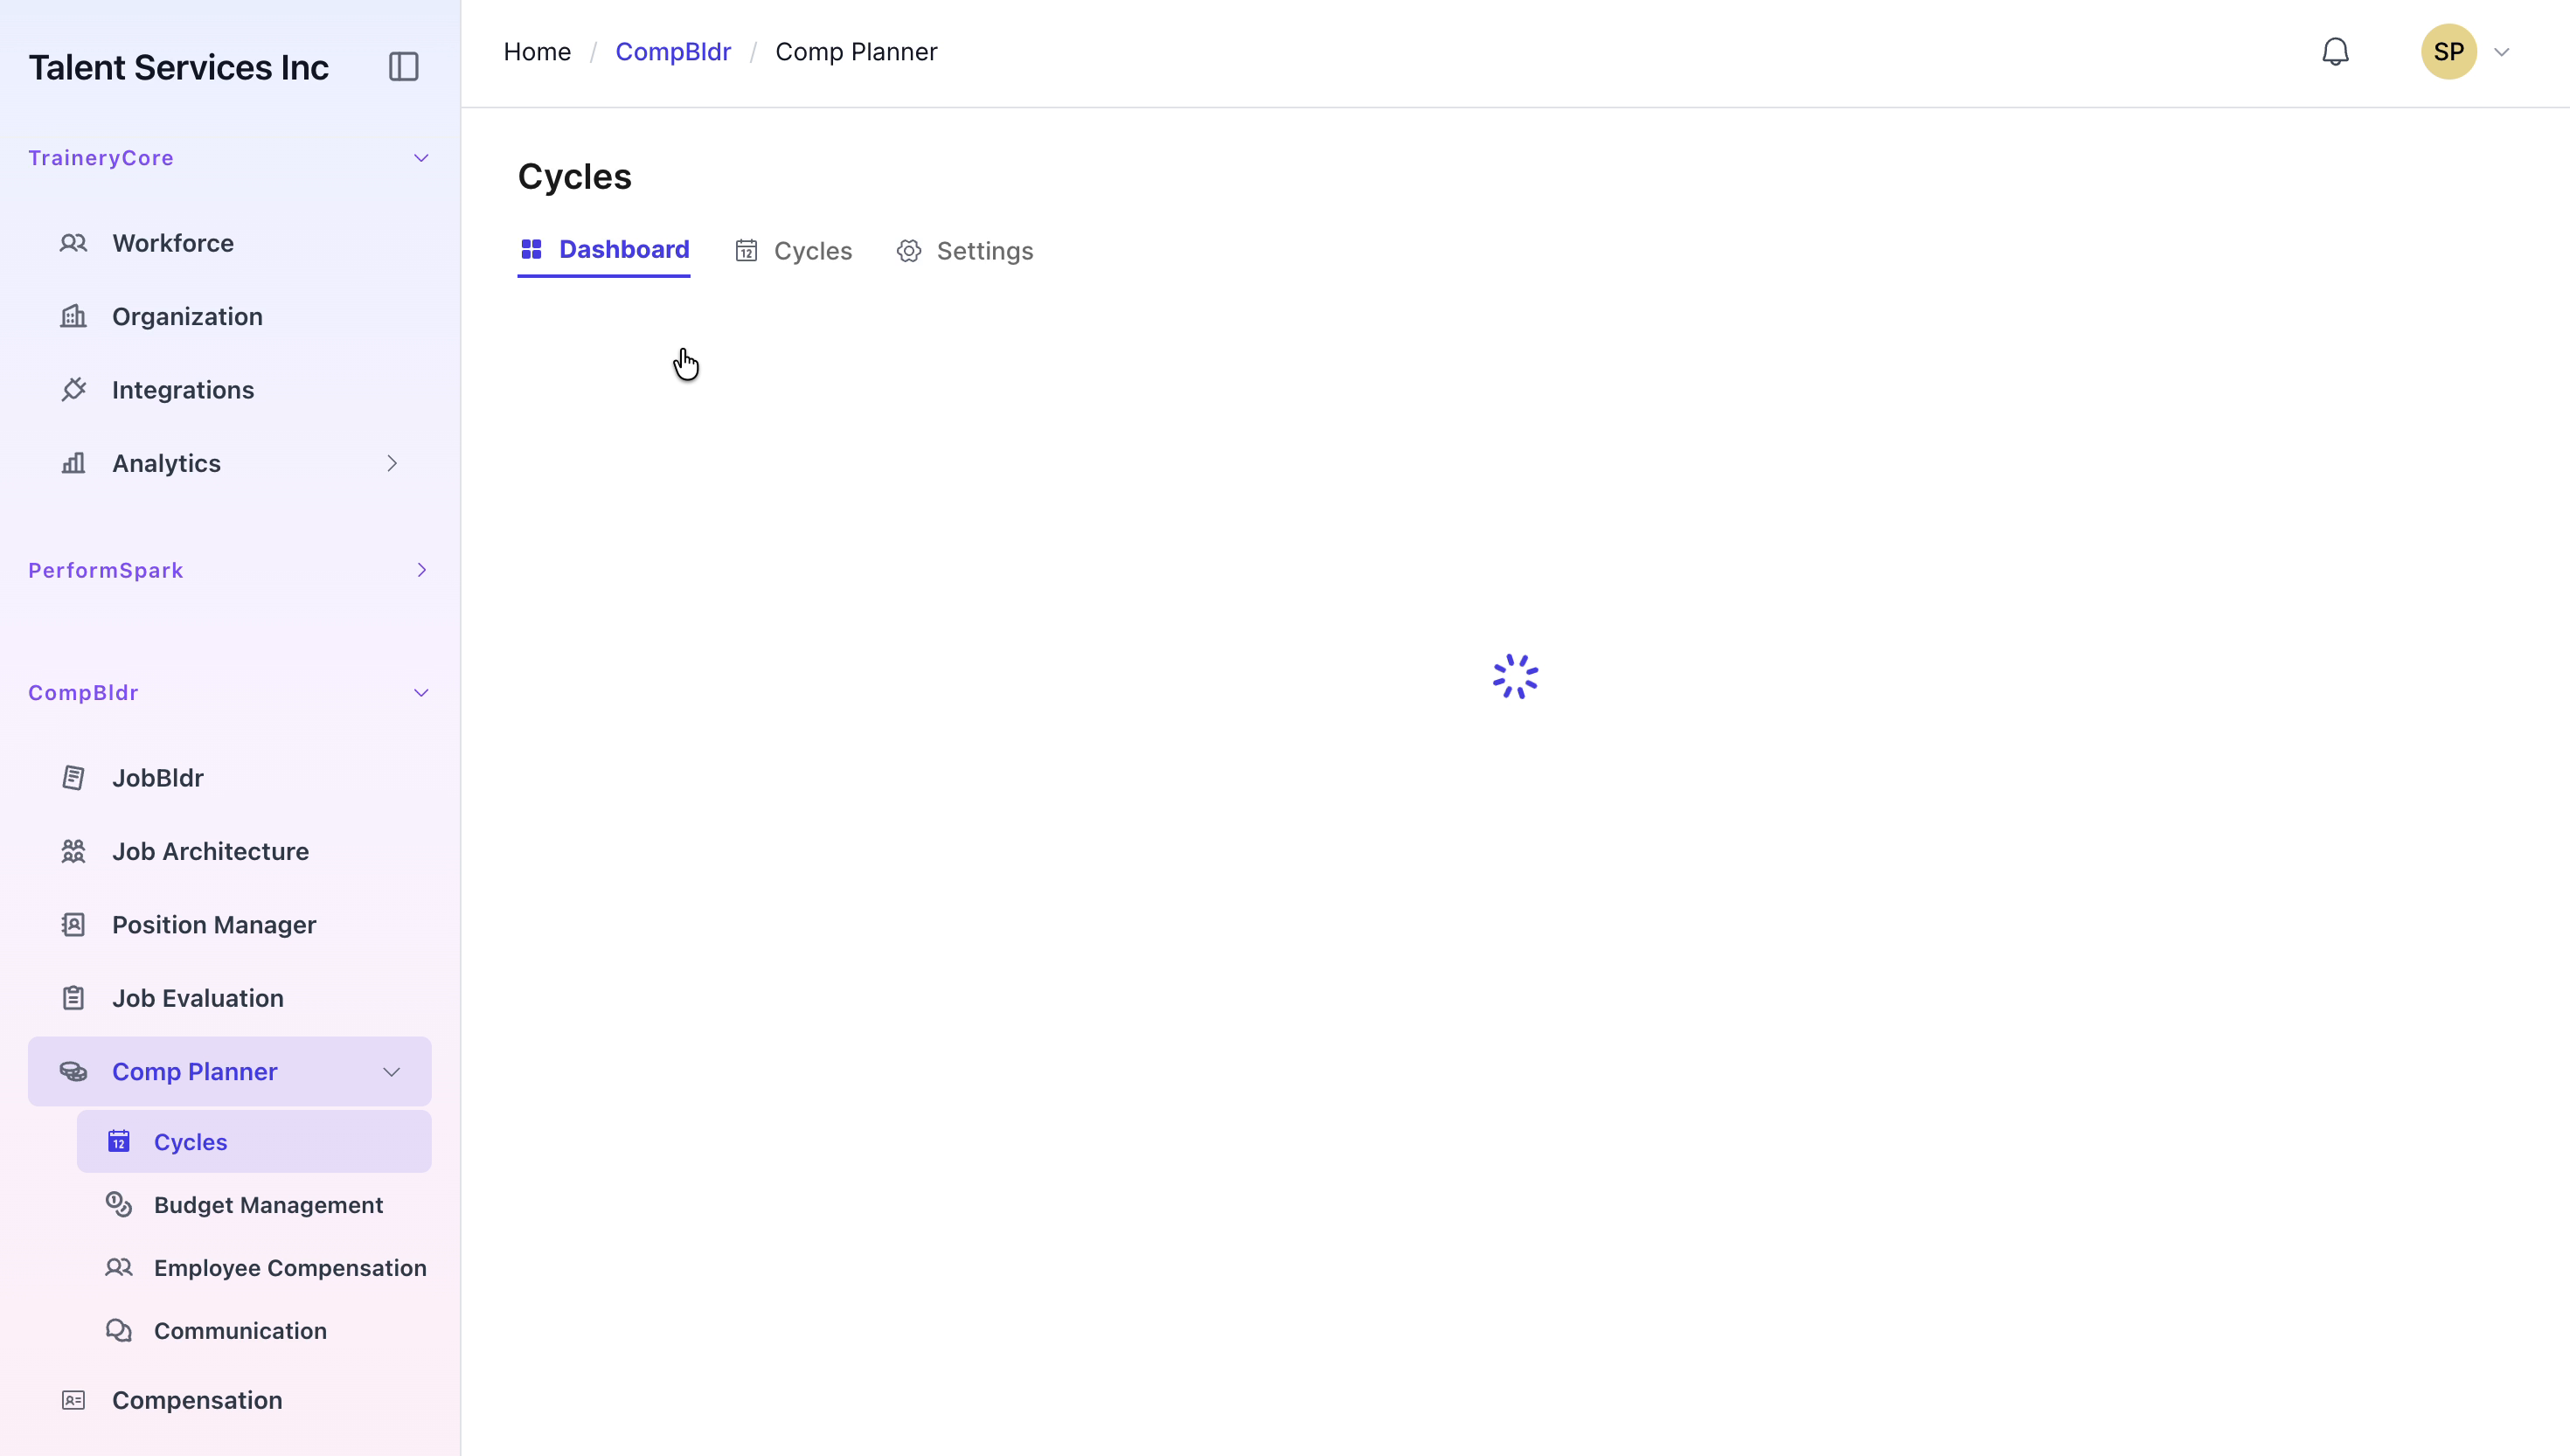
Step 2: Start a New Cycle
Within the Cycles section, click the Cycles tab if it is not already selected, then click the New Cycle button to begin the setup of a new compensation cycle.
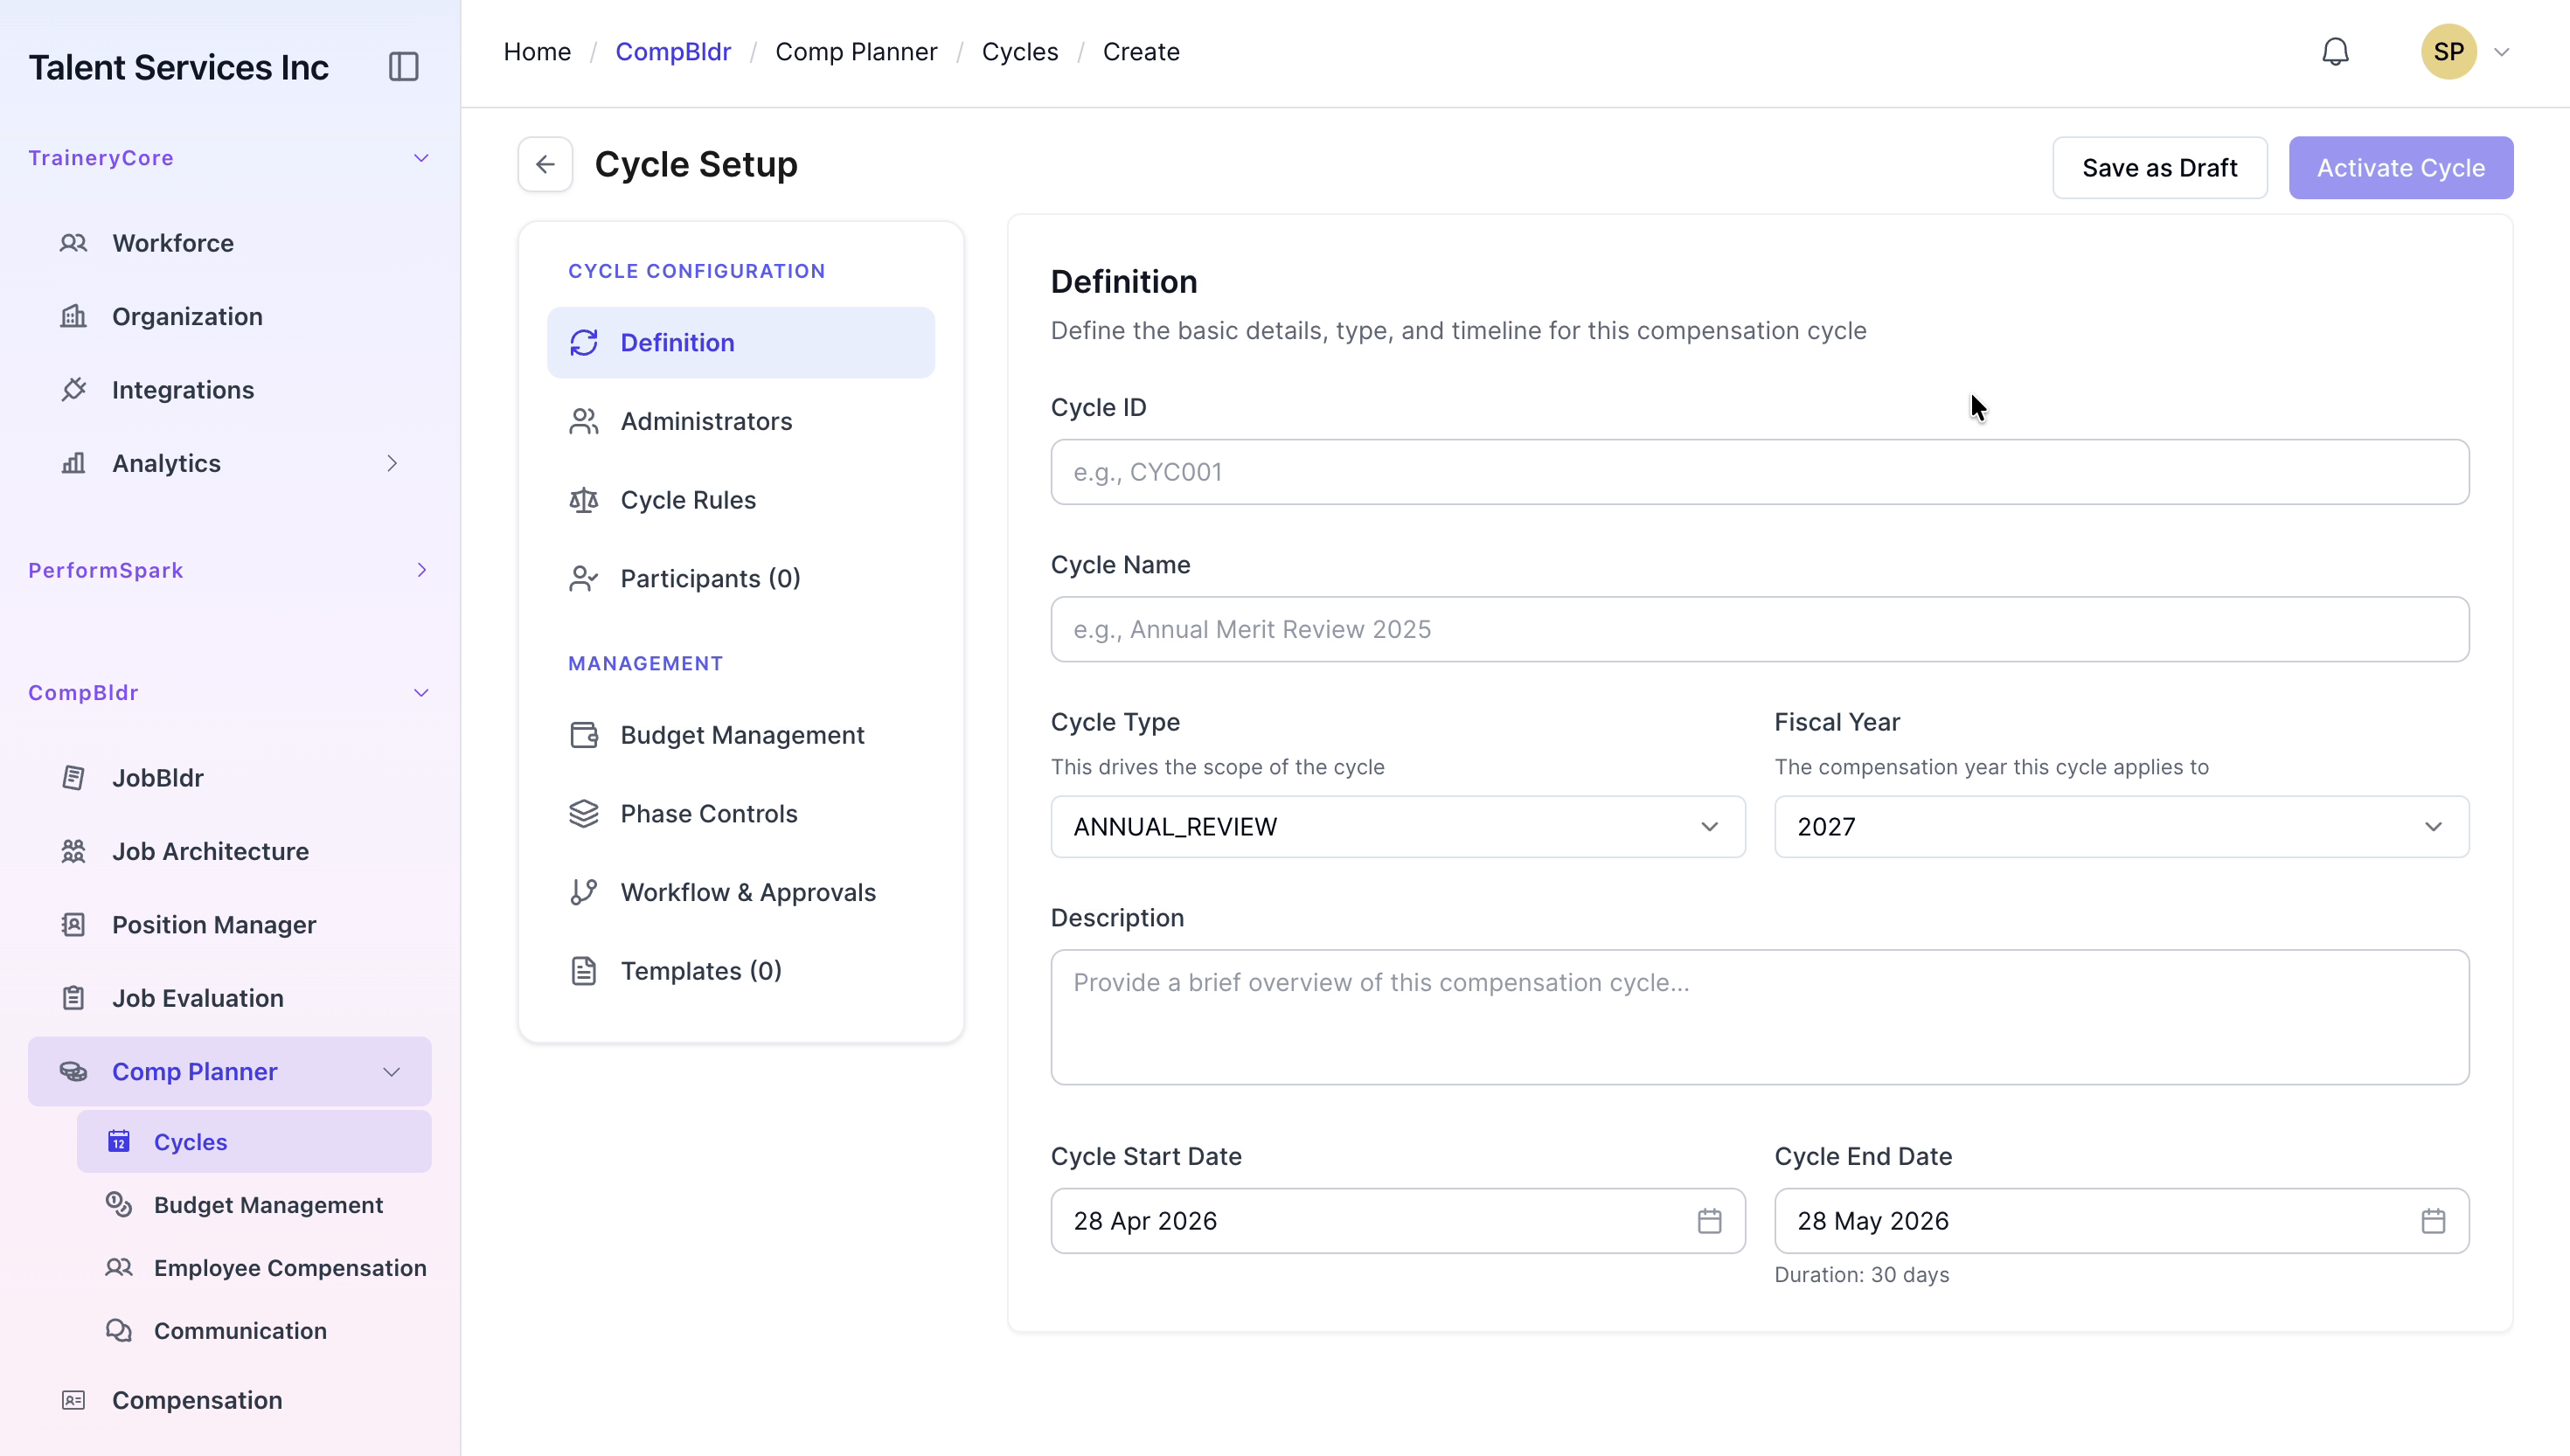
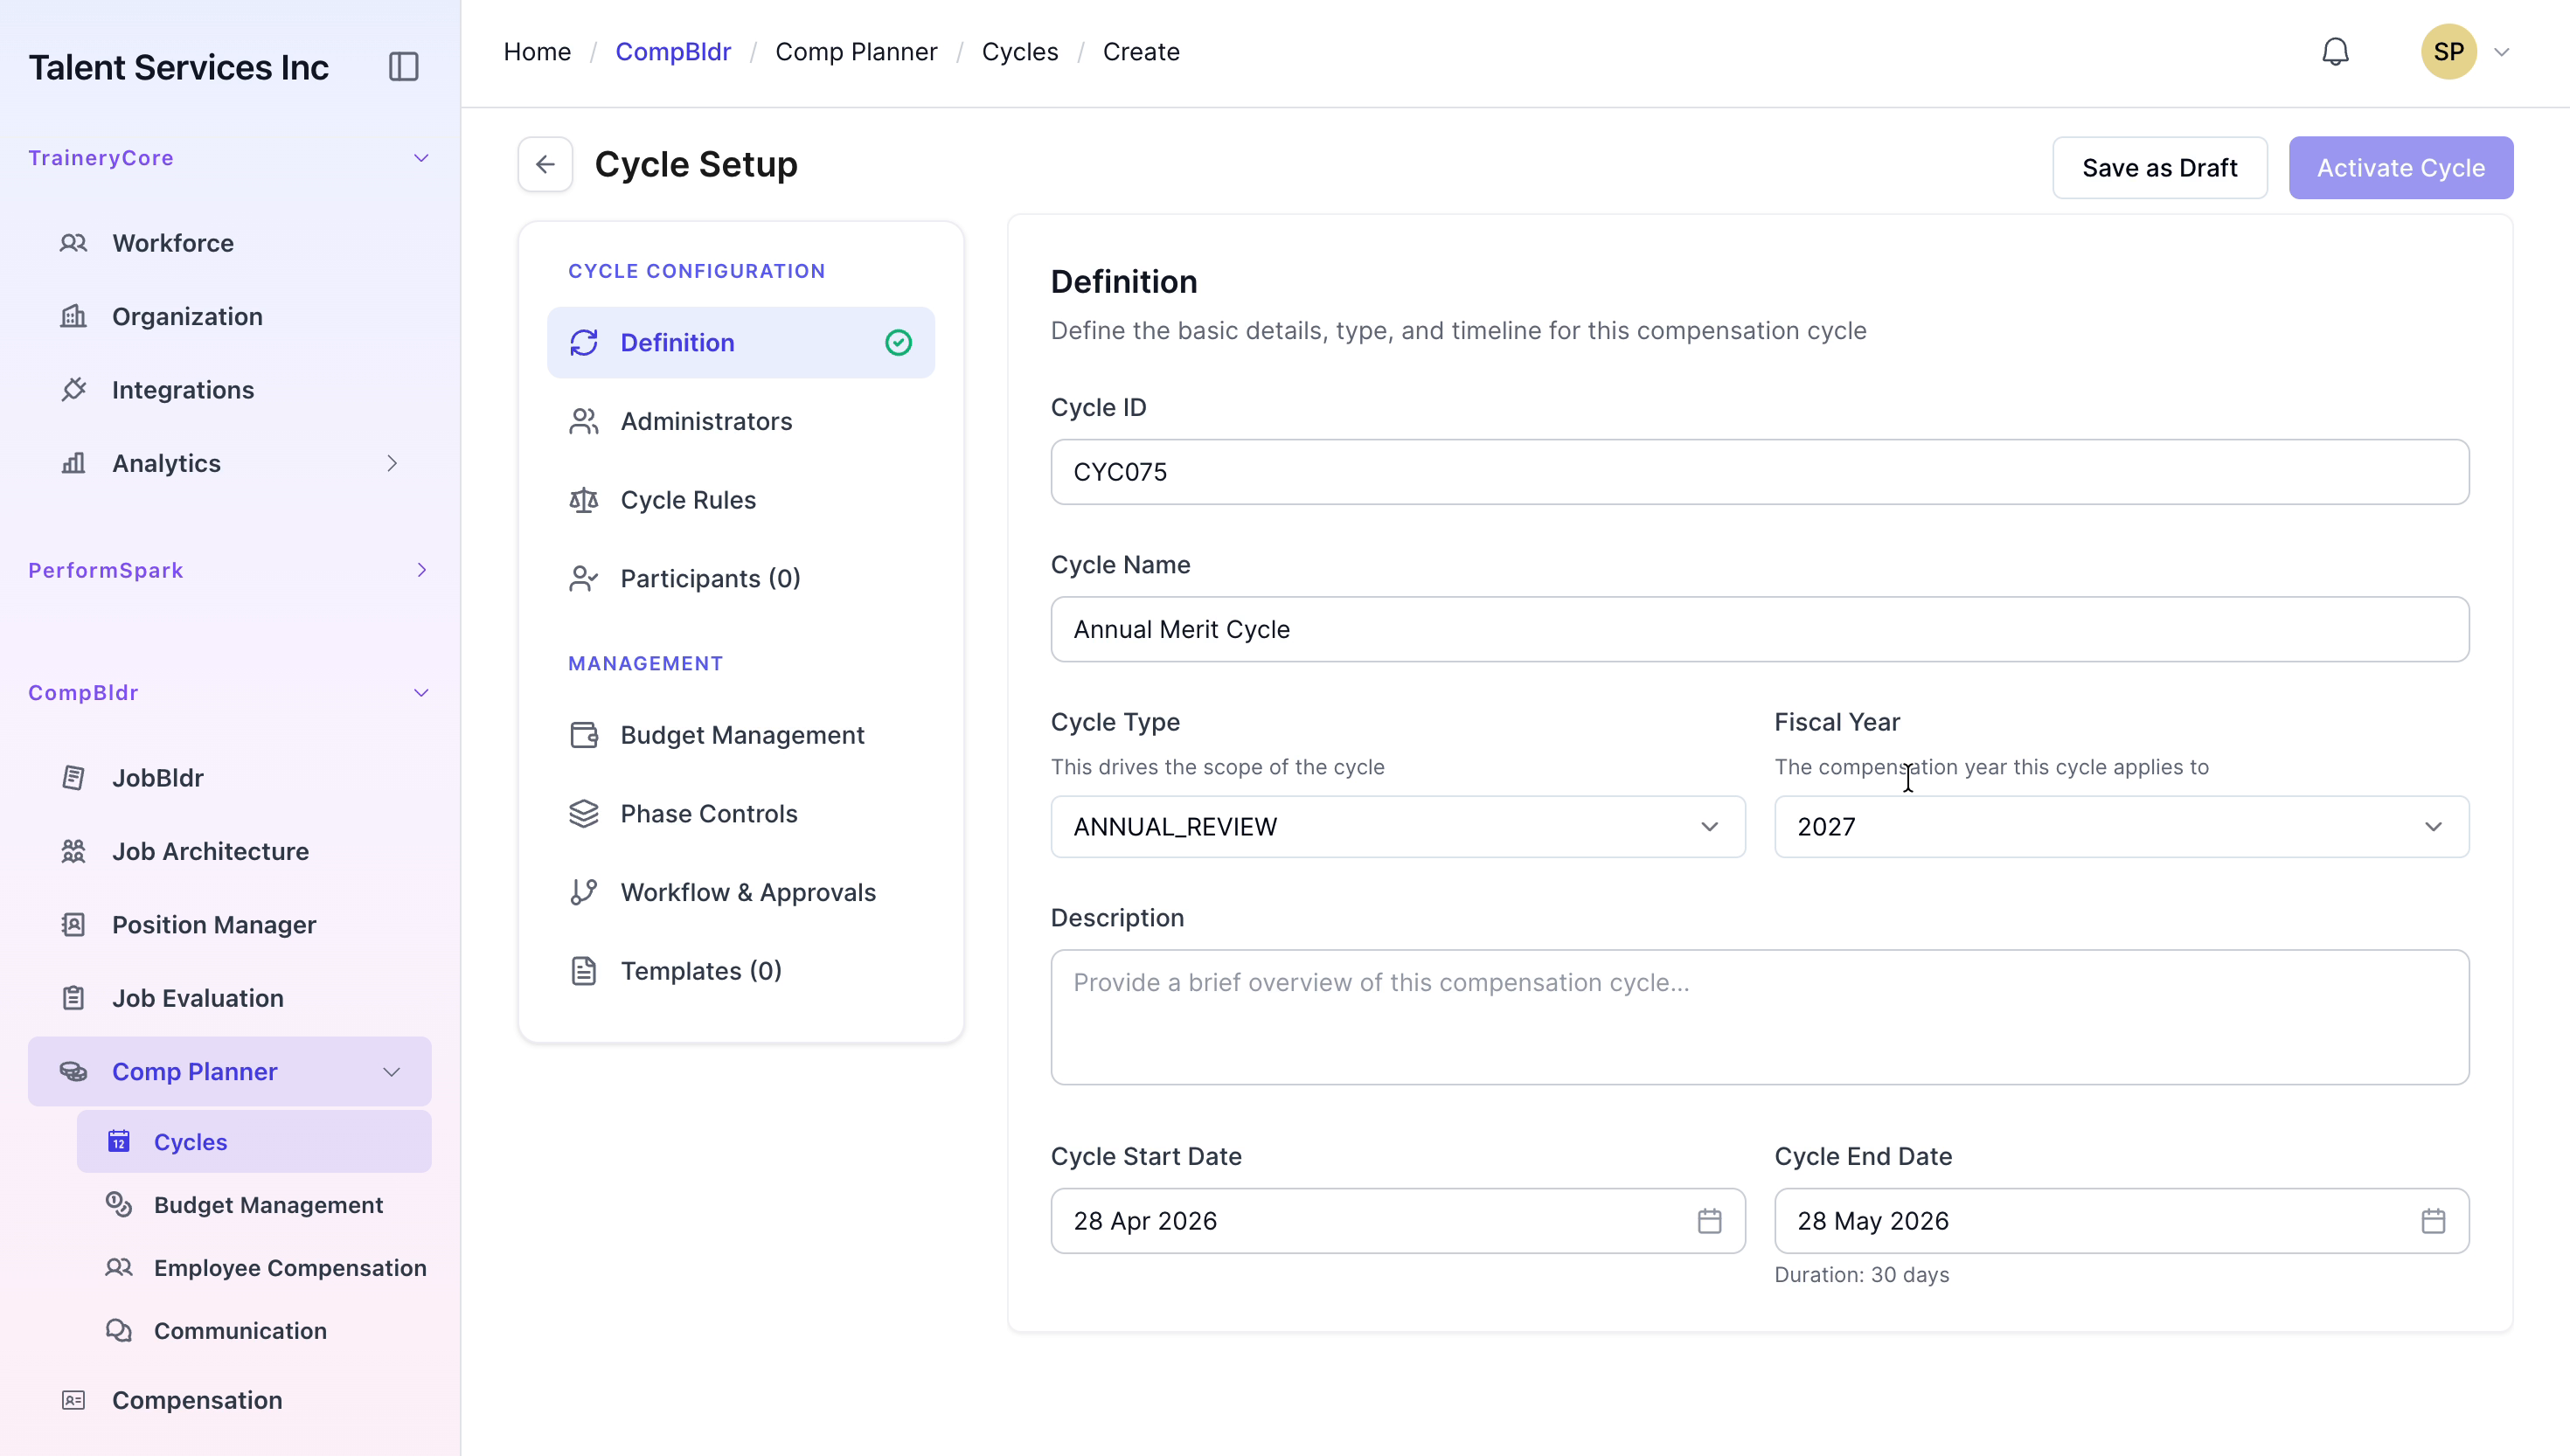
Step 3: Define Basic Cycle Information
In the Definition section, enter the Cycle ID as CYC075 and the Cycle Name as Annual Merit Cycle.
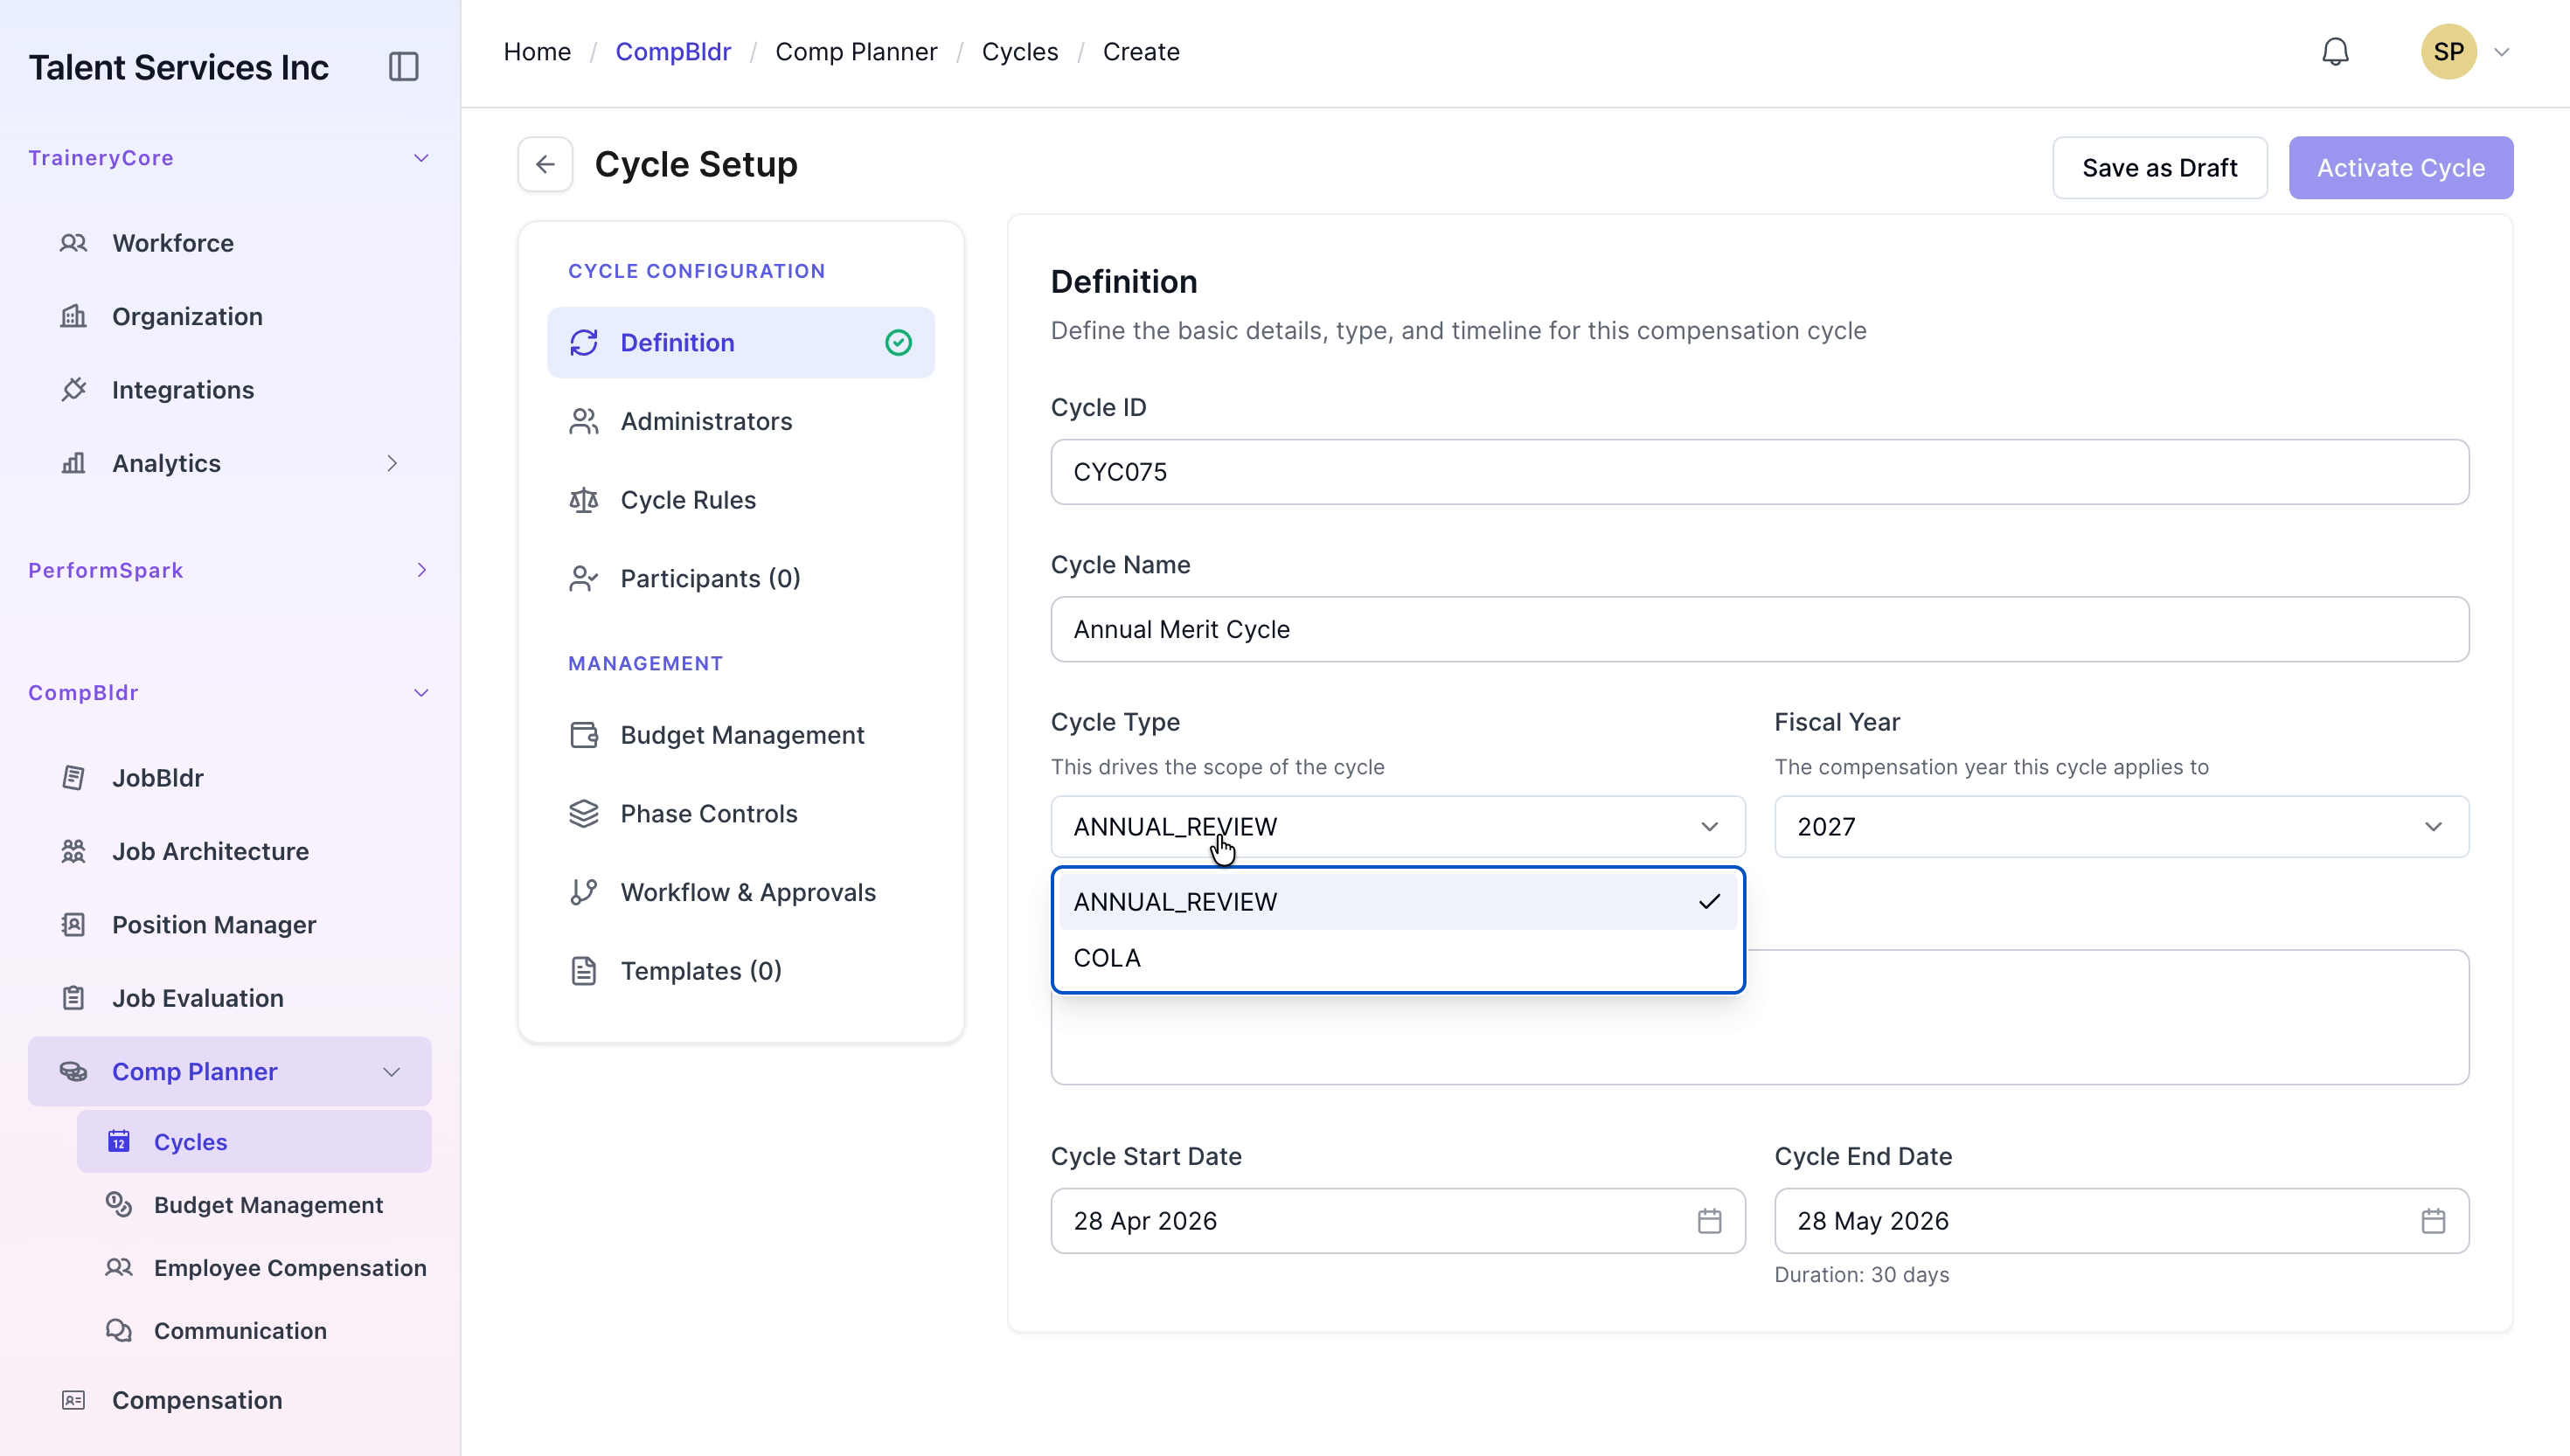
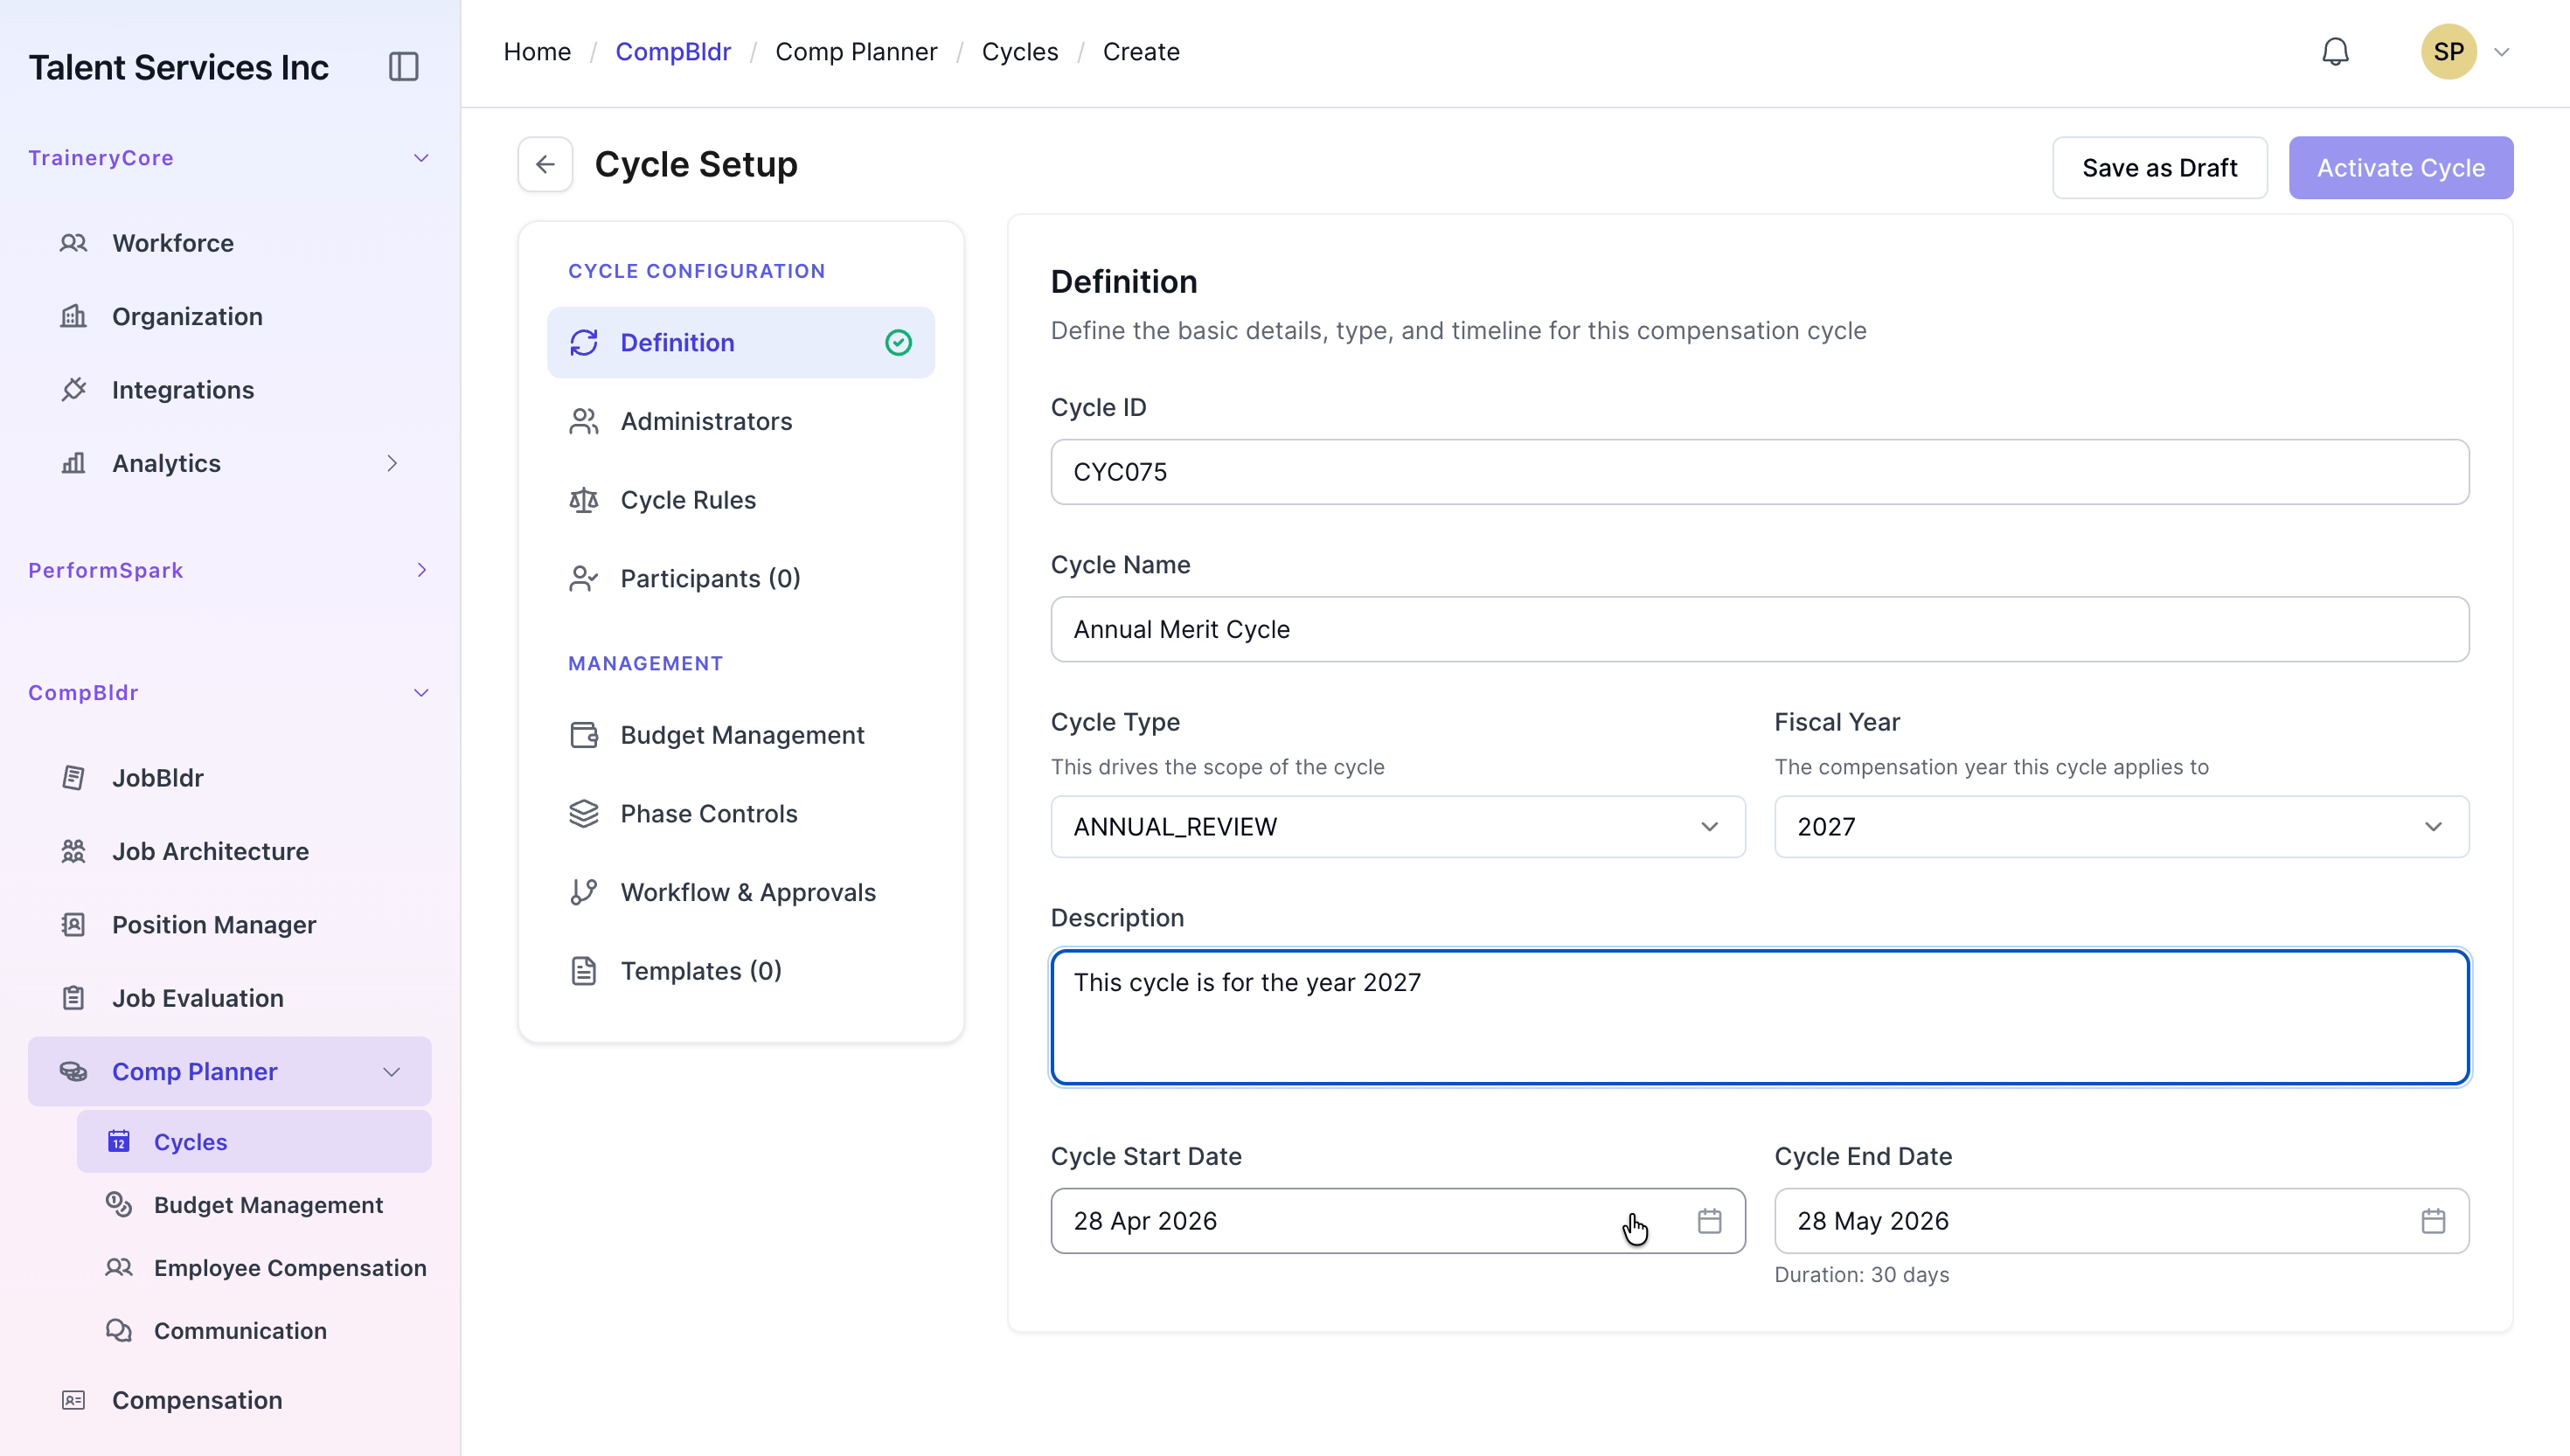
Select Annual Review as the Cycle Type, set the Fiscal Year to 2027, and provide a brief descriptive summary for the cycle.
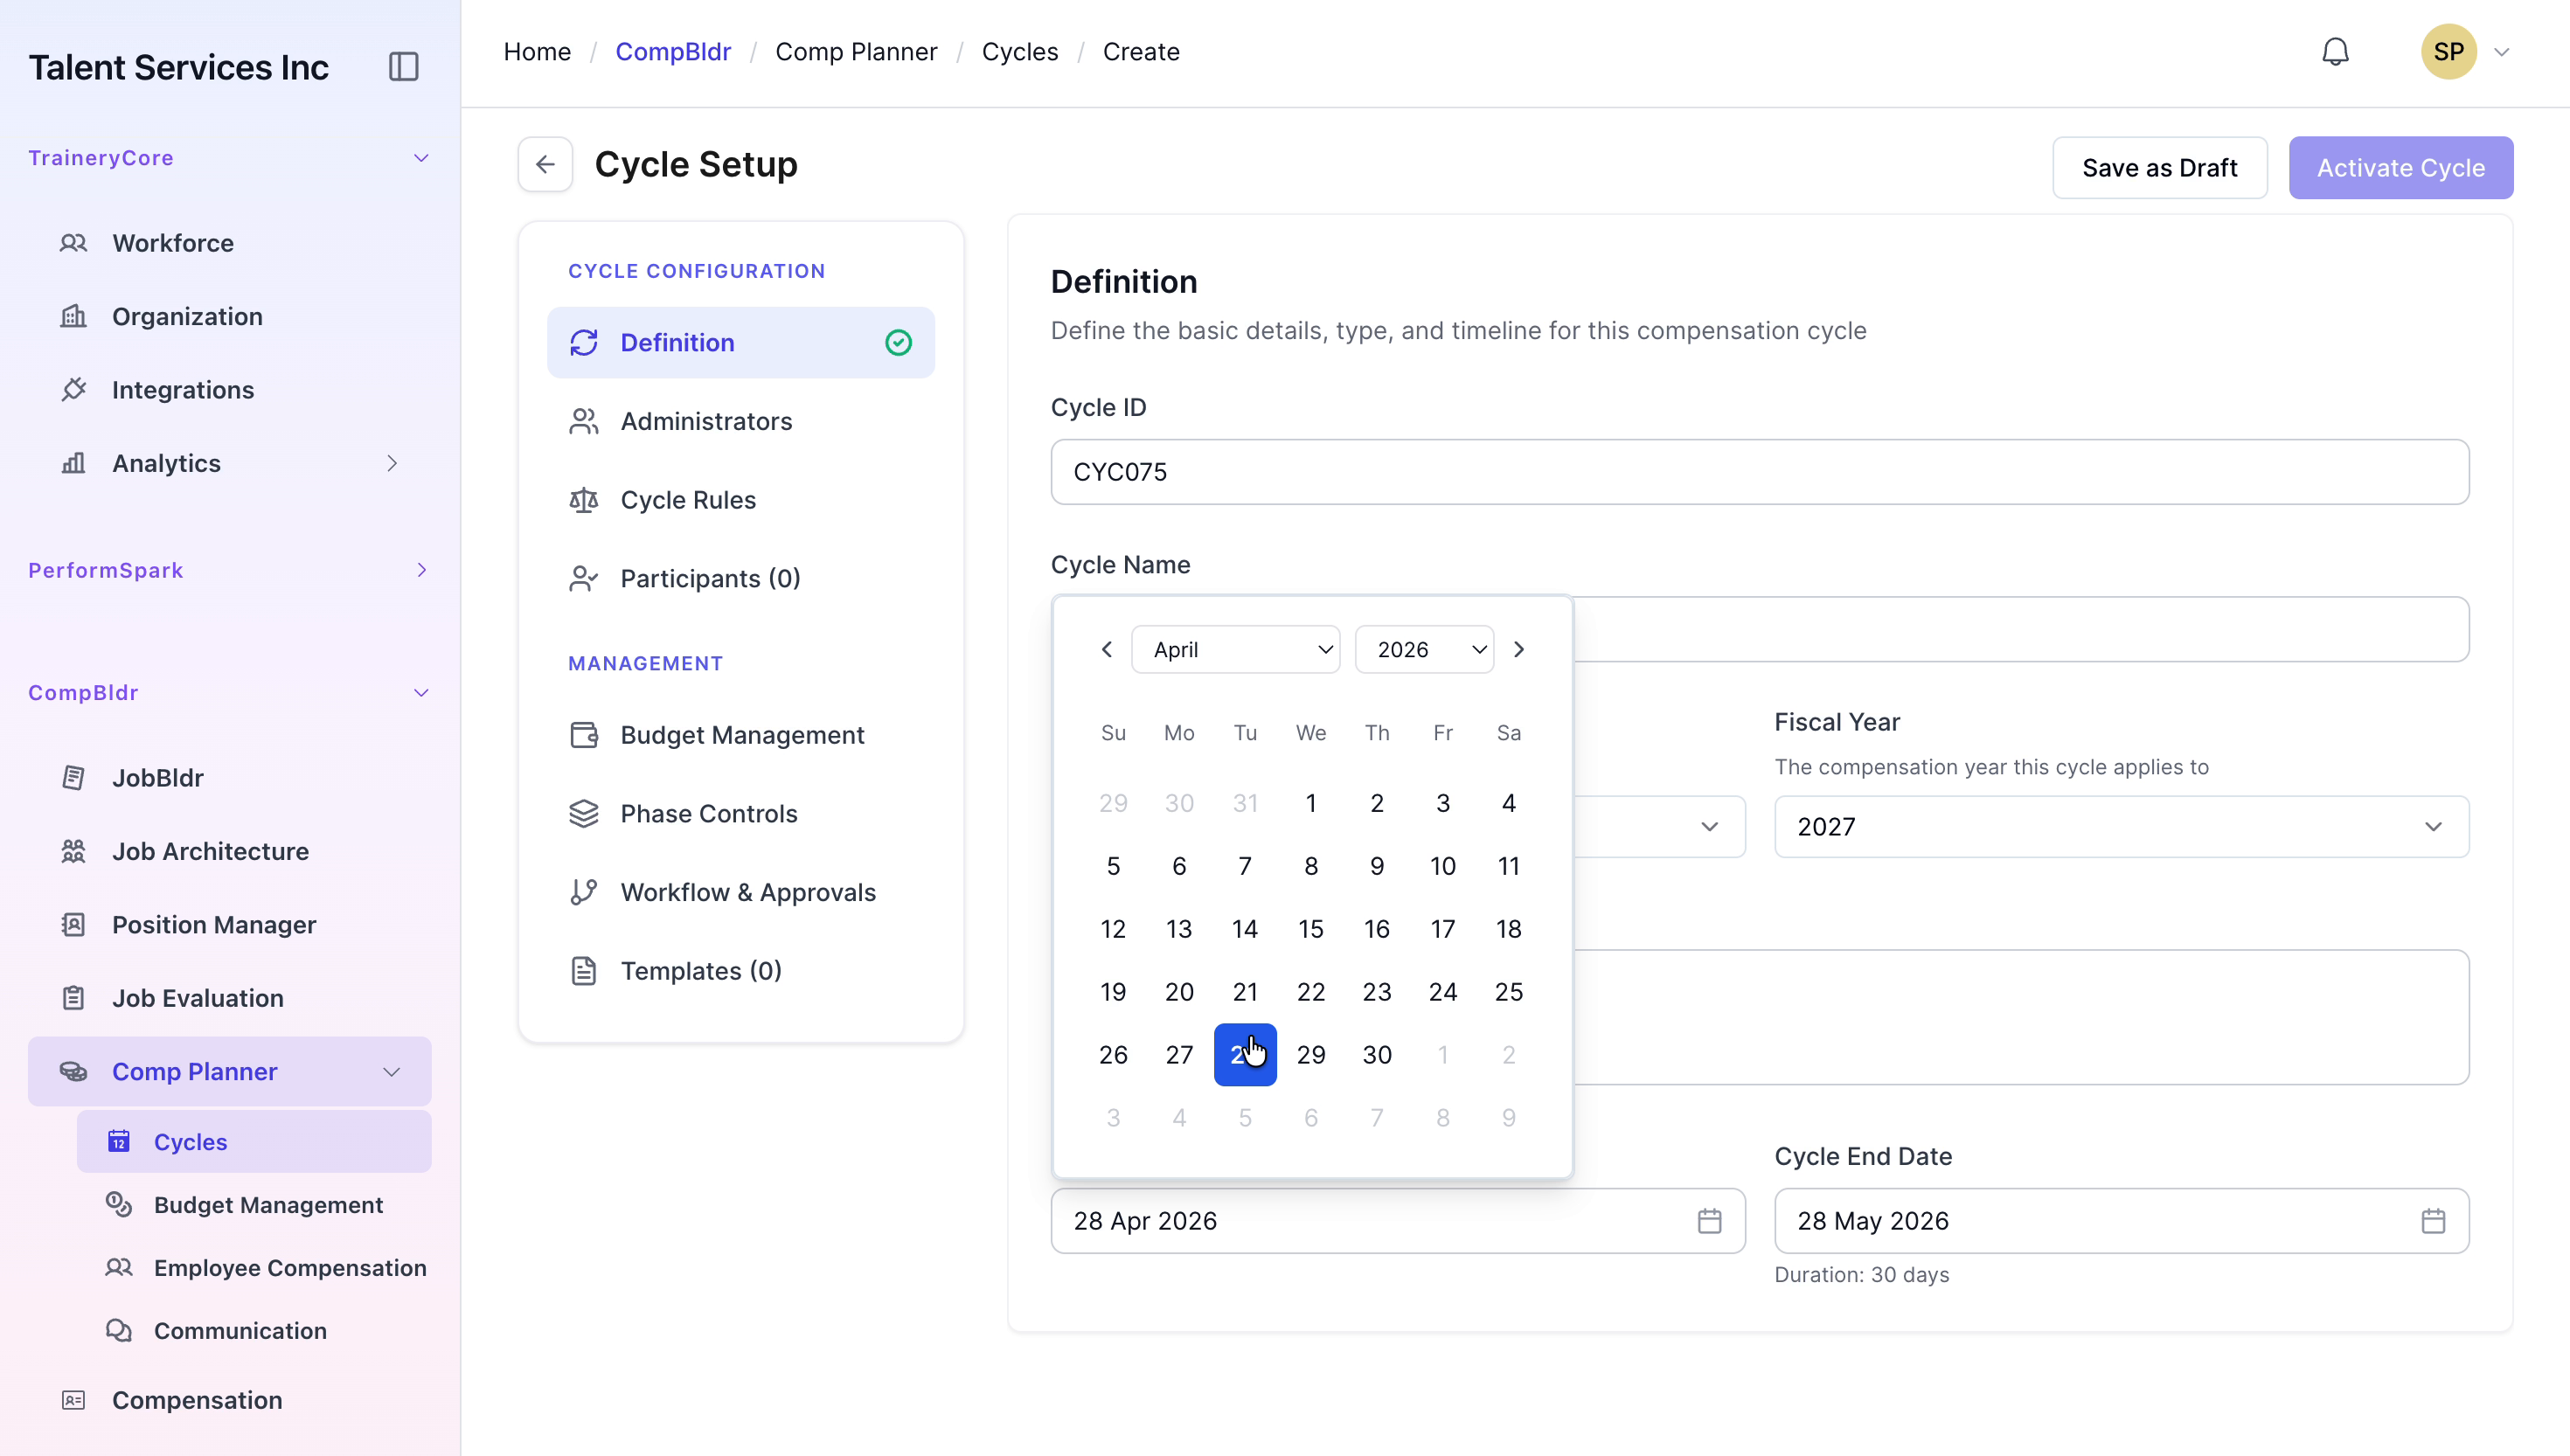
Step 4: Set Cycle Dates
Use the calendar pickers to specify the Cycle Start Date and Cycle End Date, ensuring they cover the intended review and approval period.

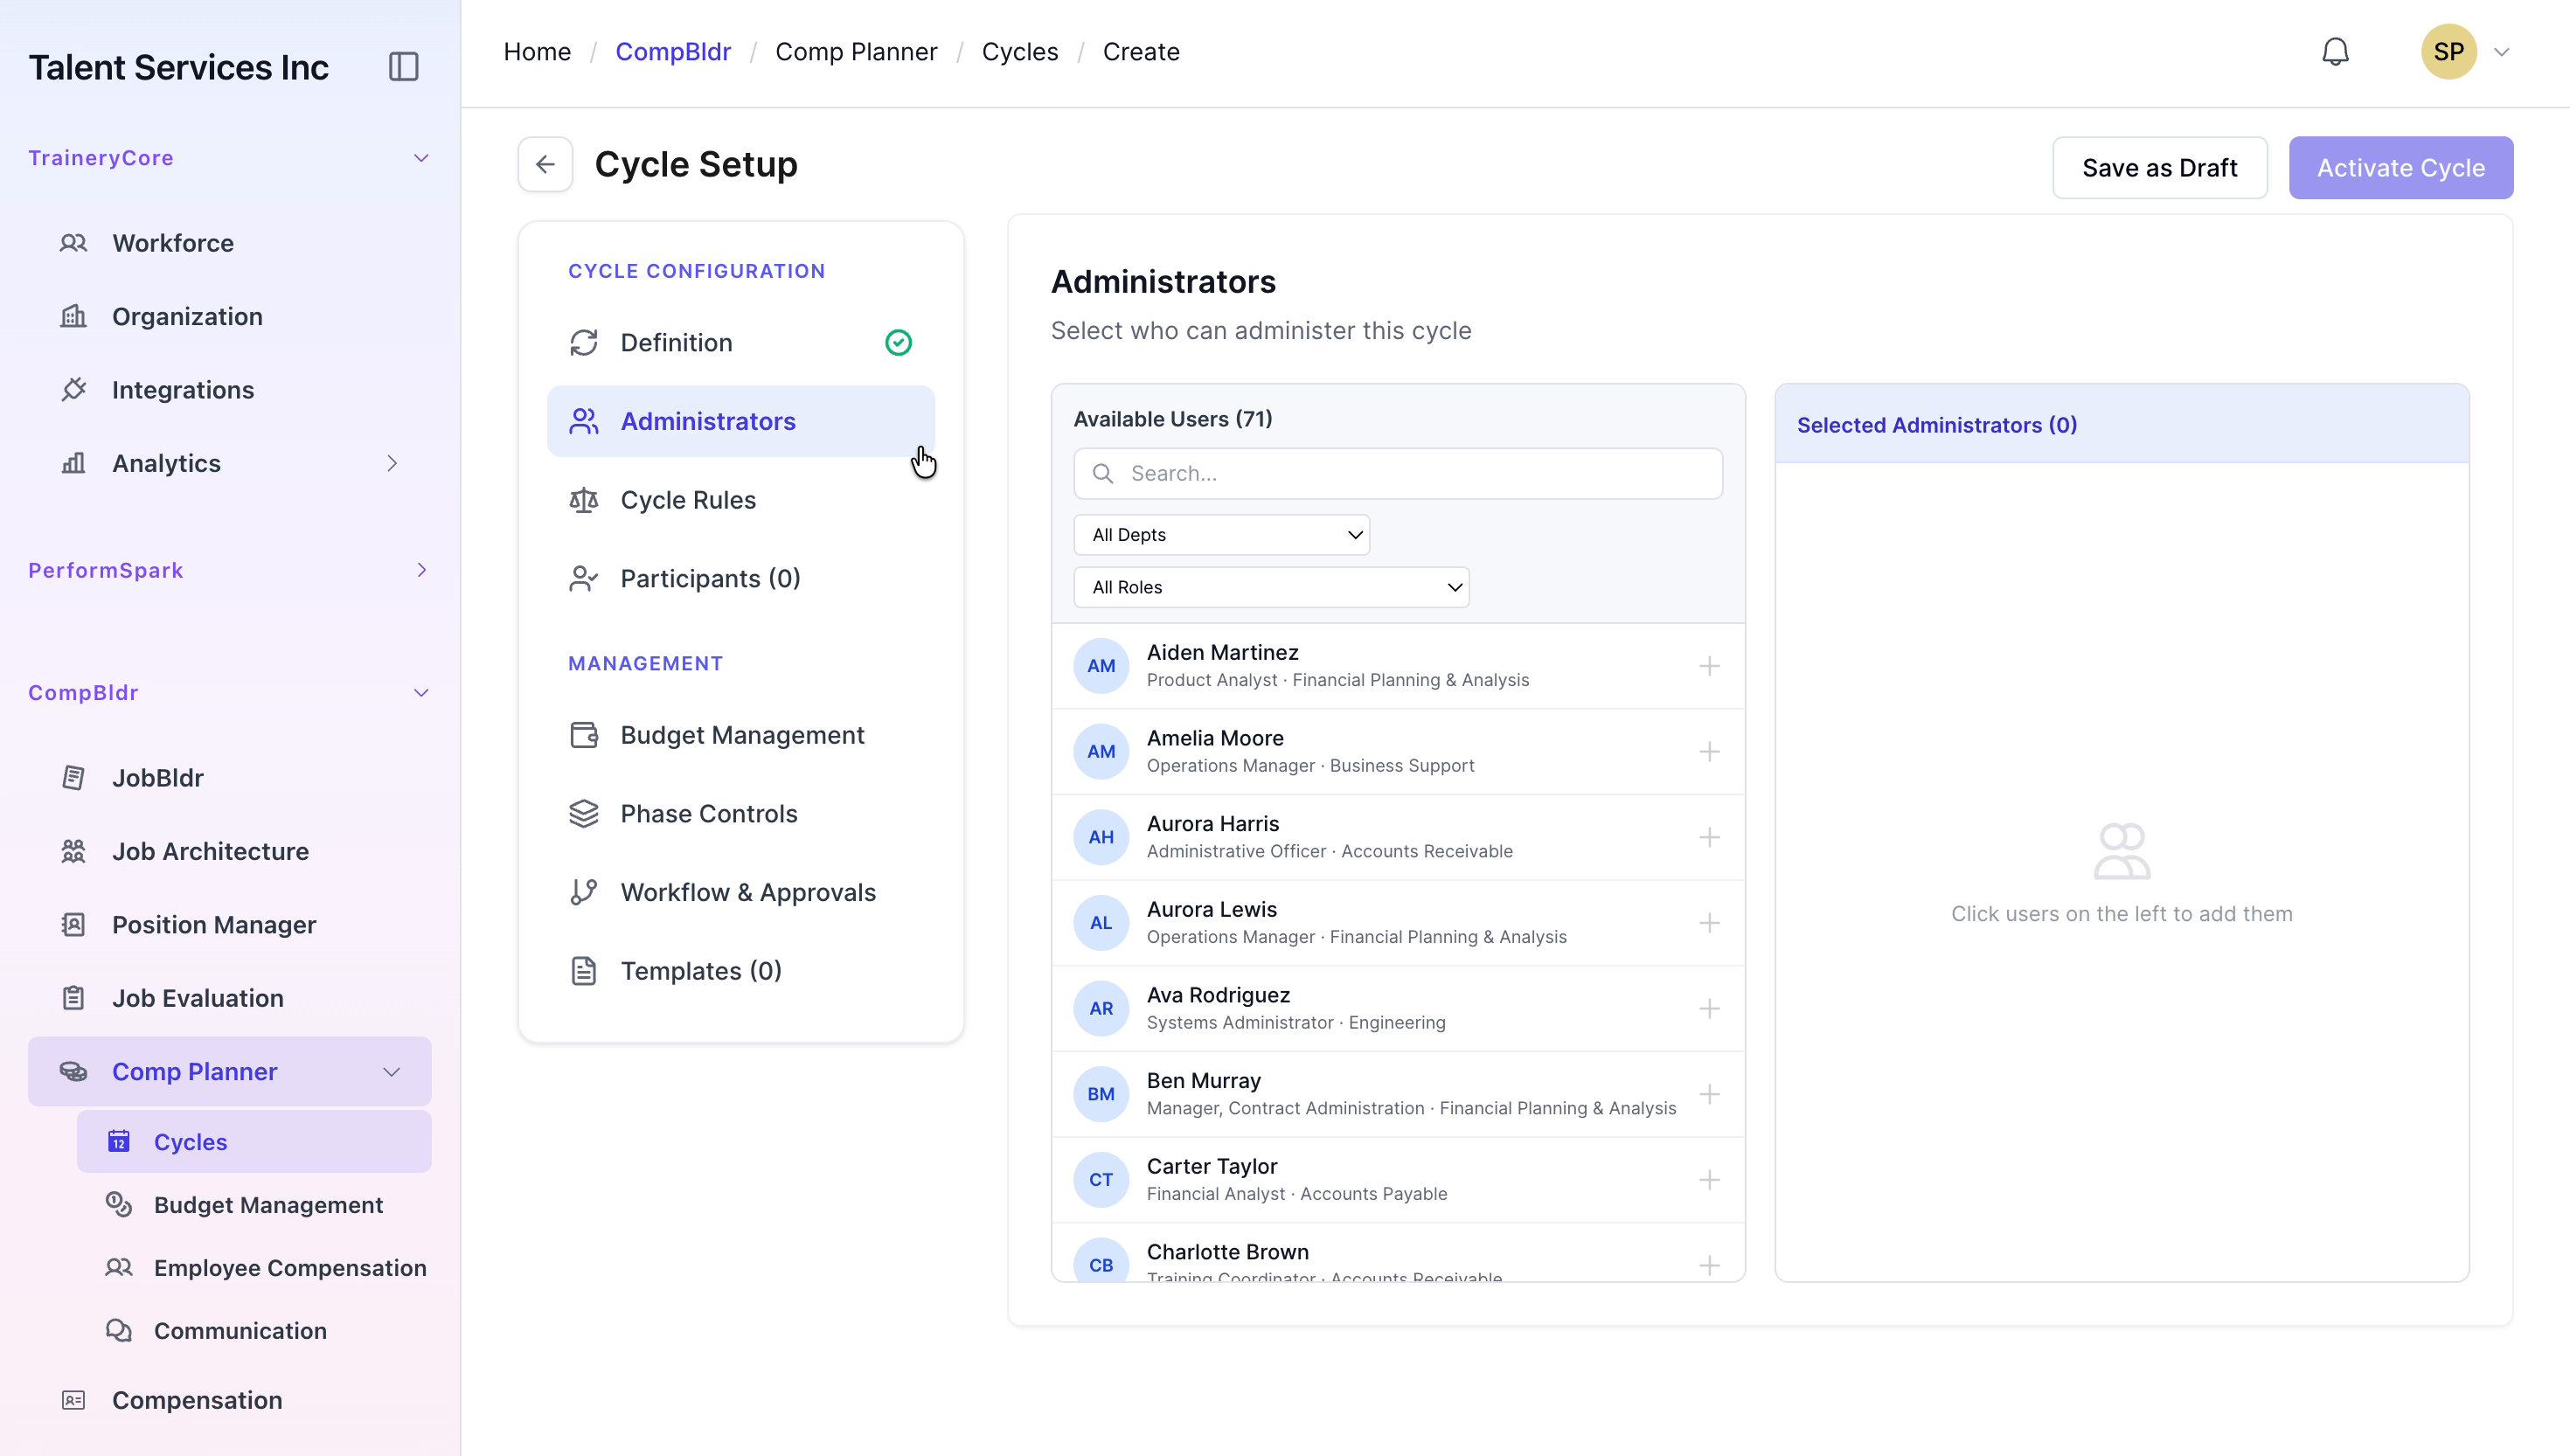
Step 5: Assign Cycle Administrators
Go to the Administrators tab and assign the appropriate people to manage this cycle. Select Aiden Martinez and Aurora Harris as the administrators.

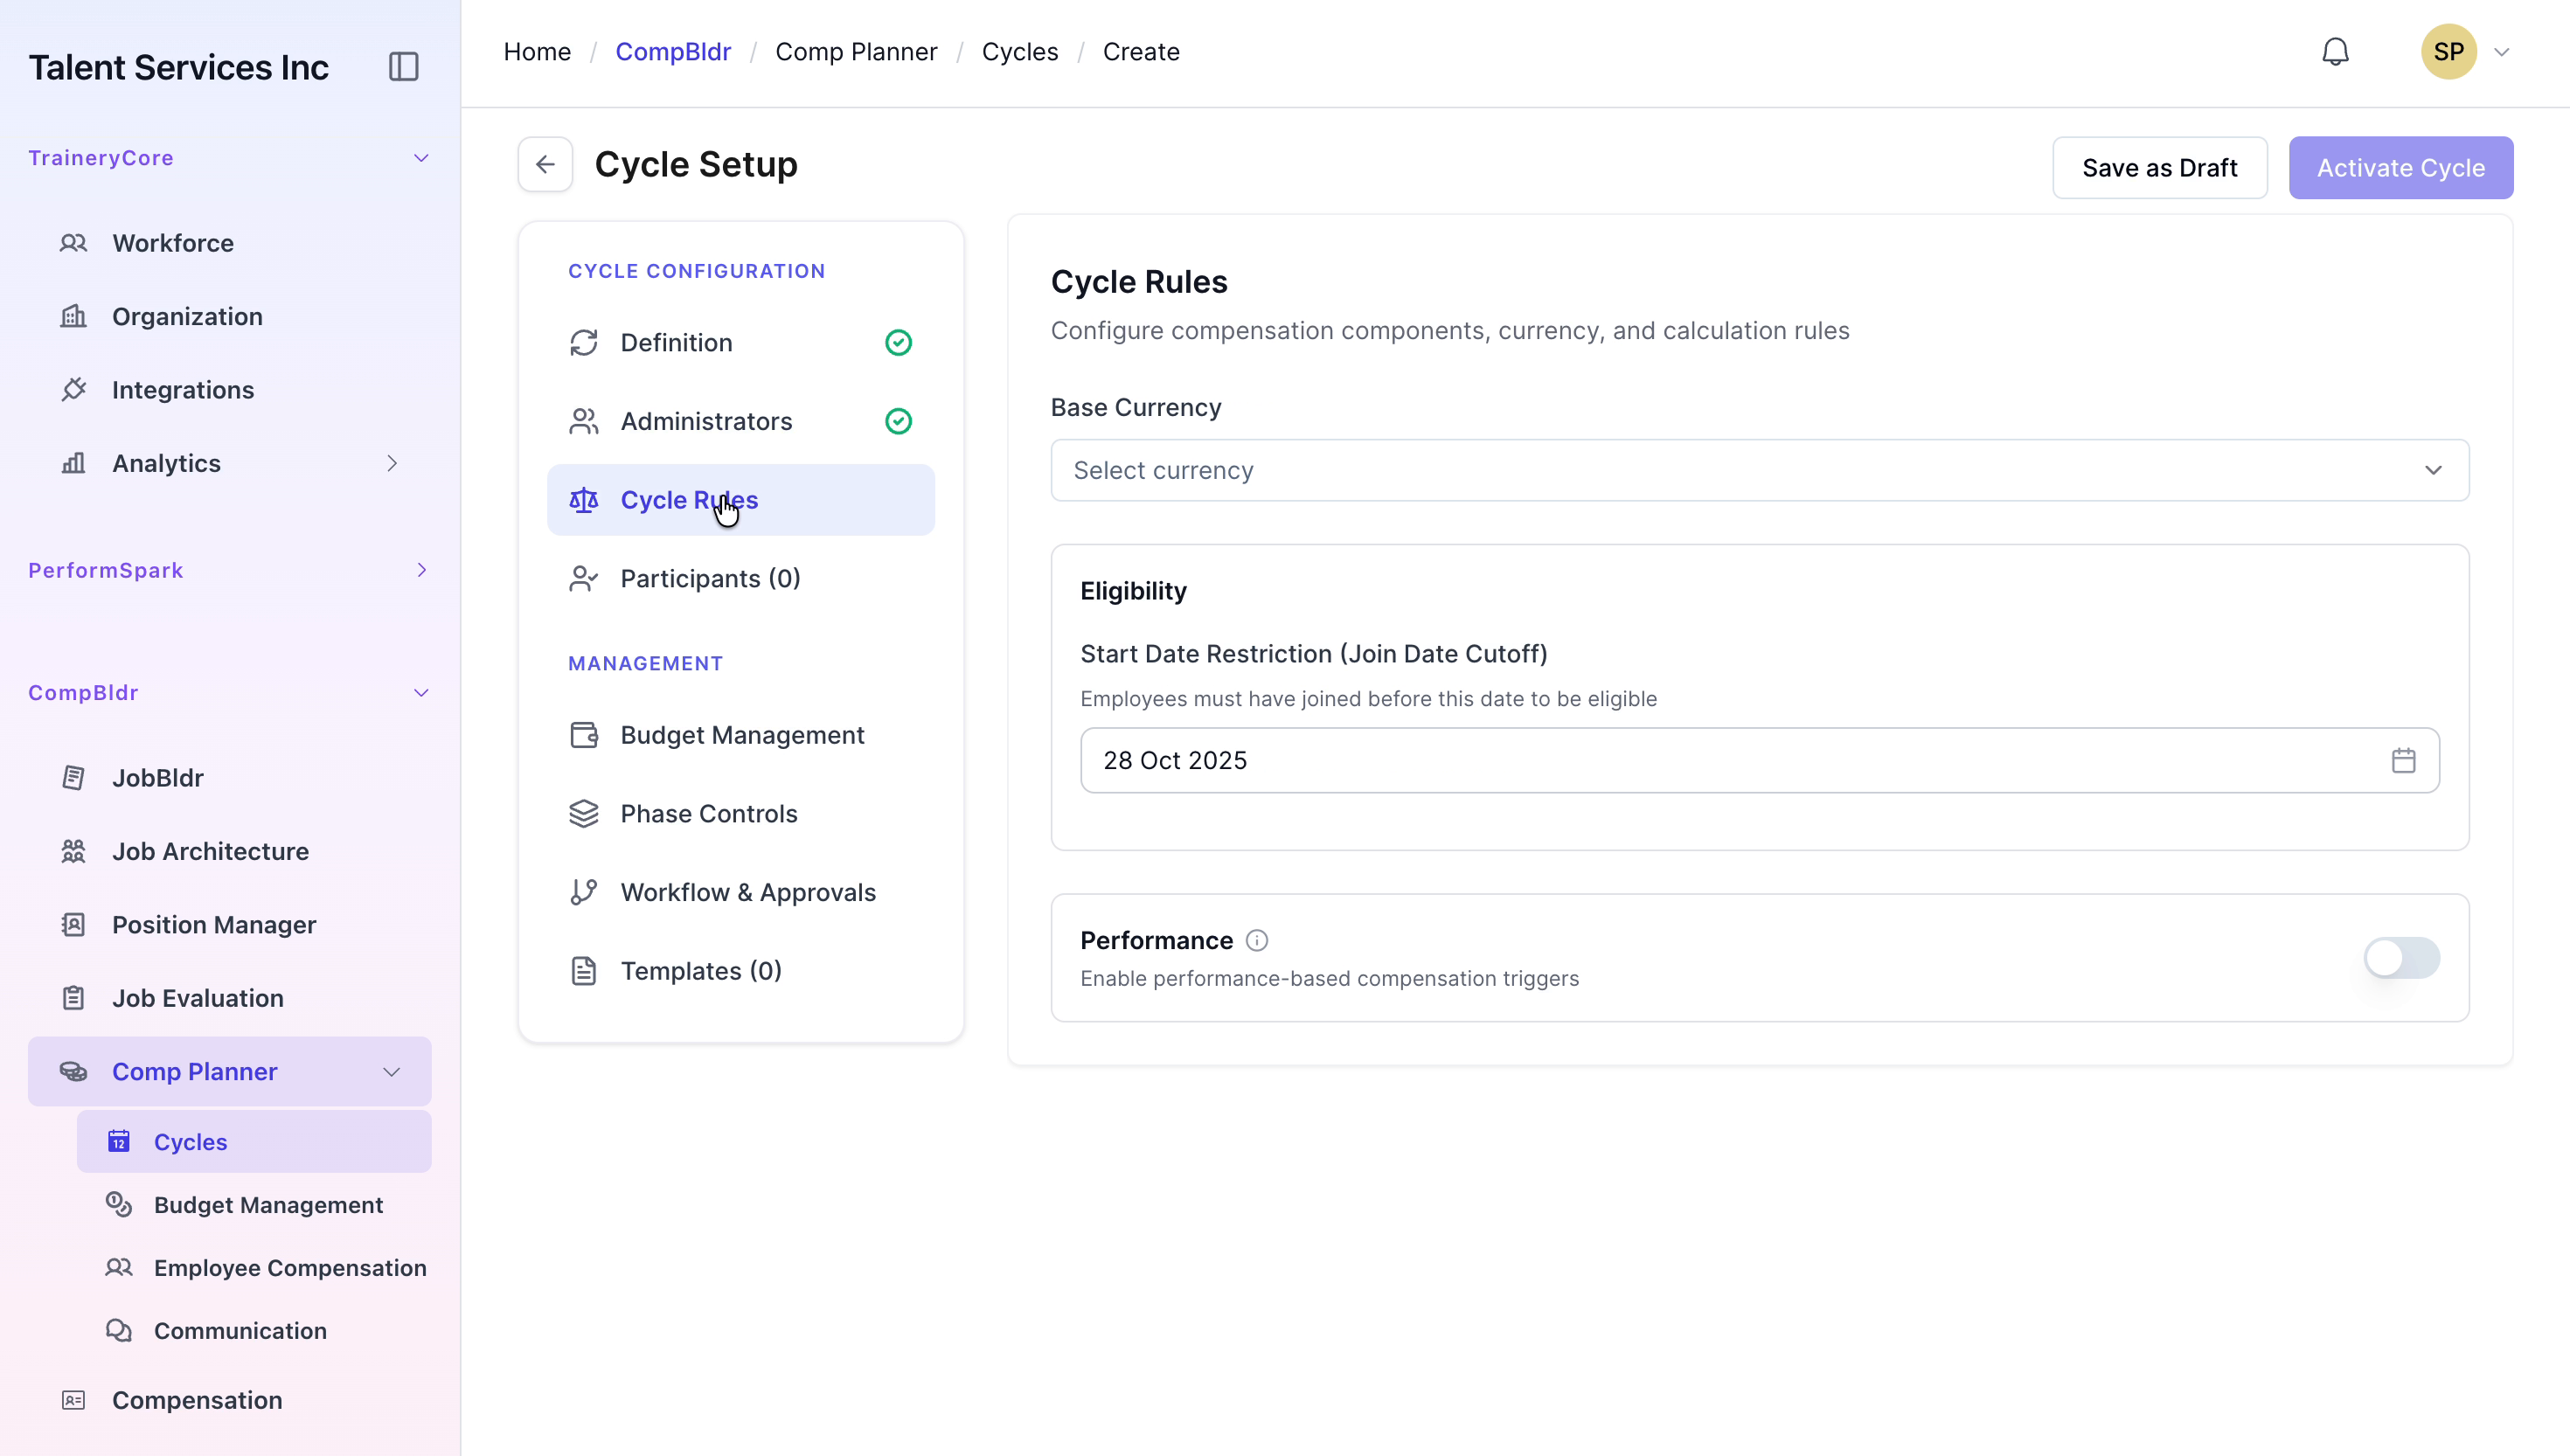
Step 6: Configure Cycle Rules and Currencies
In the Cycle Rules section, set the Base Currency to US Dollars, then add Indian Rupee as an additional local currency. Specify the Eligibility Date to determine which employees are included based on employment status as of that date.
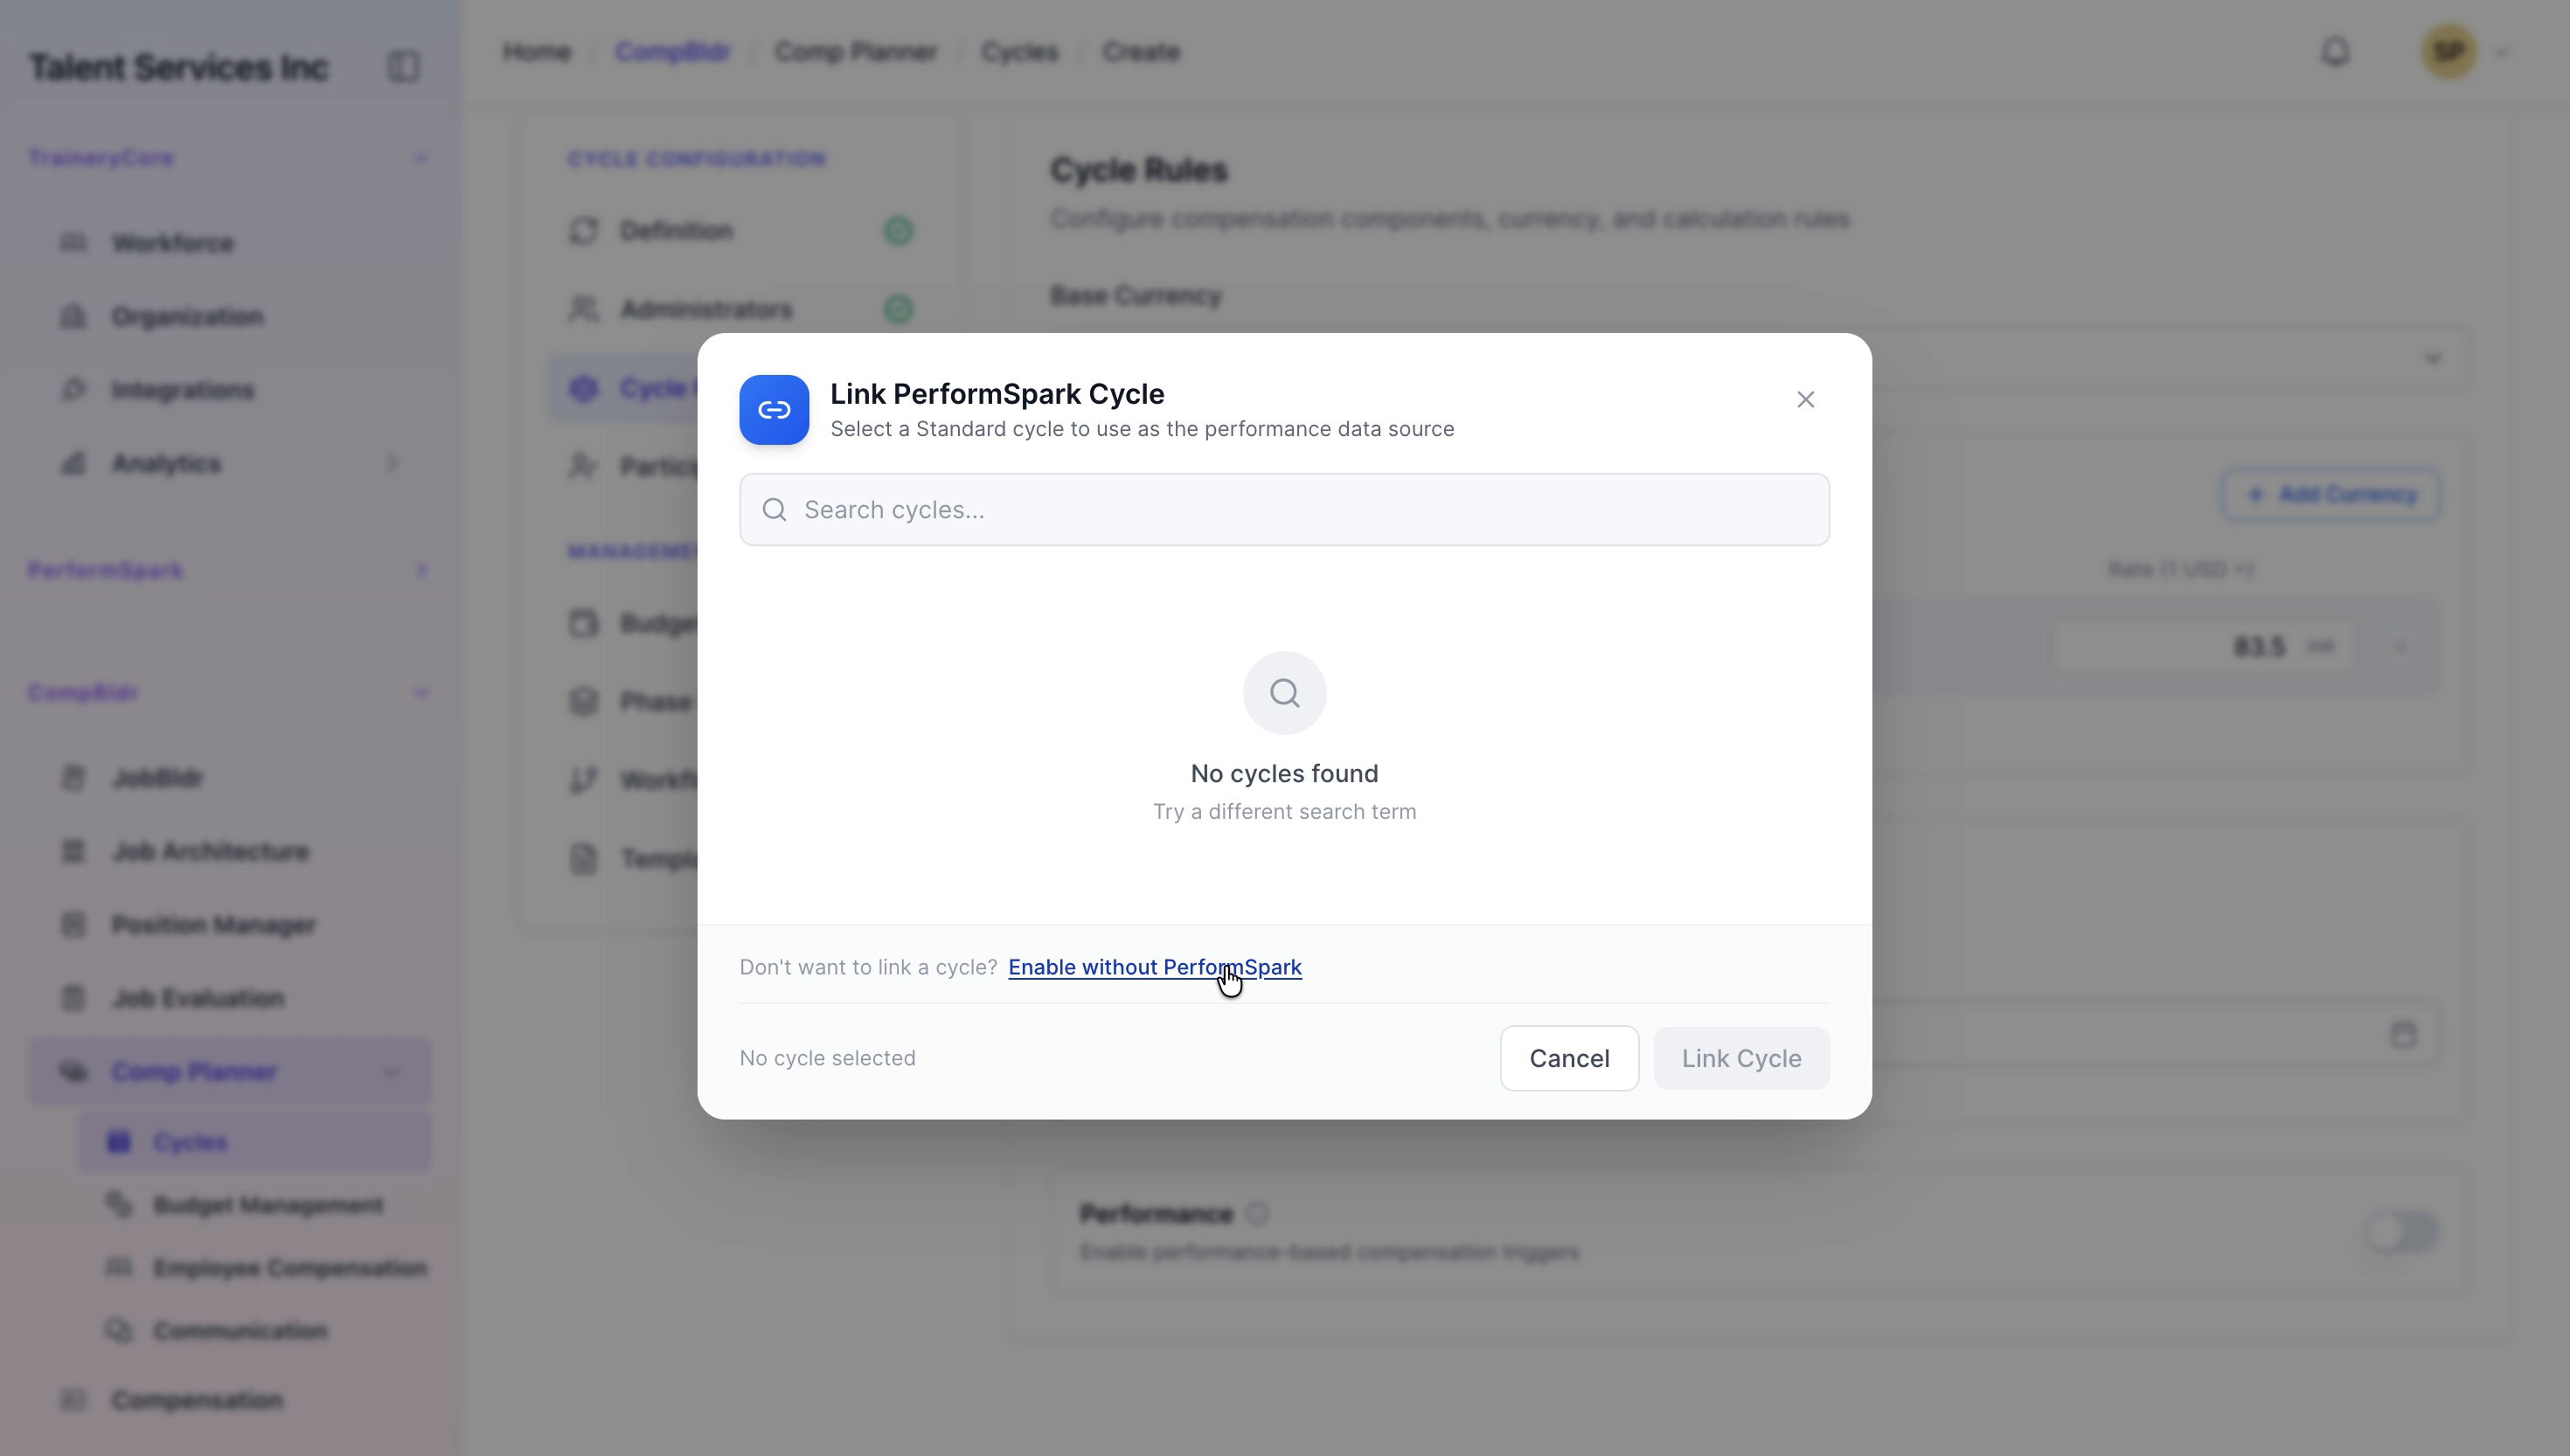
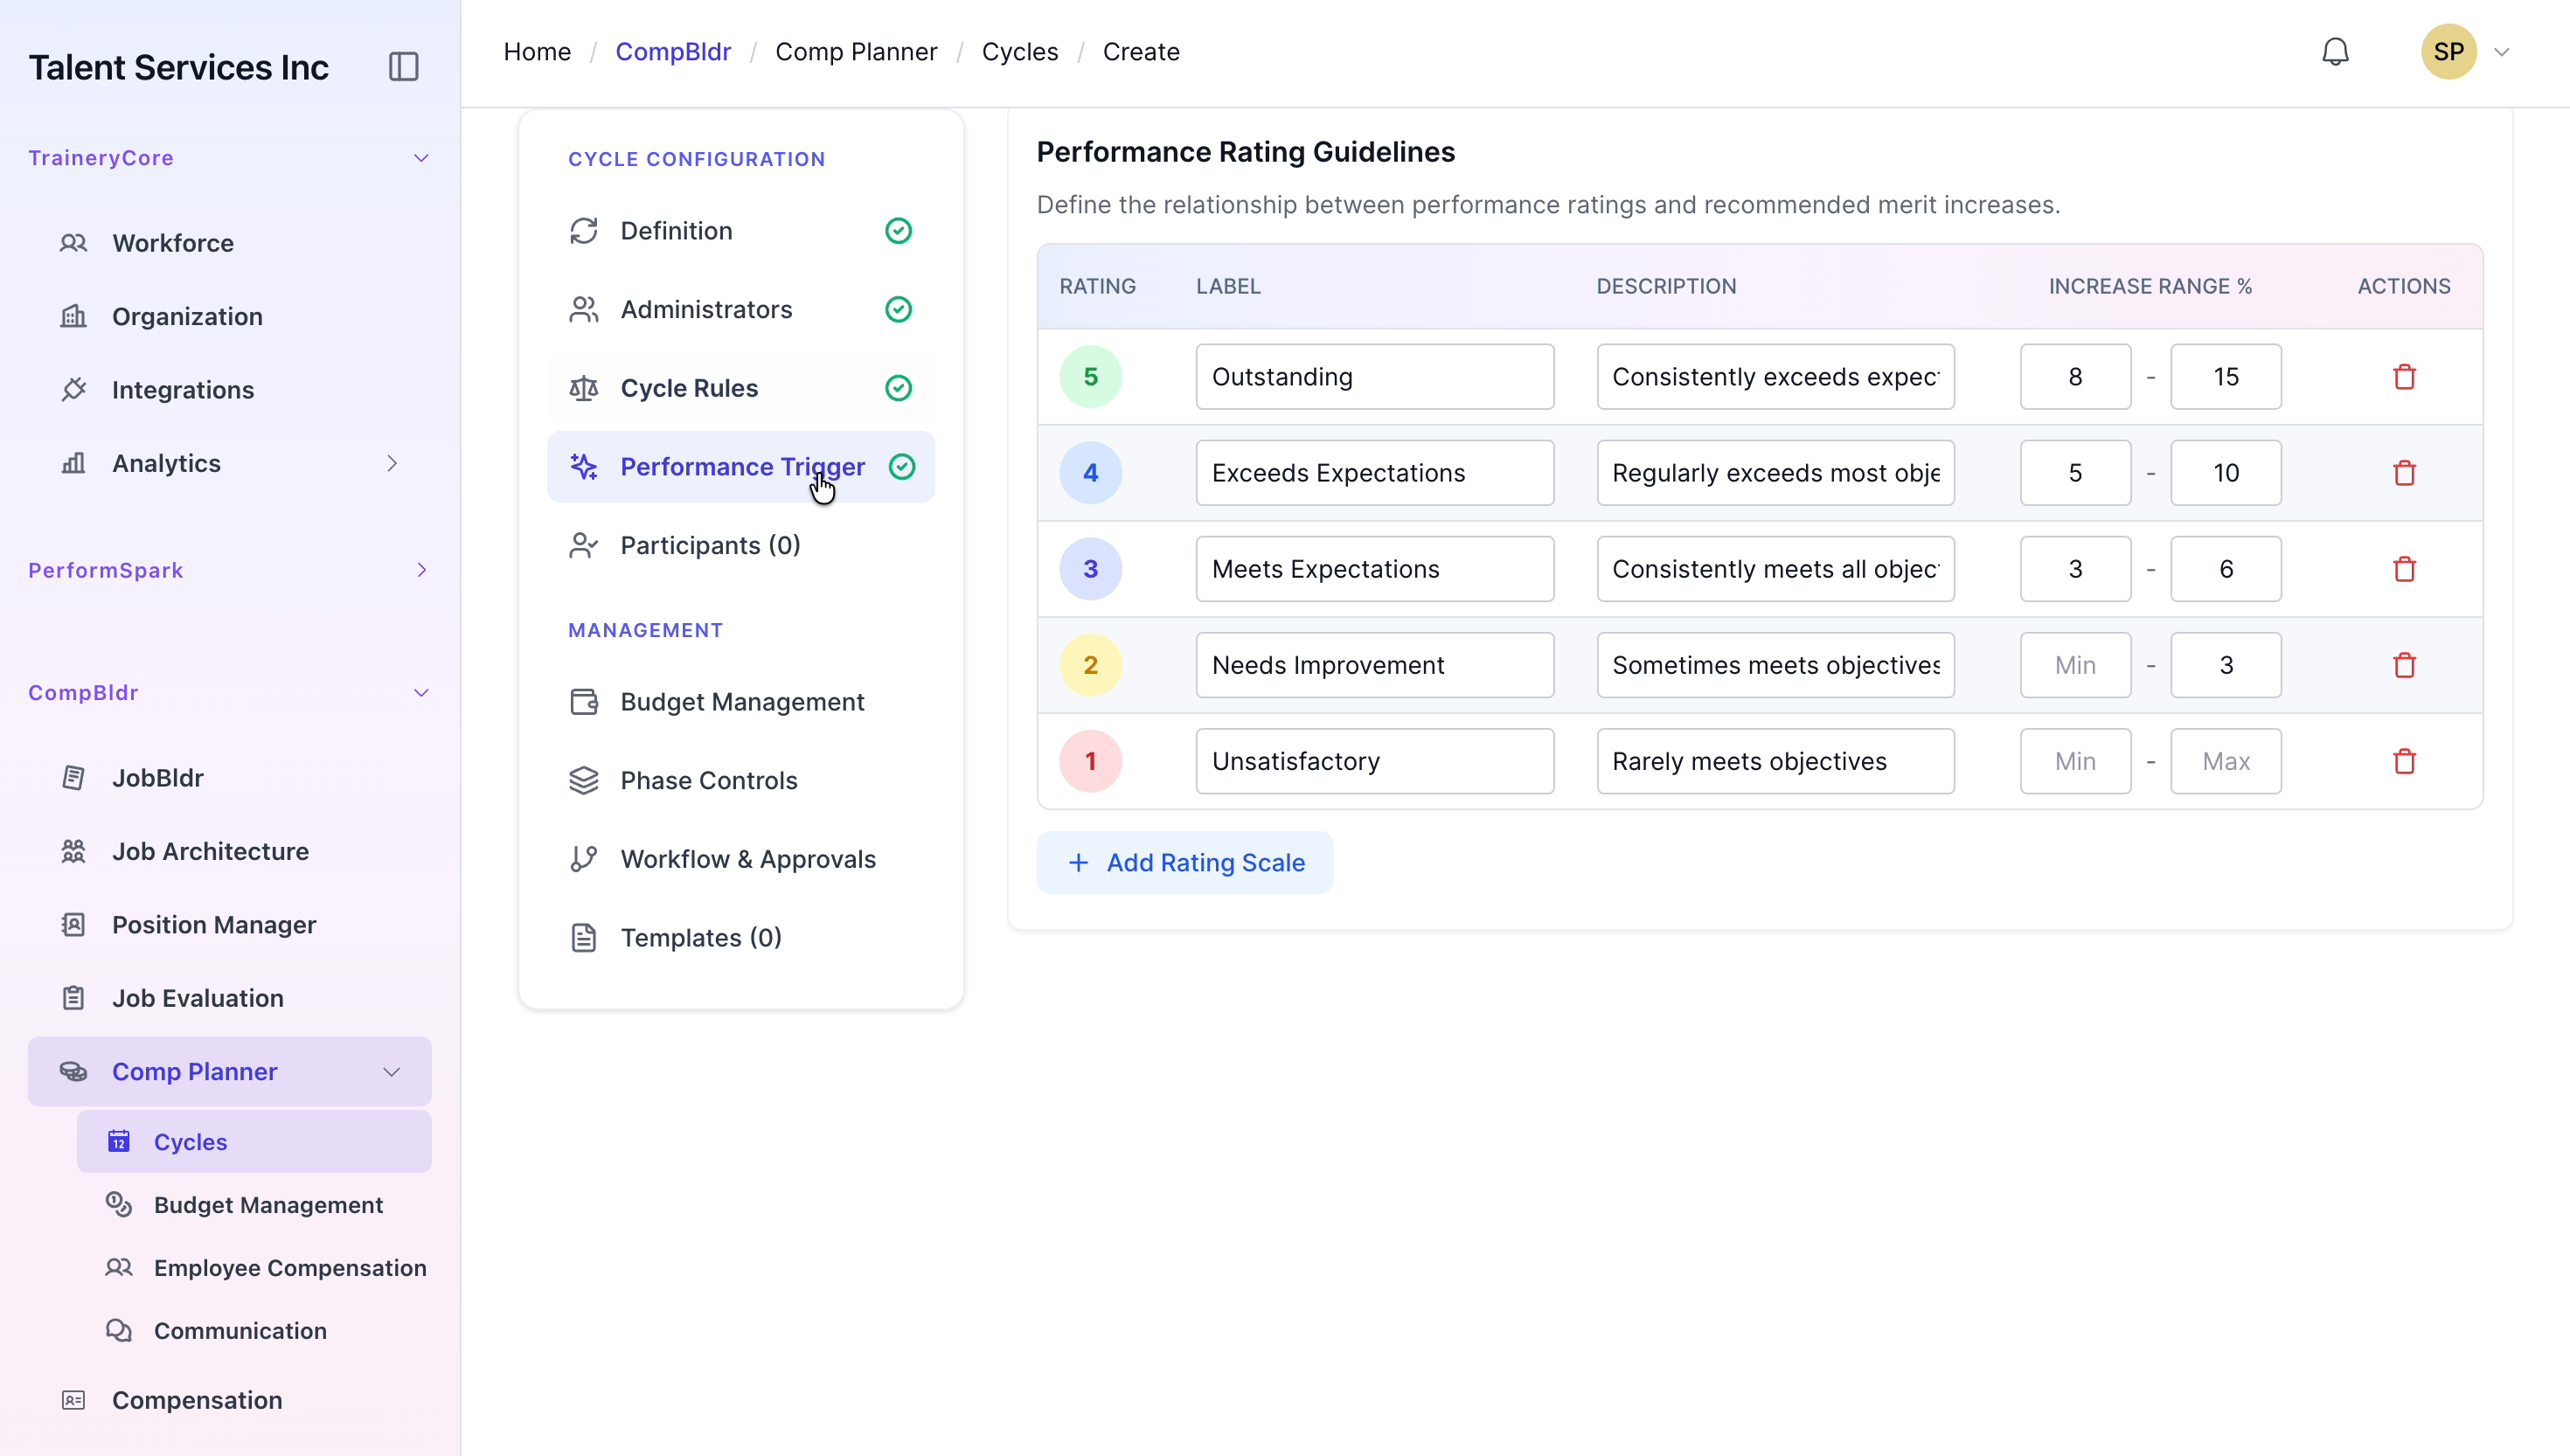
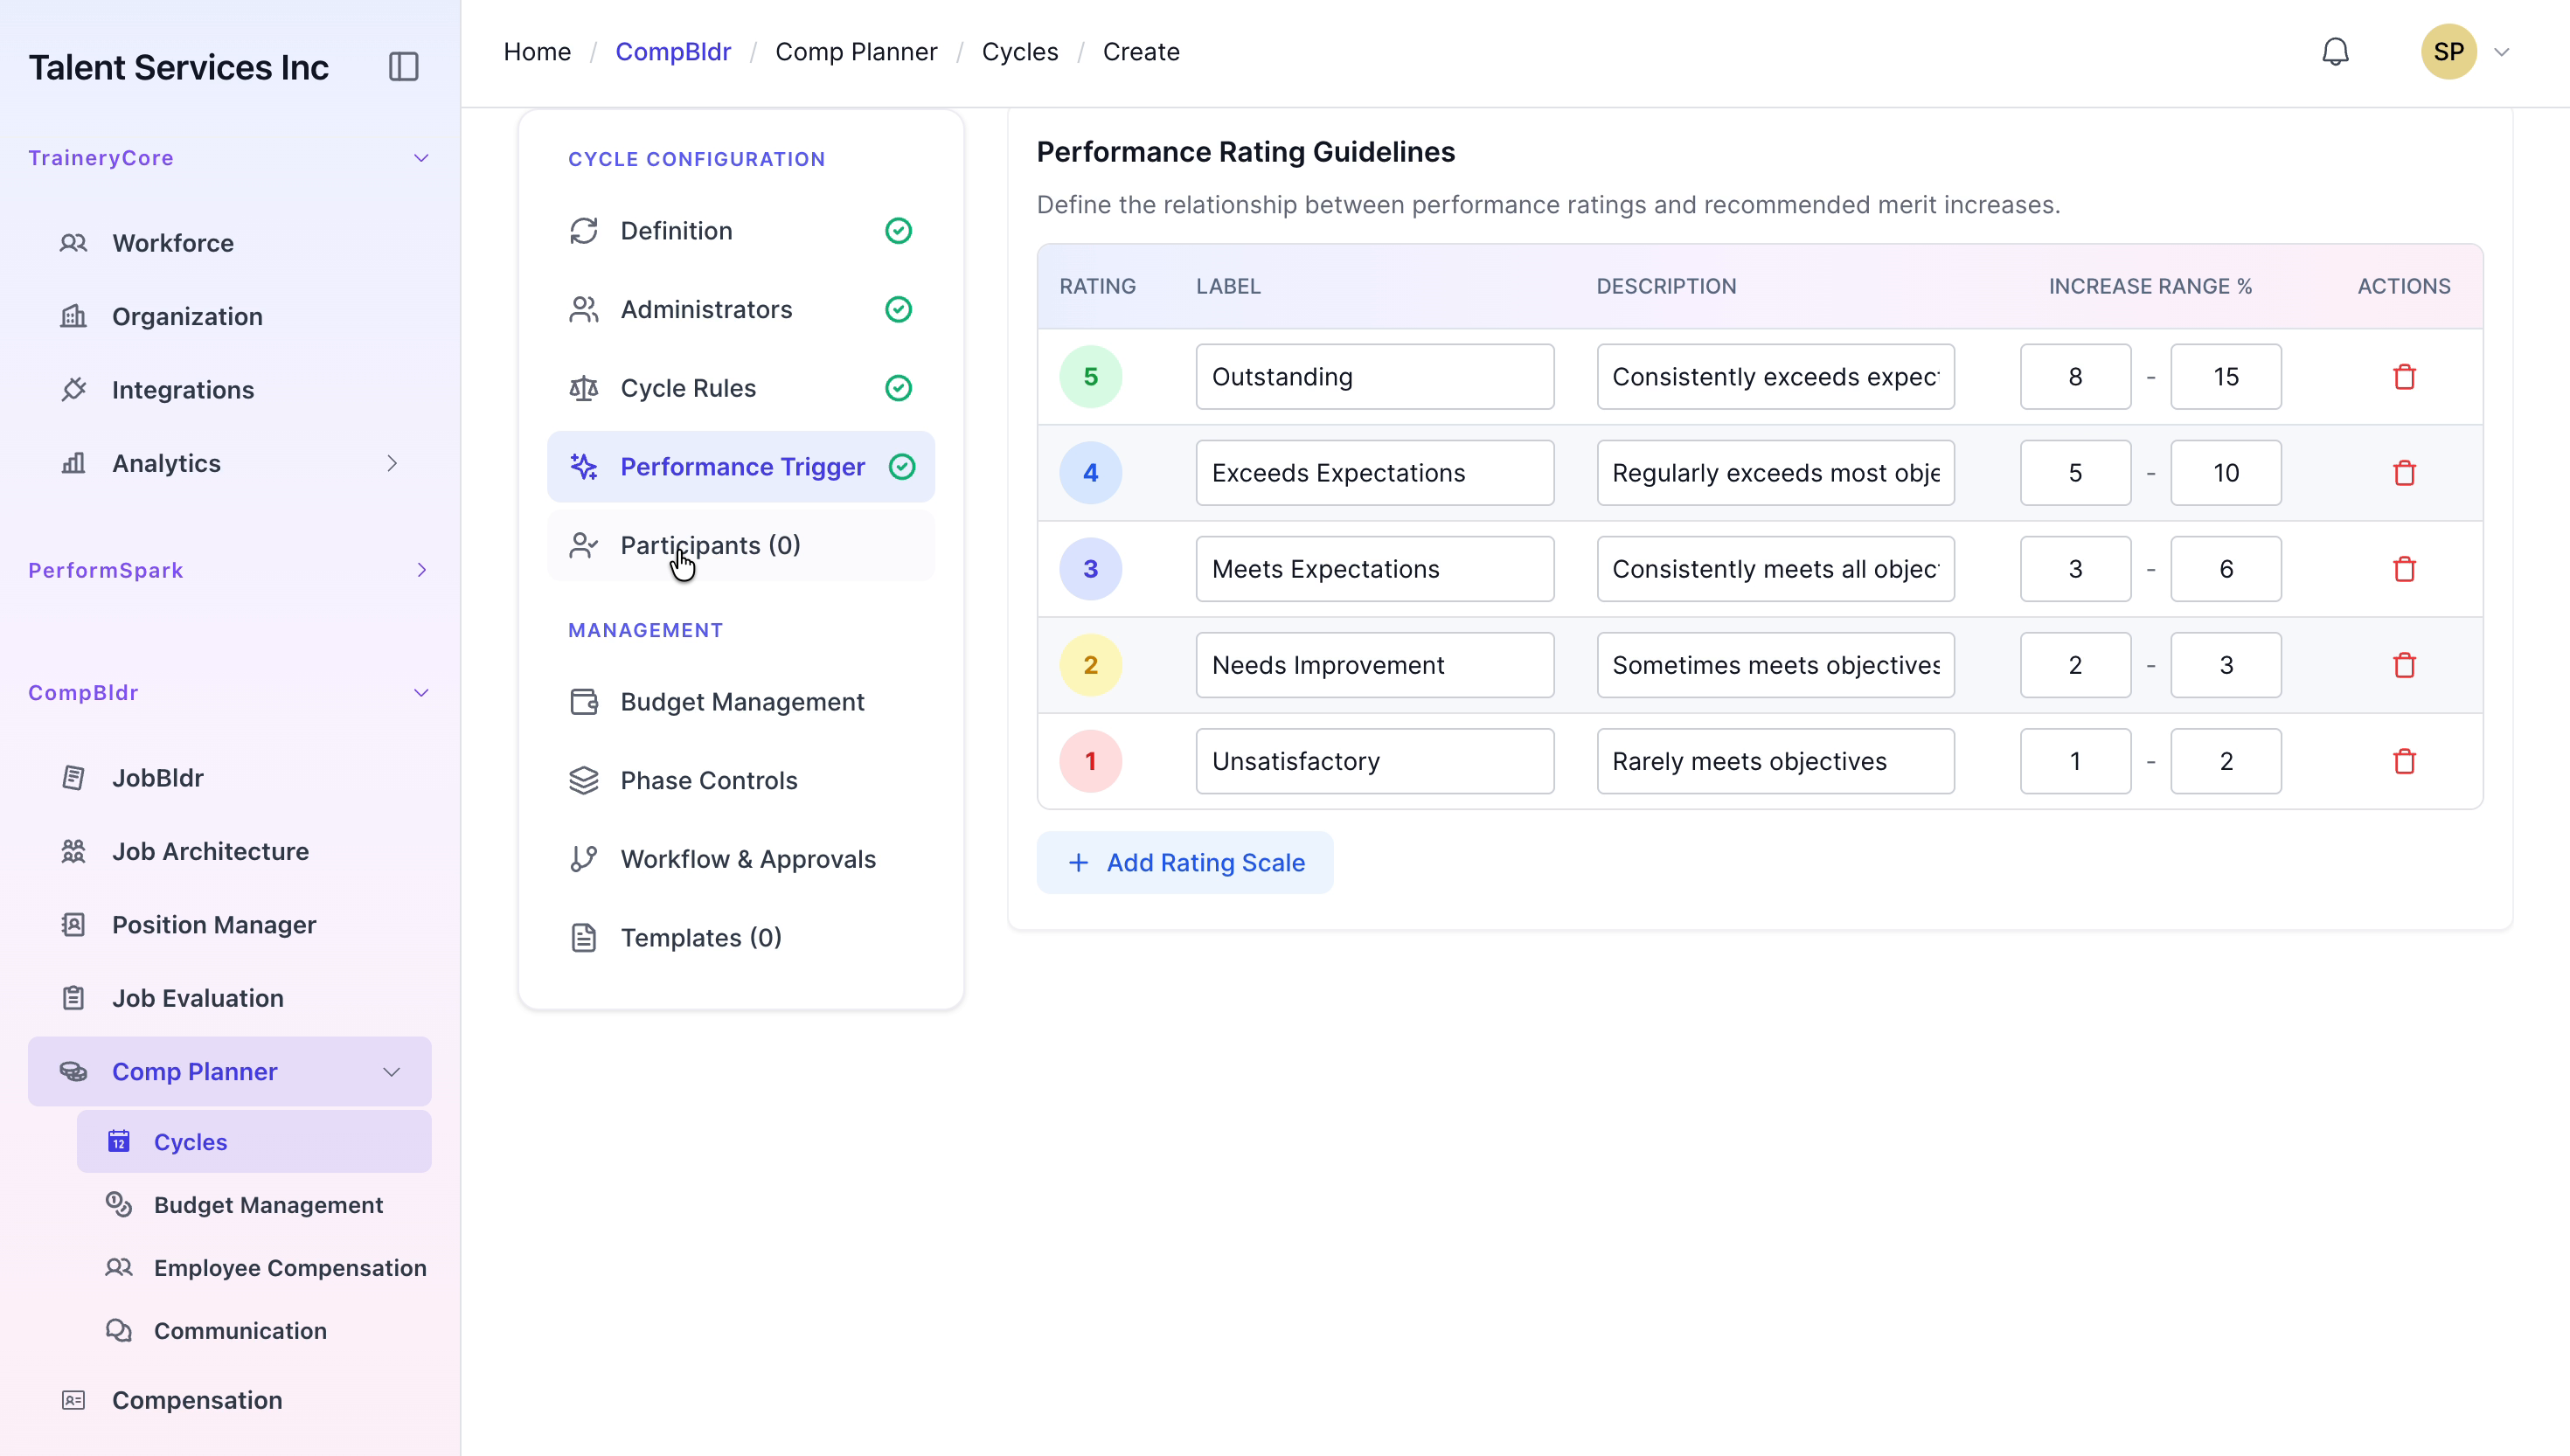
Step 7: Review Performance Triggers
Navigate to the Performance Trigger section to review and, if needed, adjust the performance rating guidelines and increase ranges that will be applied in this cycle.
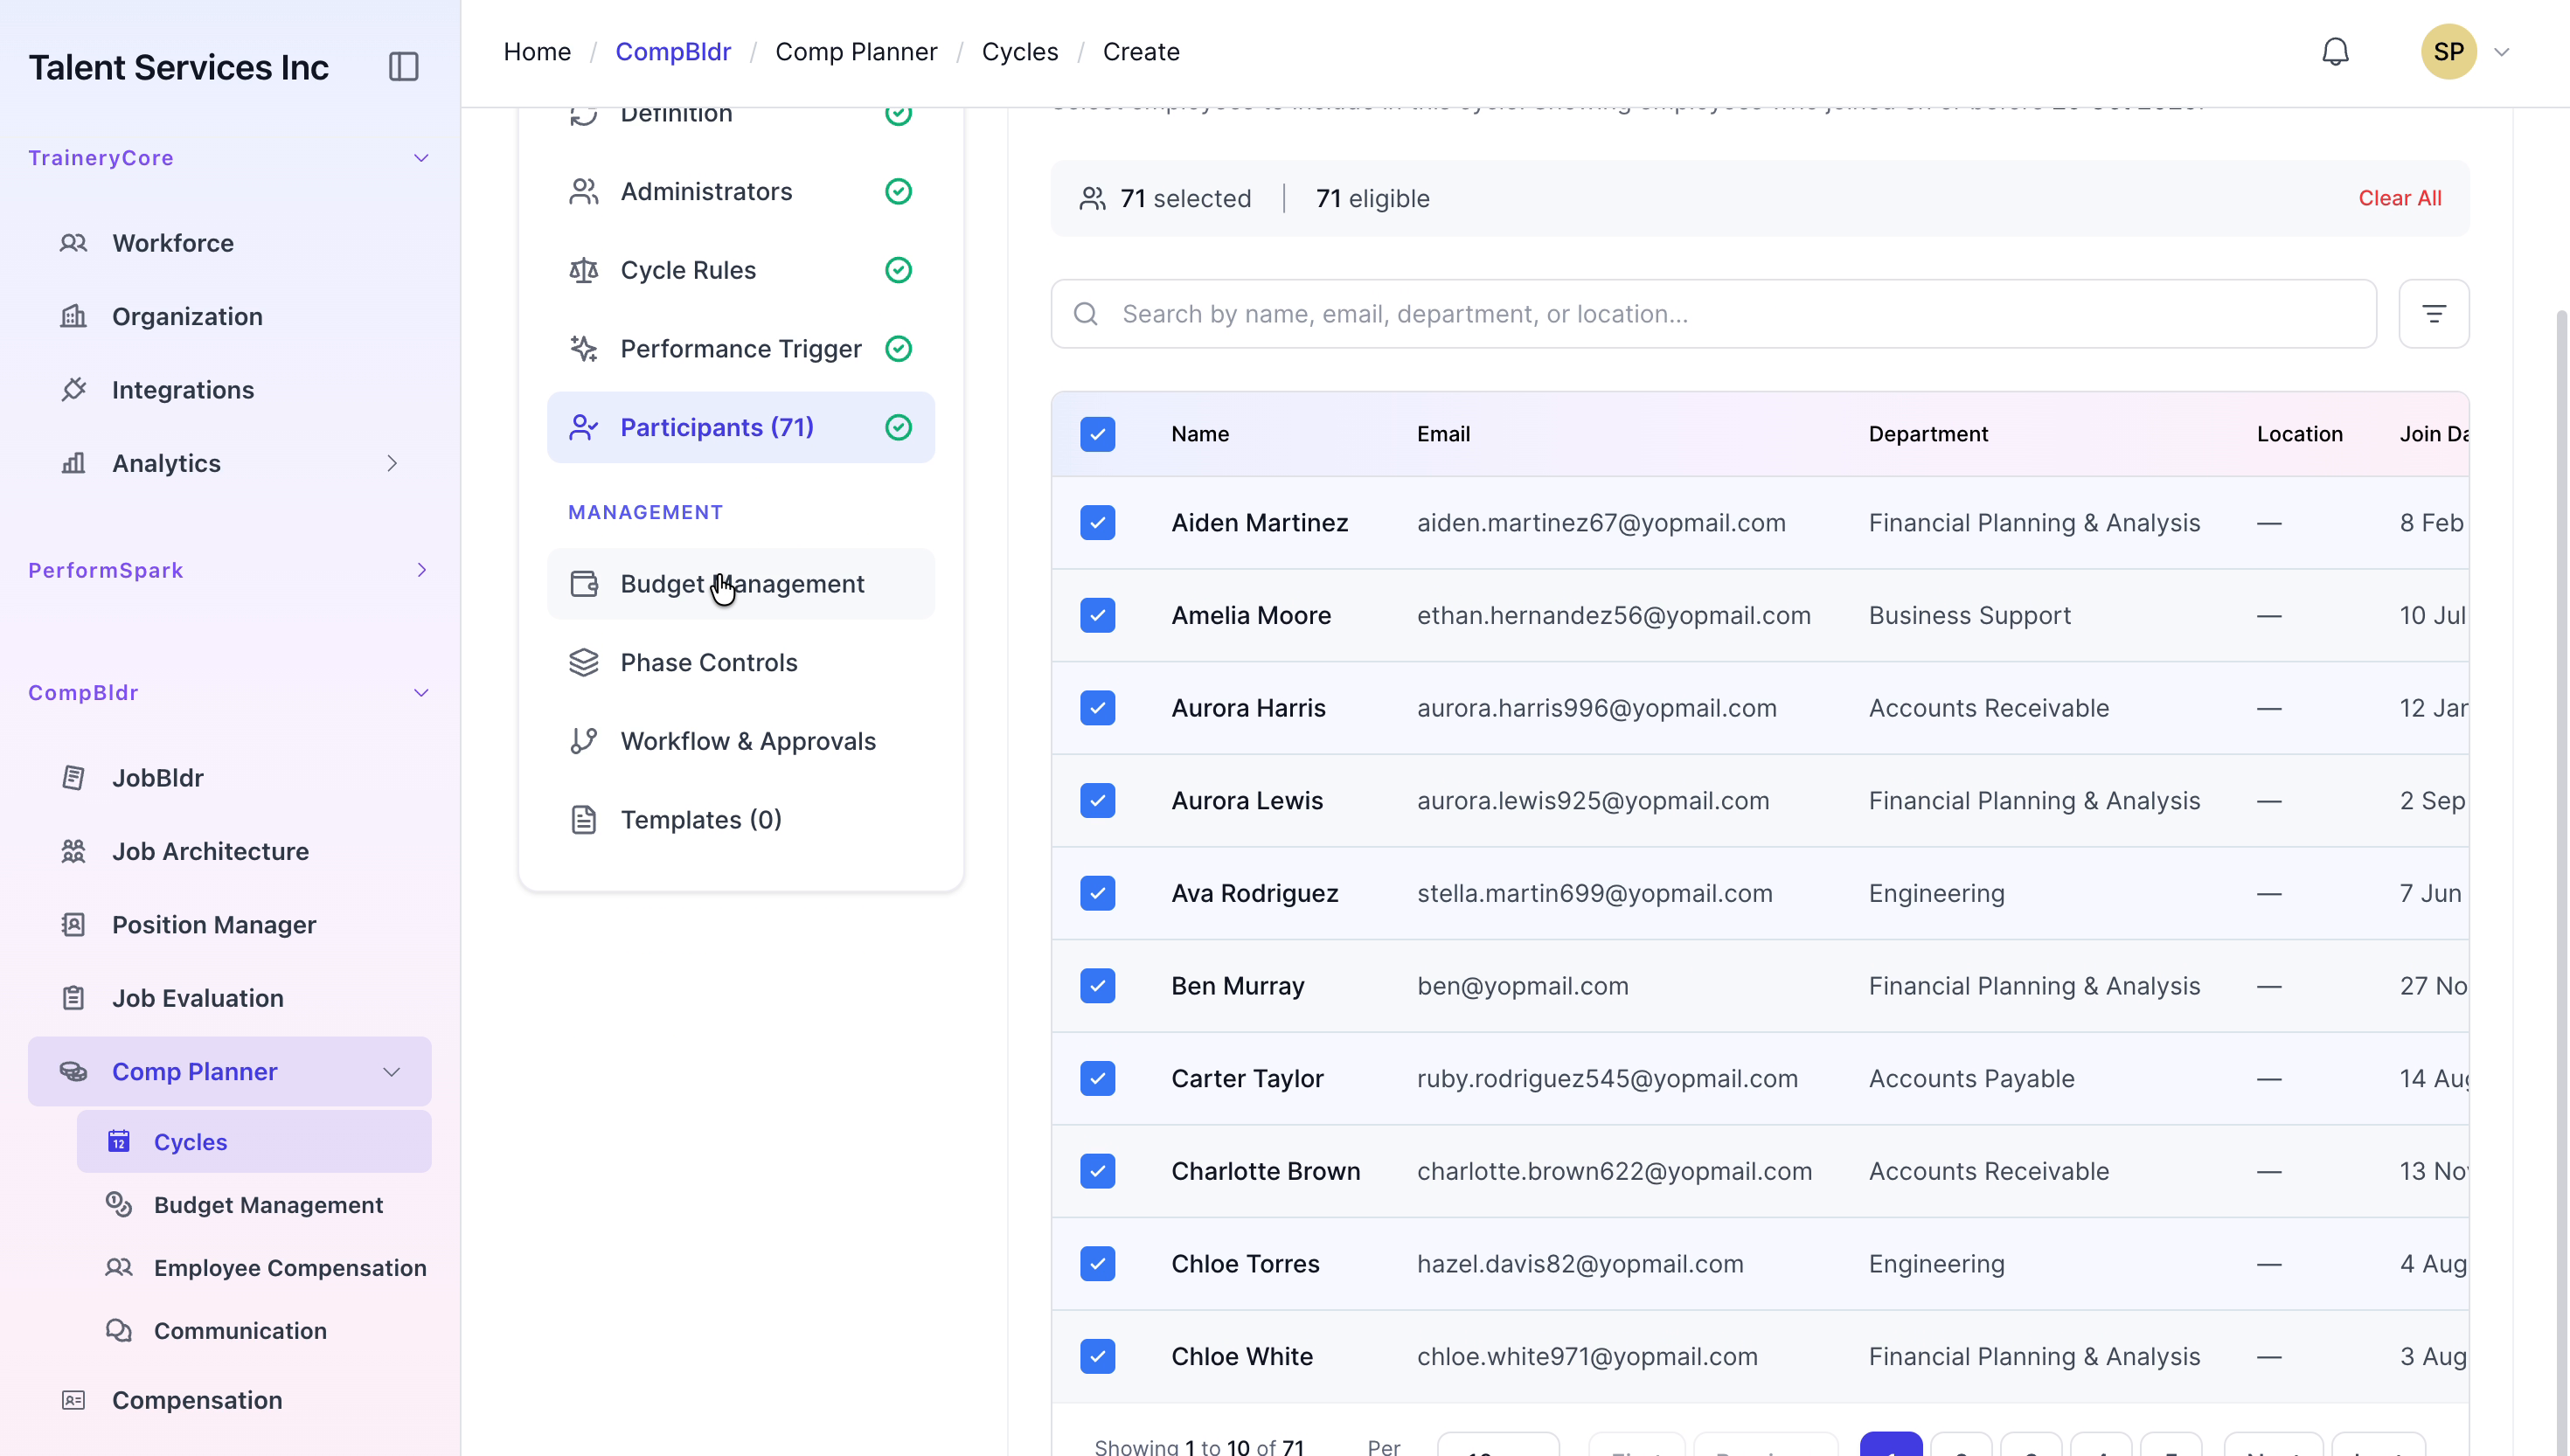
Step 8: Select Participants
Open the Participants section, filter the employee list by department (and any other relevant criteria), and select the employees who should be included in the cycle.

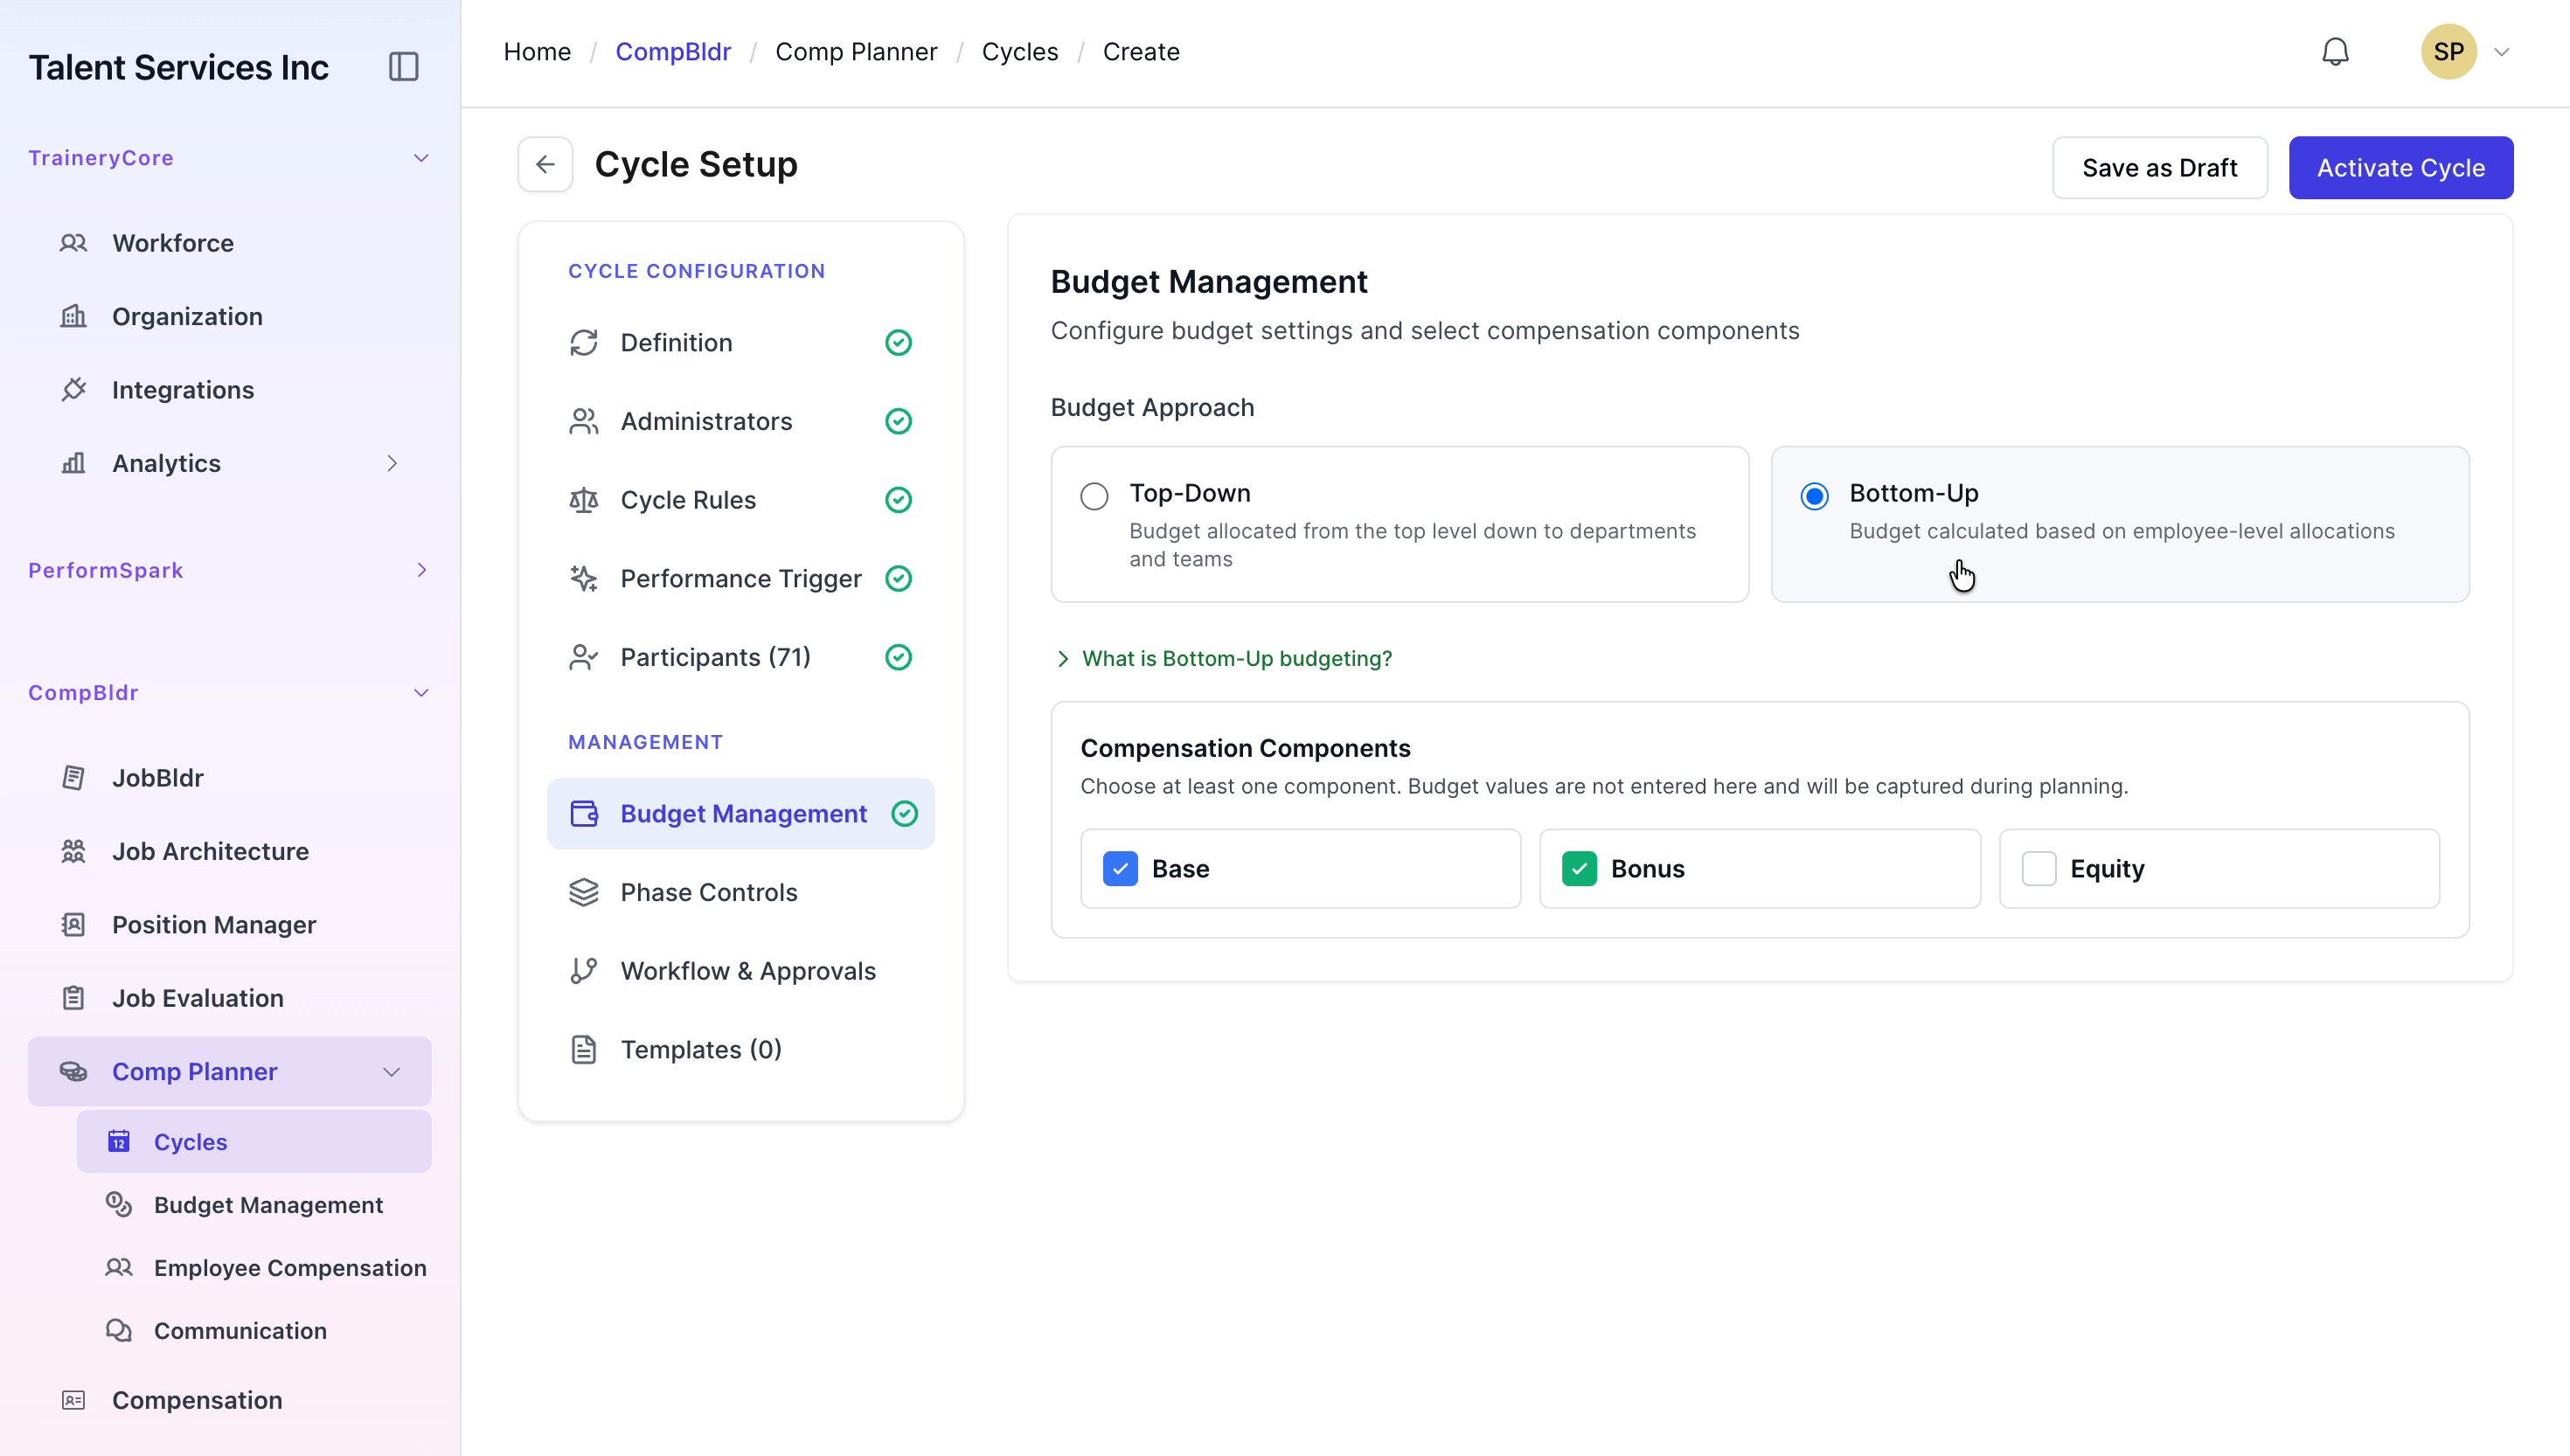
Step 9: Set Budget Management Parameters
In Budget Management, choose the Top-Down budget approach. Enter the overall budget amounts and define the raise percentages for both base salary and bonus components.

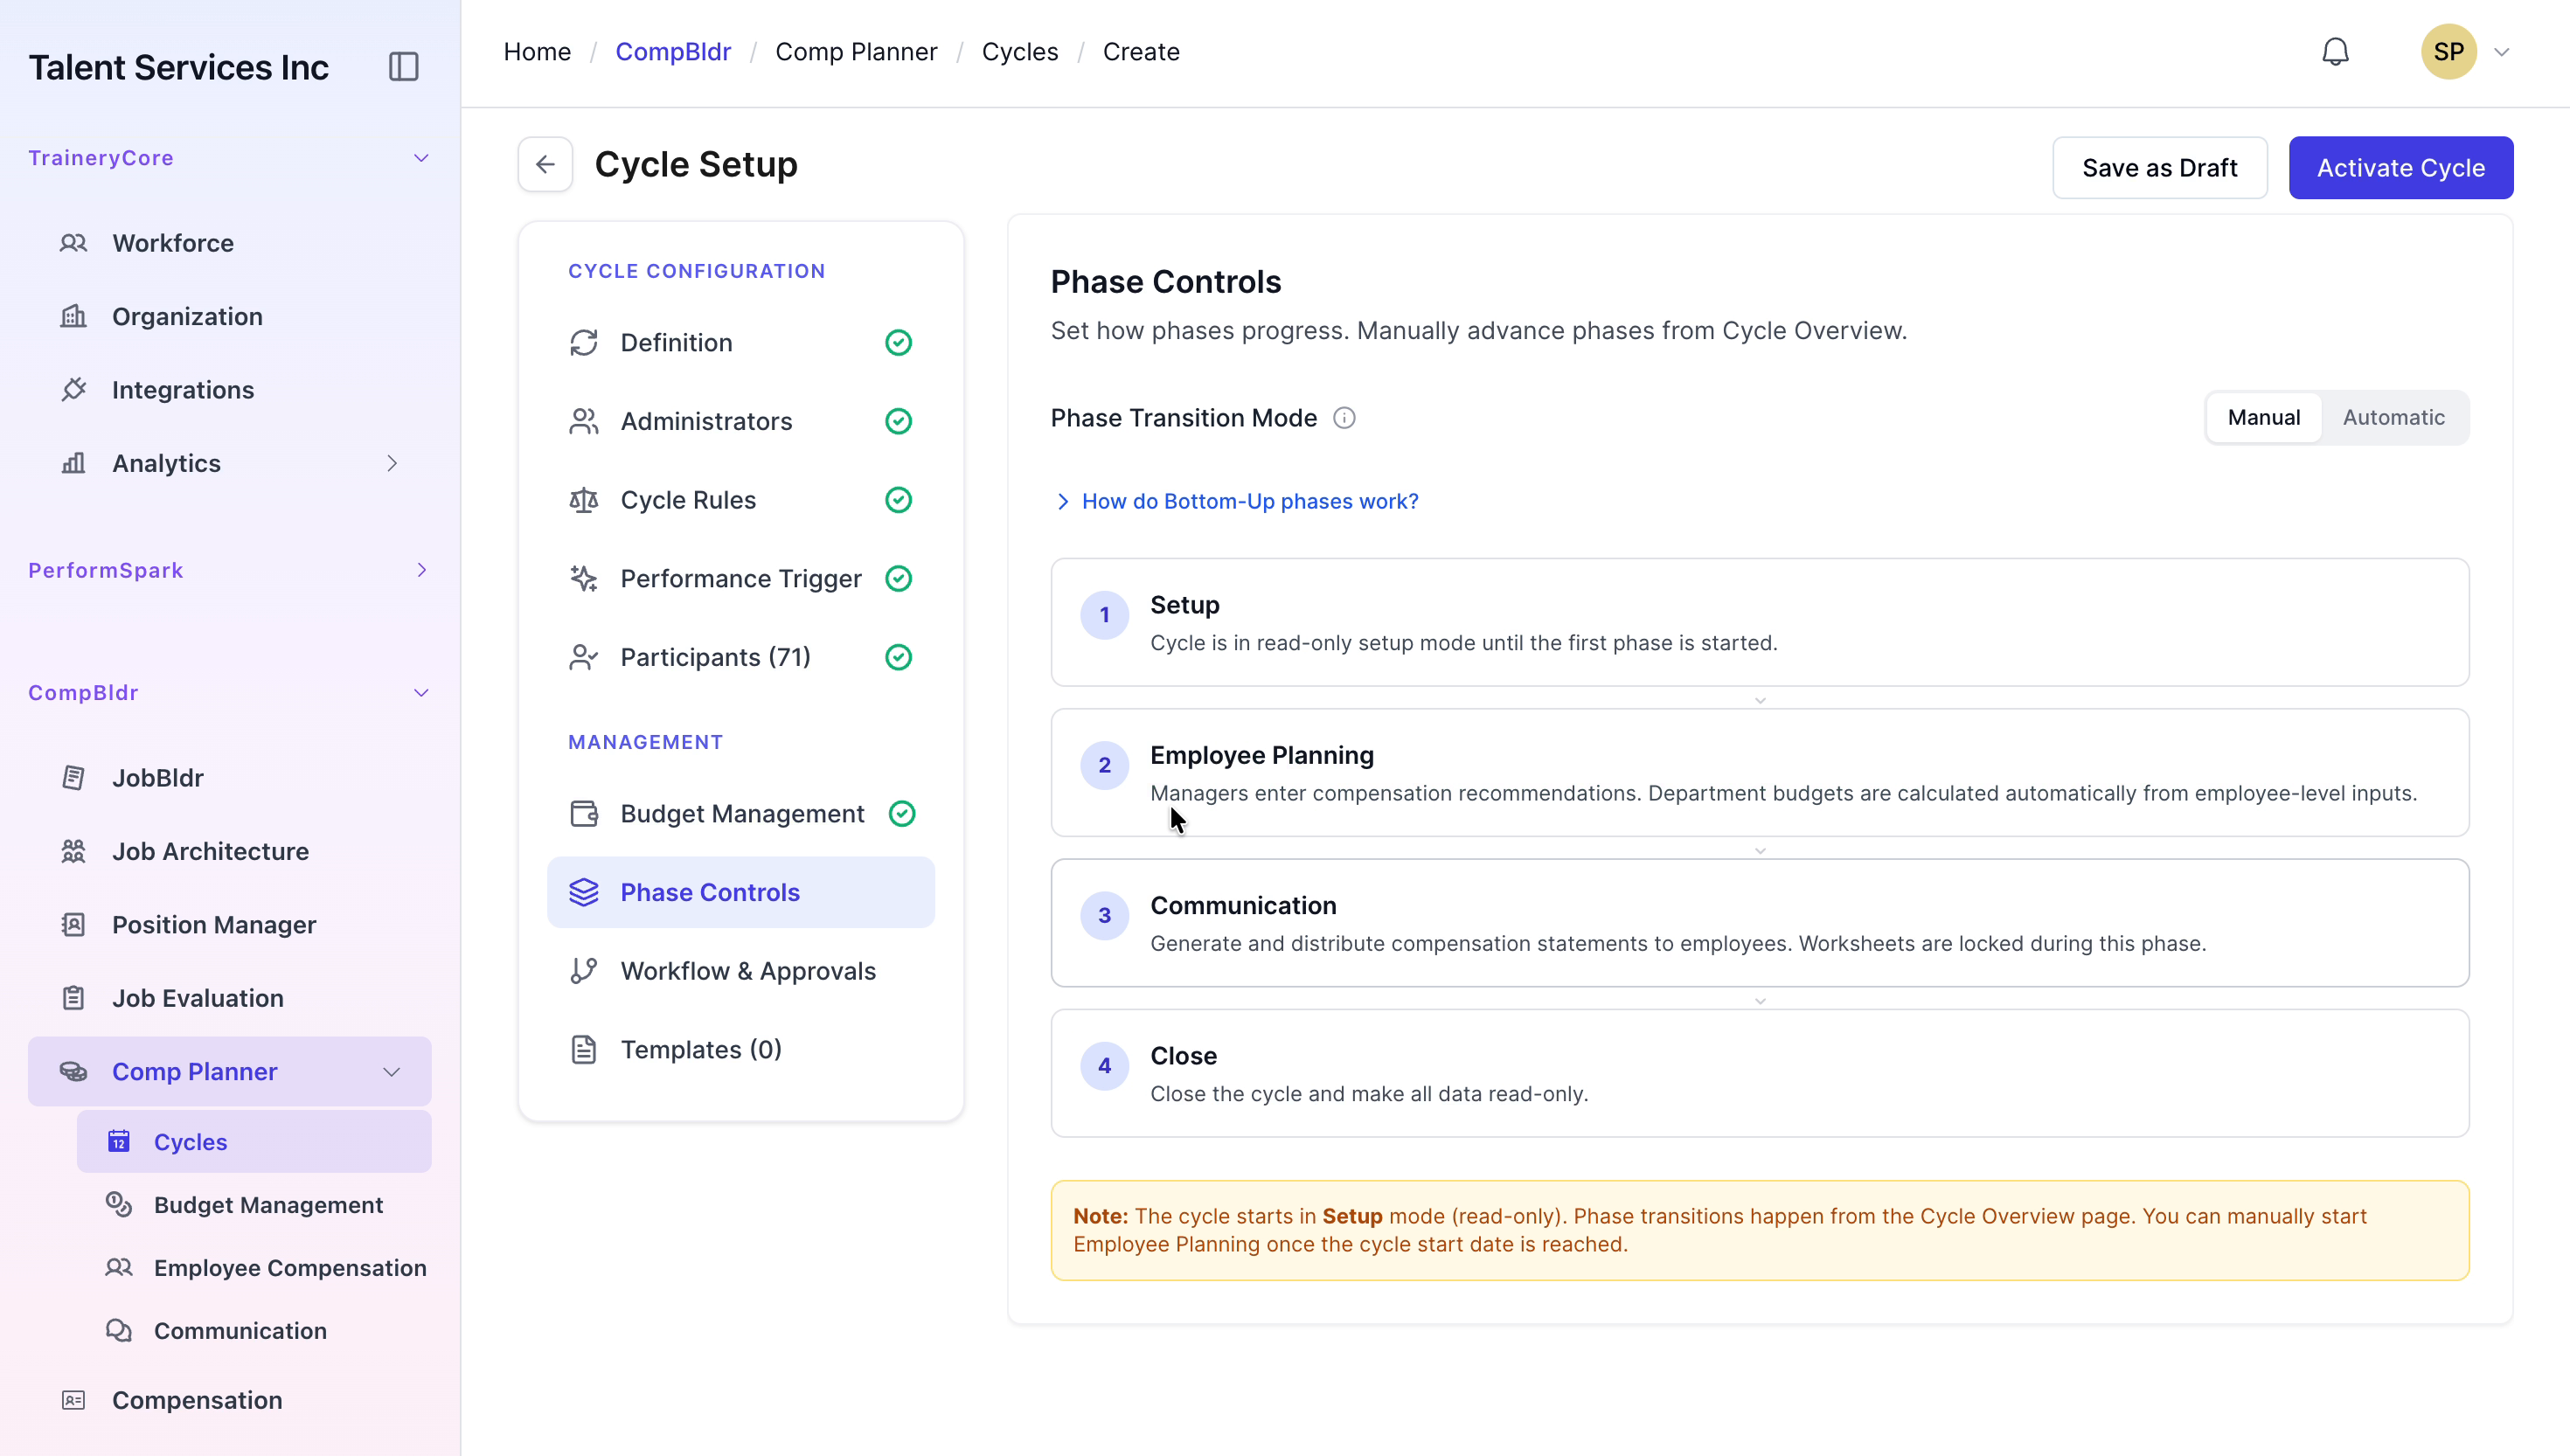
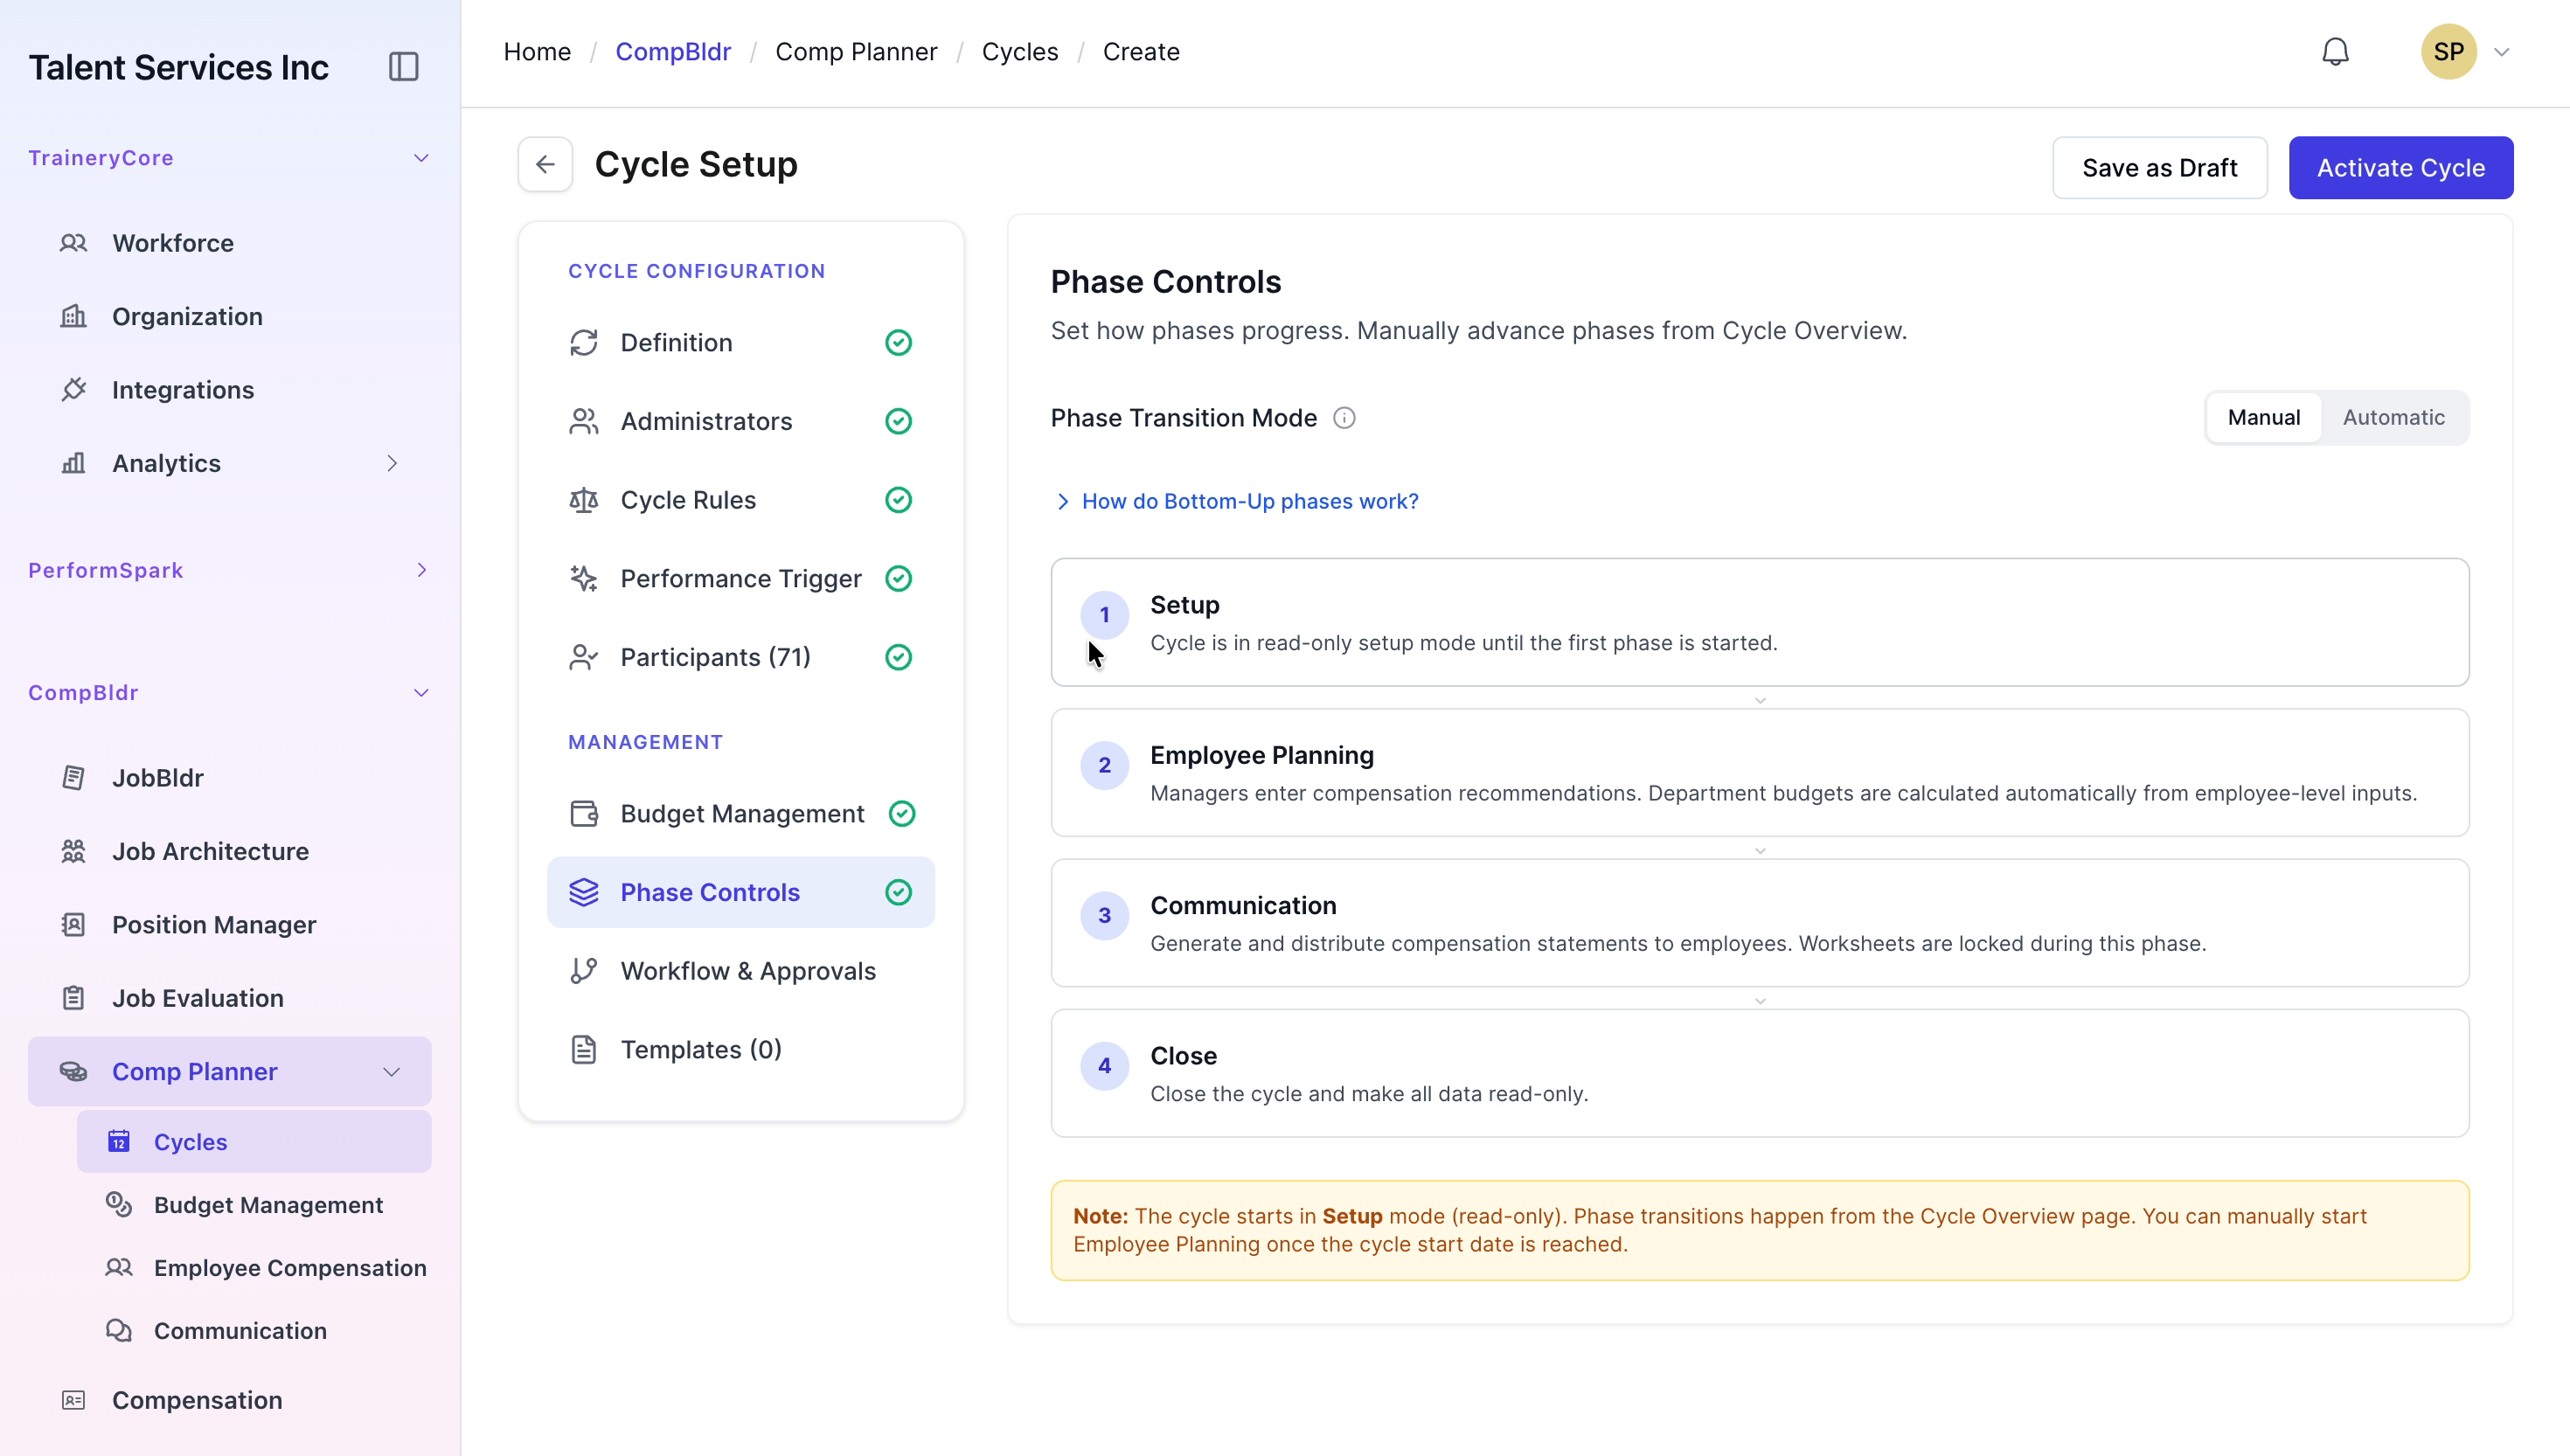
Step 10: Configure Phase Controls
Go to Phase Controls and change the Phase Transition Mode to Automatic so that the cycle progresses through its phases without manual intervention.
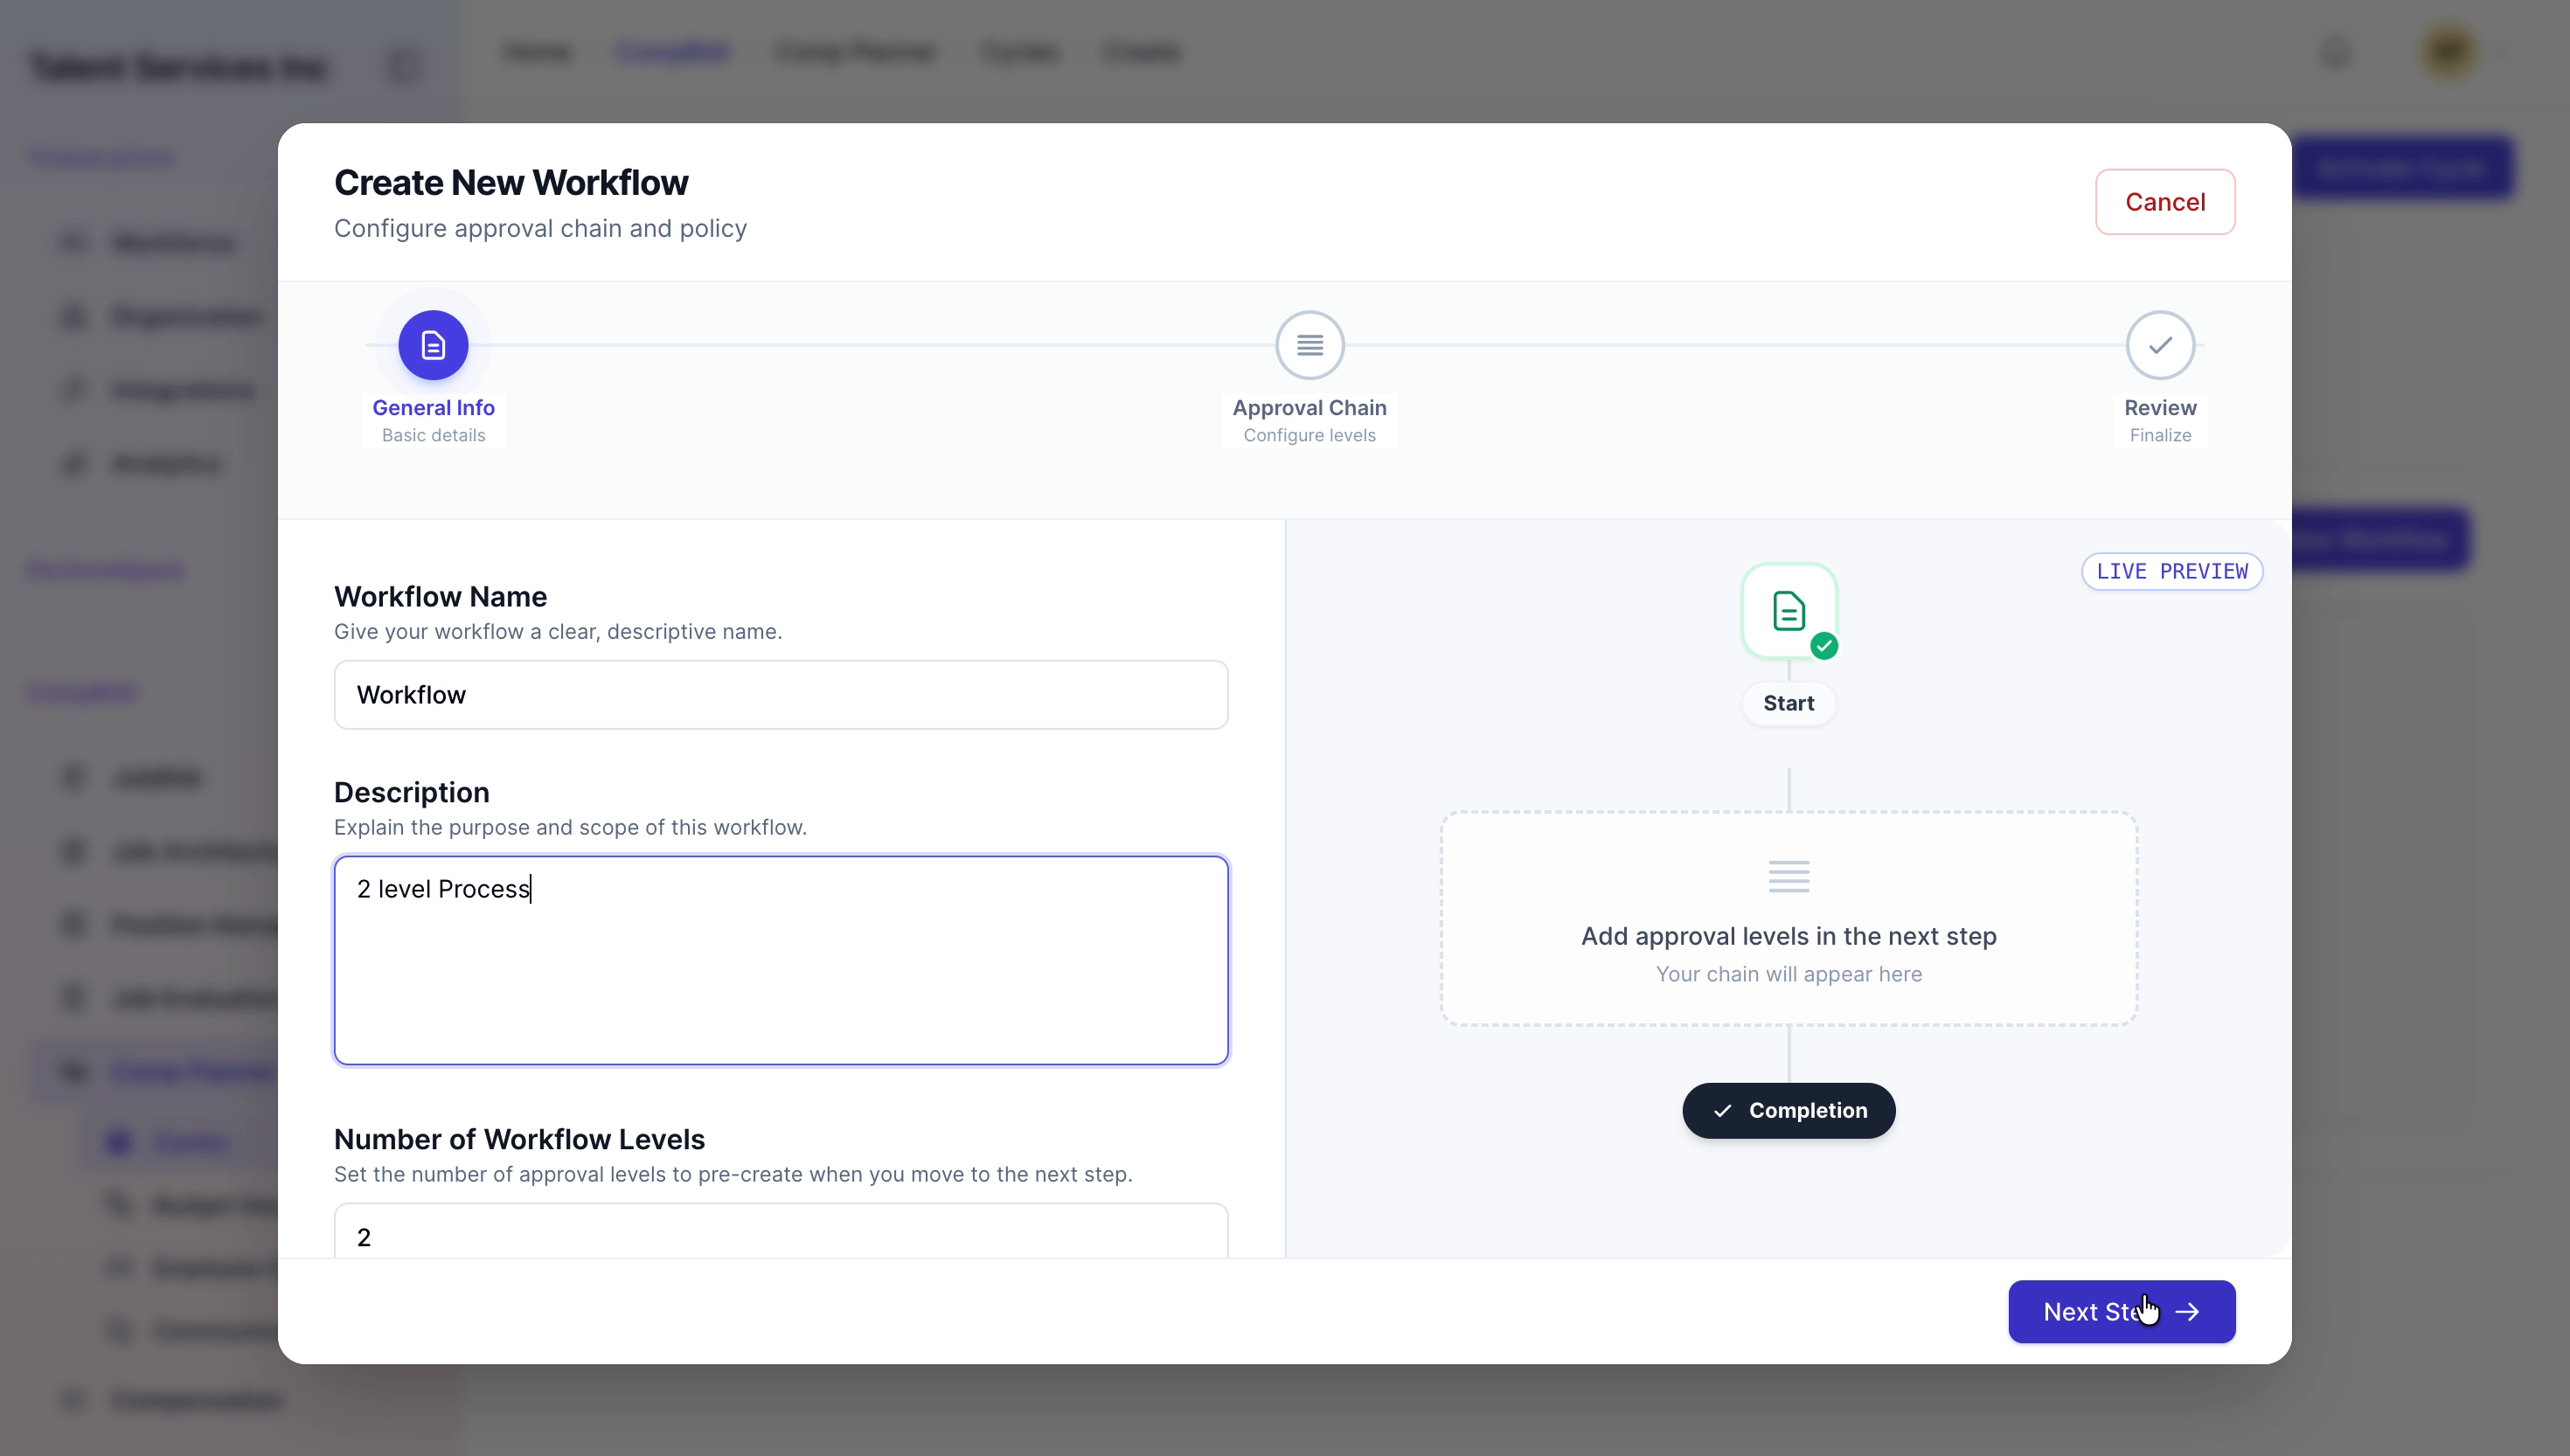
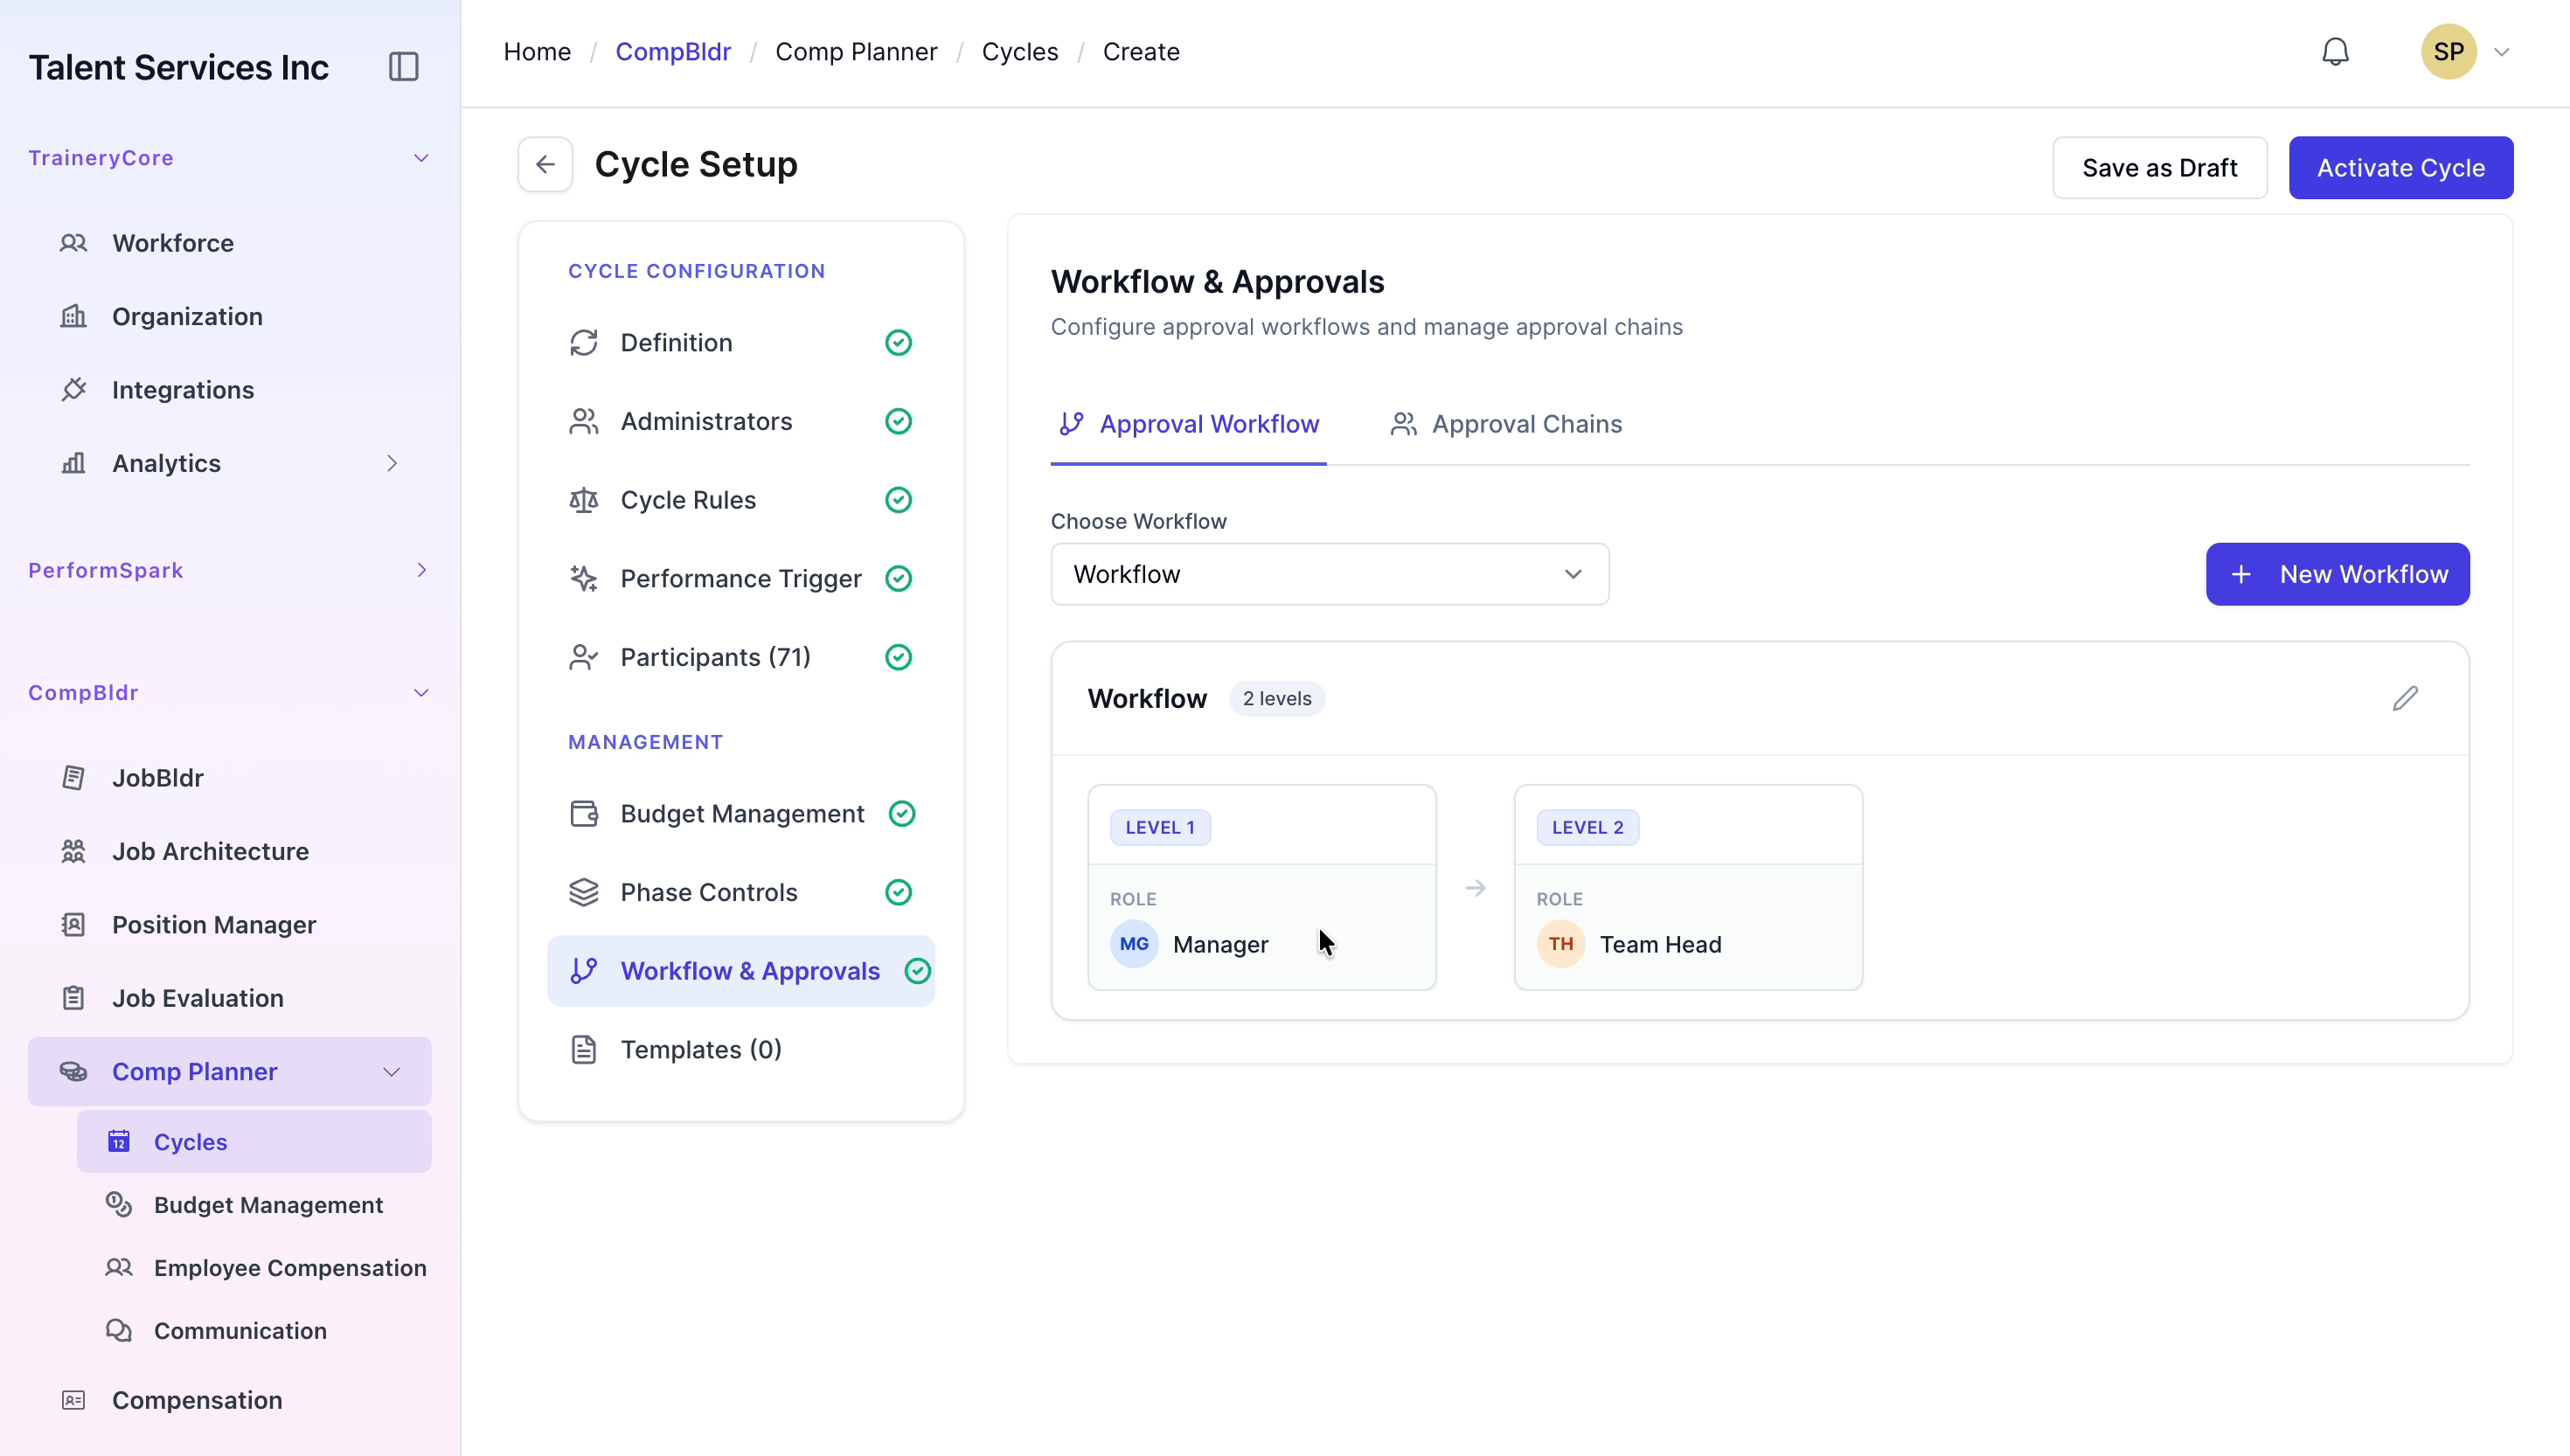
Step 11: Create the Workflow and Approvals
Navigate to Workflow and Approvals and create a new workflow named Workflow. Enter a two-level process description that outlines how approvals will proceed.

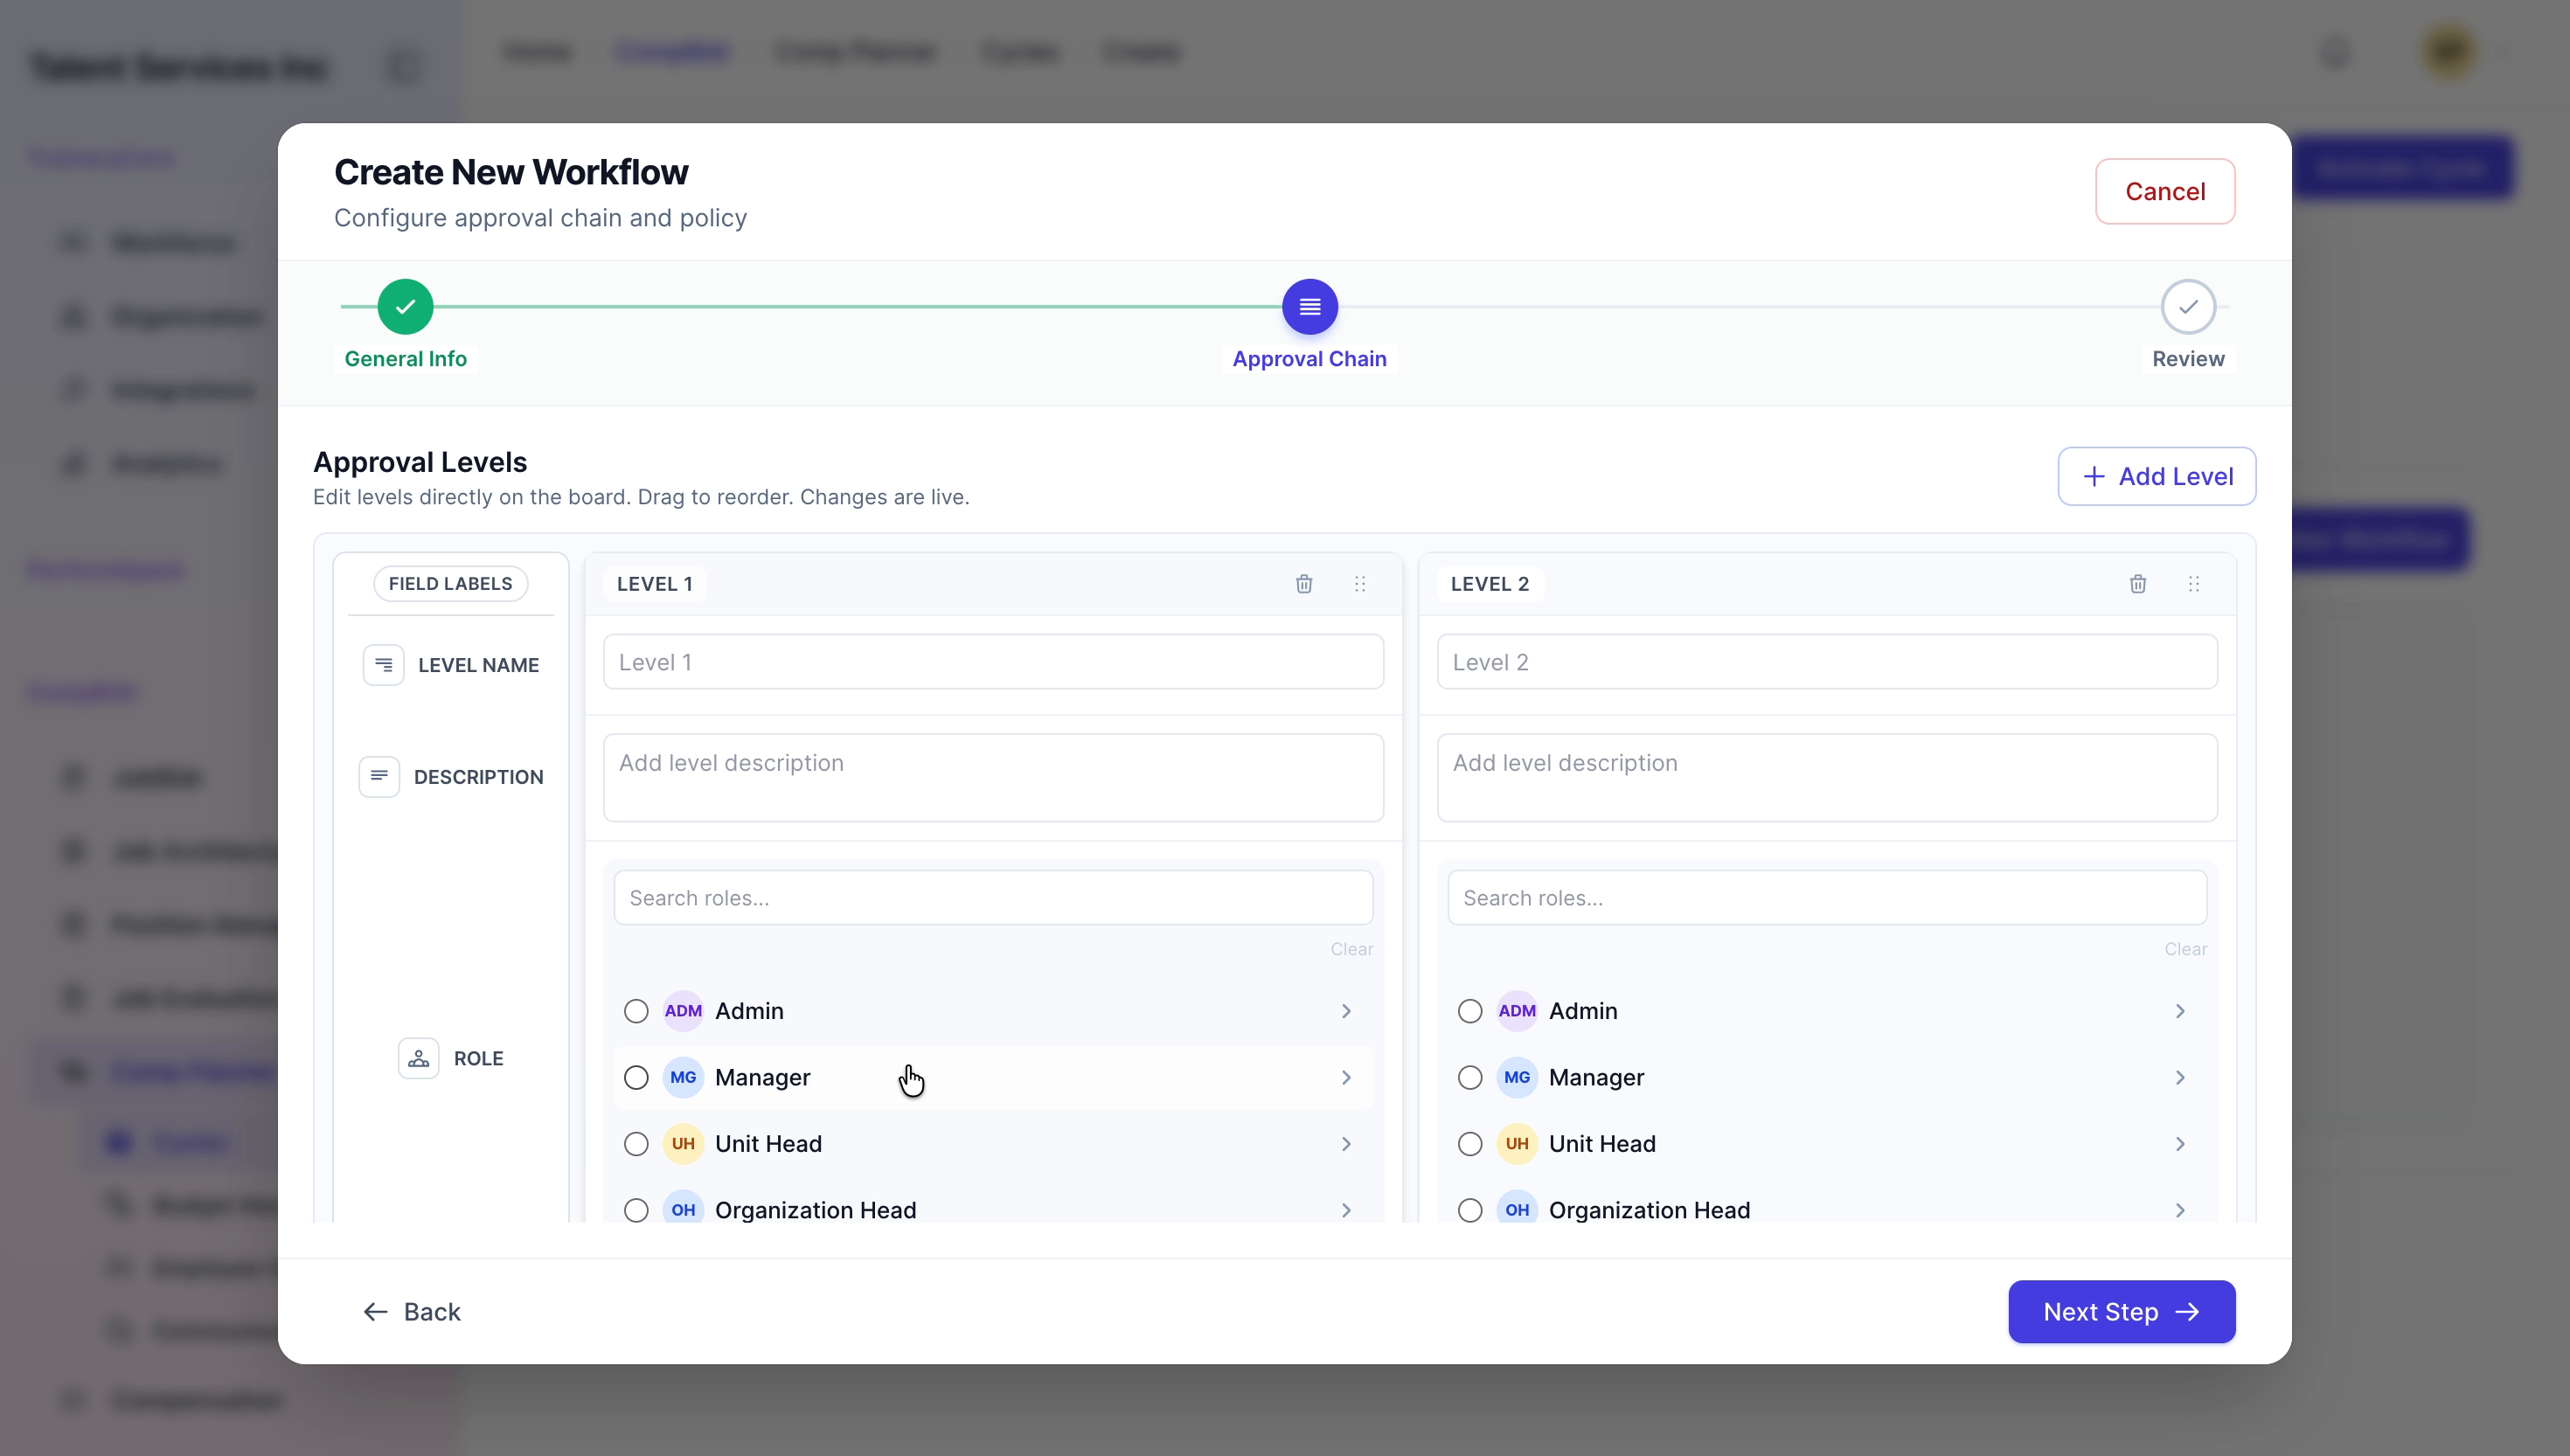
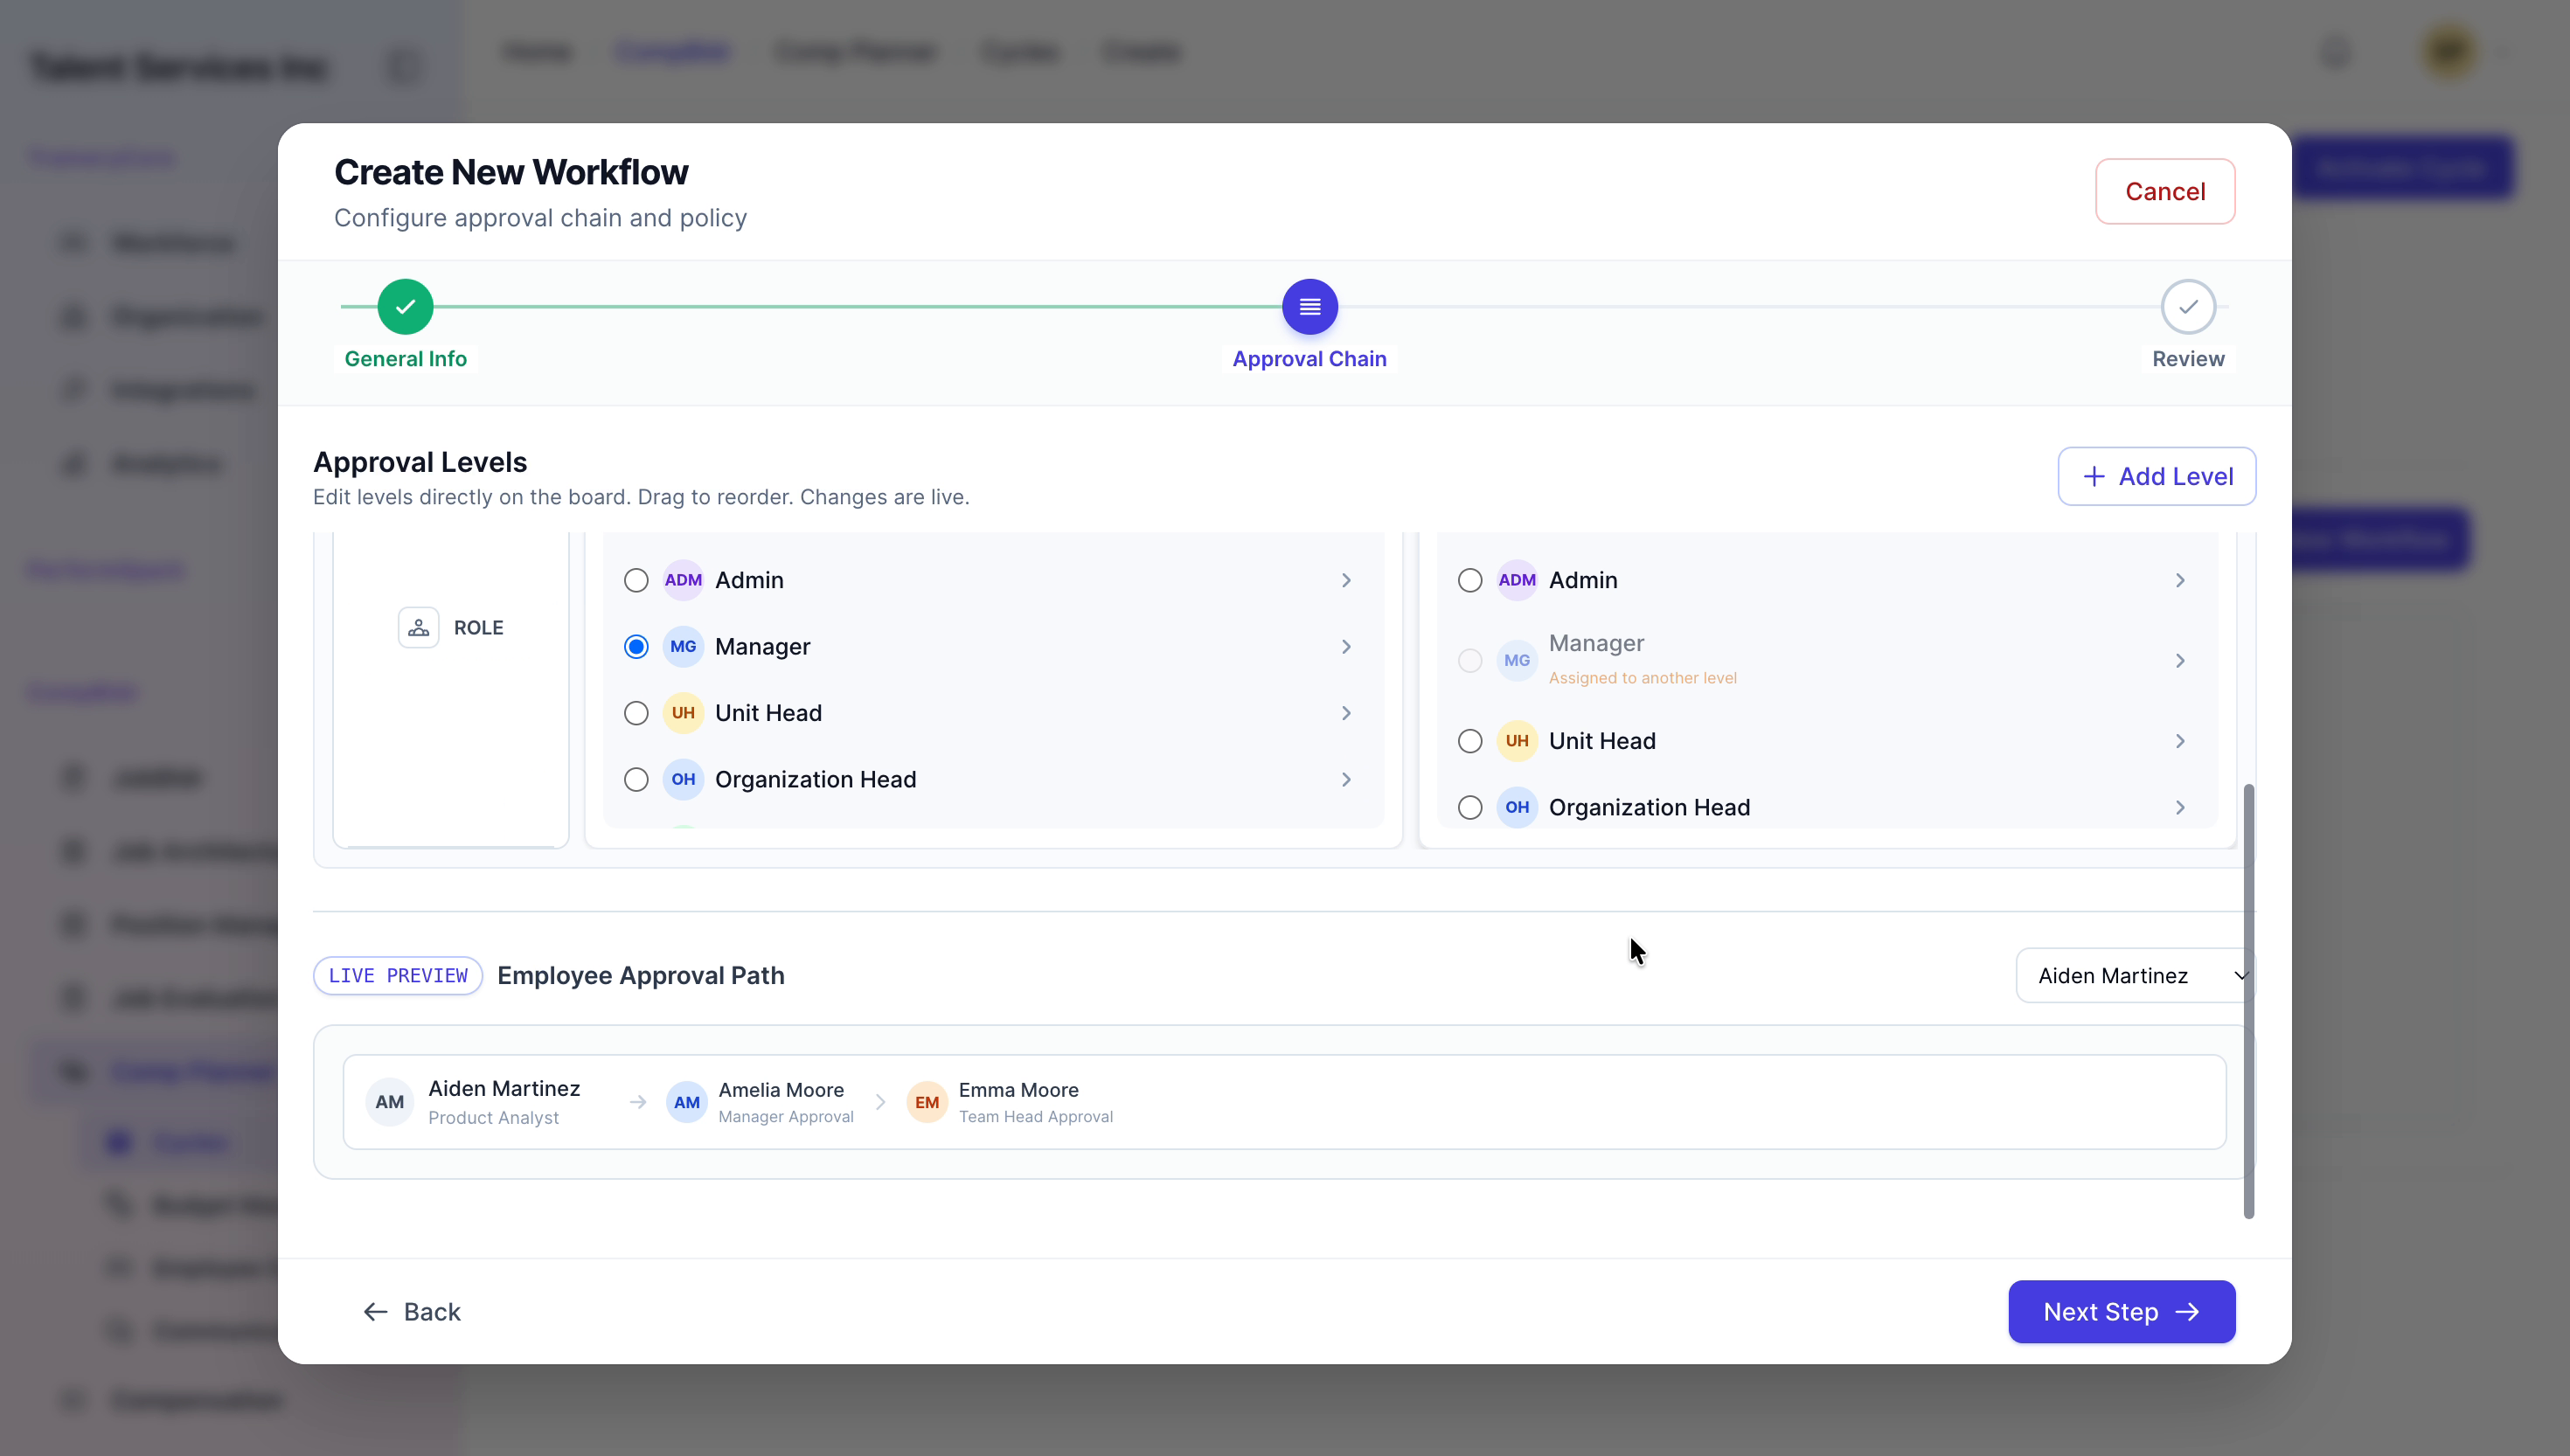
Define the approval levels as follows: - Level 1: Manager Approval - Level 2: Team Head Approval

After reviewing all workflow details, click Activate Workflow to finalize and enable the approval chain for this cycle.

Step 12: Select Templates and Activate the Cycle
Go to the Templates section and select the promotion letter and salary hike letter templates that will be used for this cycle.

When all configurations are complete, click Activate Cycle and wait for the system confirmation indicating that the cycle has been successfully created and activated.