Creating and Managing Employee Check-ins
Last updated: May 3, 2026
Managing Check-ins for a Team Member
This process walks you through viewing a team member’s check-ins in the Performance section, adding feedback and a private note, creating a new check-in entry, and confirming its completion before returning to the main Performance overview.
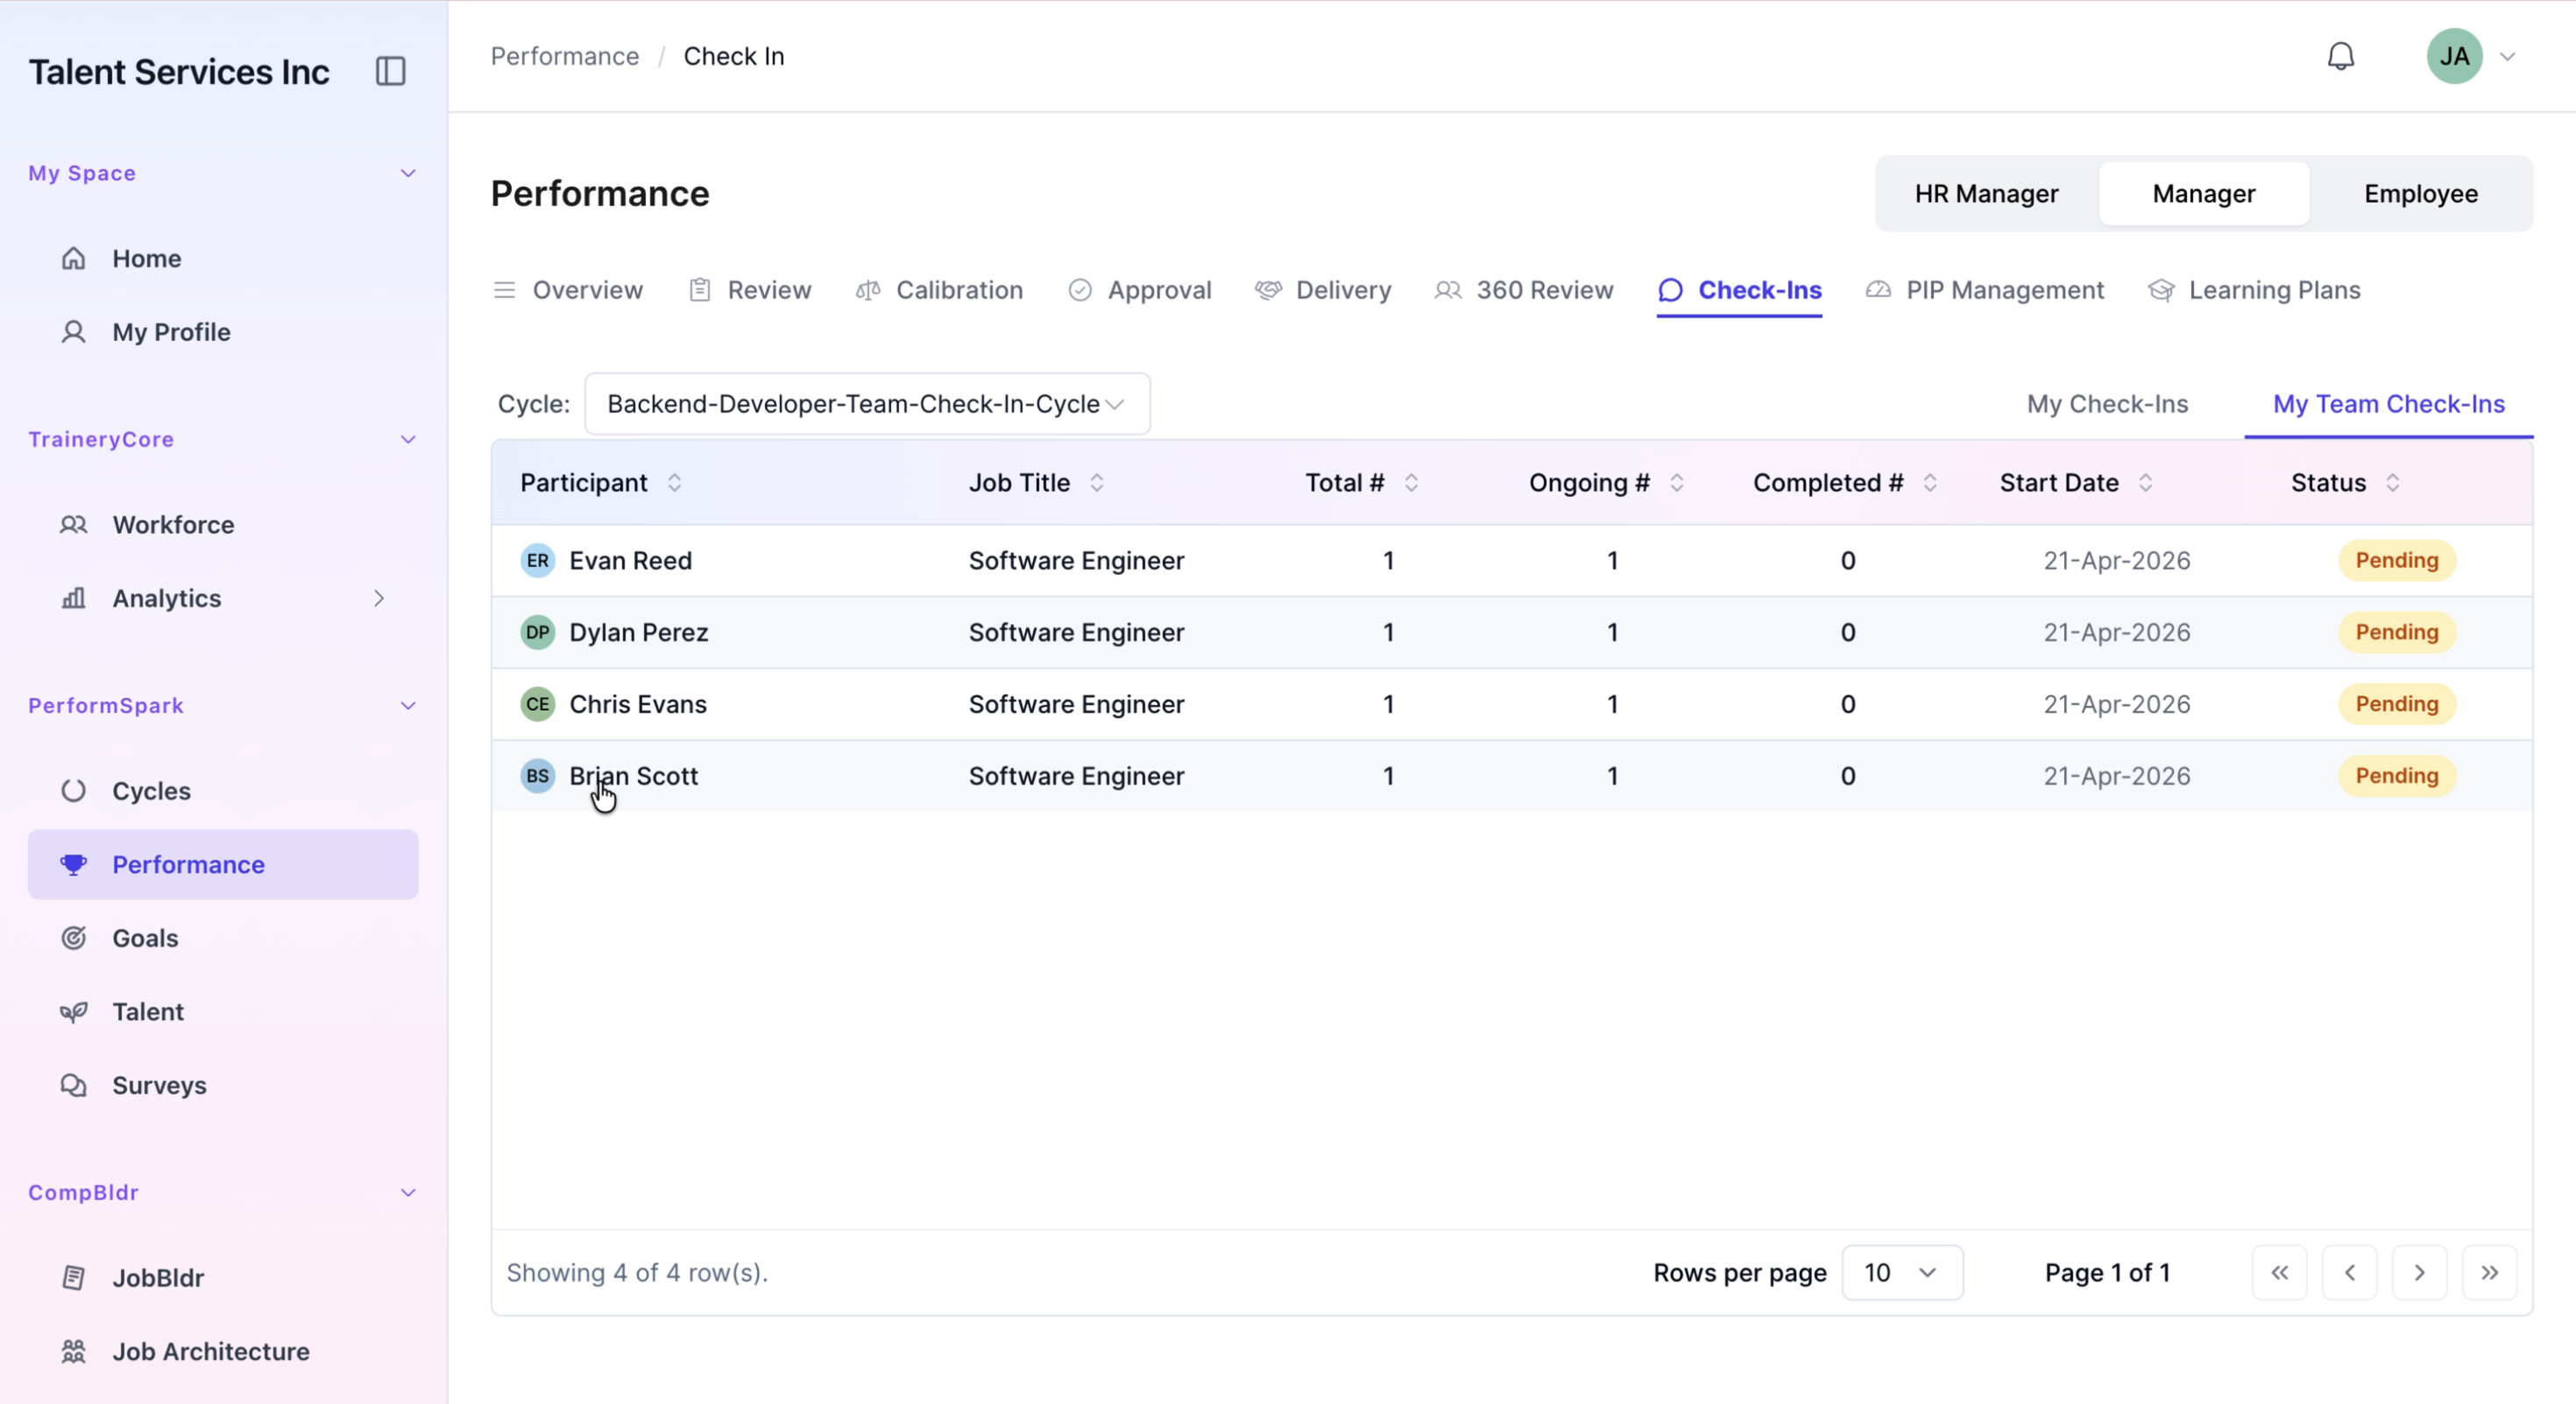
Step 1: Open the Team Member’s Check-ins
Navigate to the Performance section of the application. Click on the Check-ins tab, then locate and select Brian Scott from the team list to open his check-in details.

Step 2: Enter Feedback and a Private Note
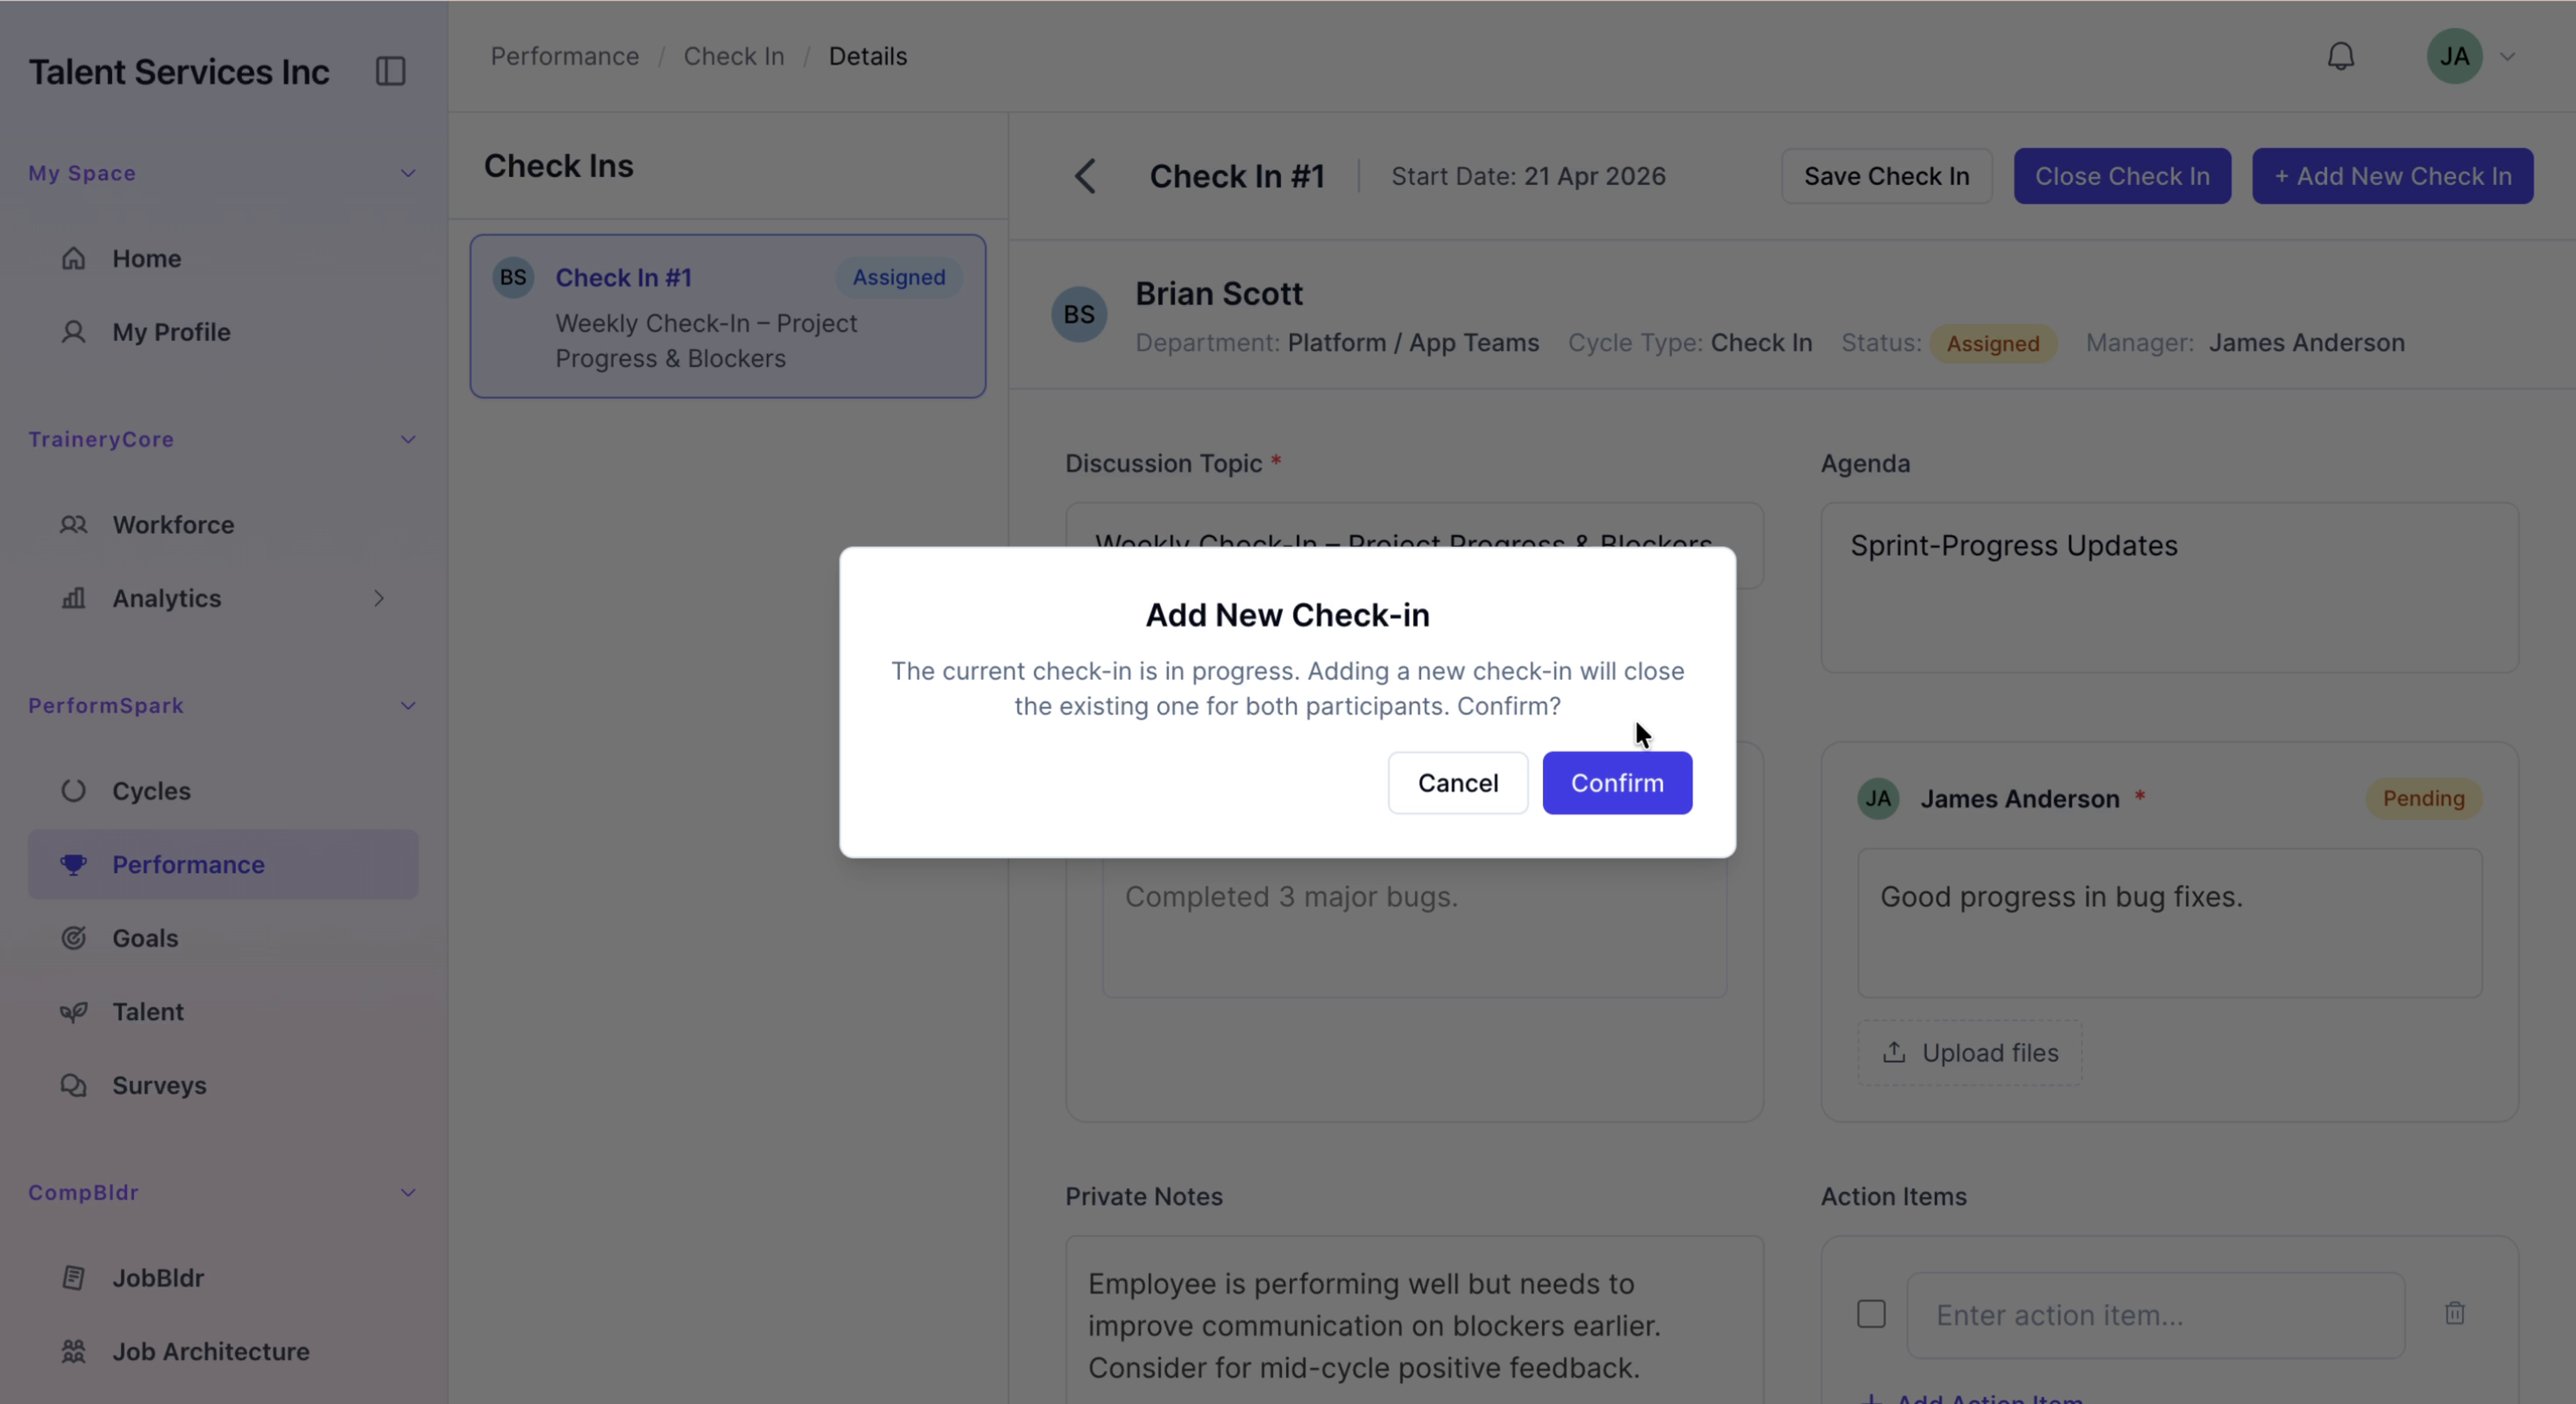
In Brian Scott’s check-in view, type a feedback comment focusing on his progress in resolving bug fixes. Add a private note that highlights the need to improve communication about blockers.
Step 3: Add a New Check-in Entry
Click the Add New Check-in button to create a new entry for Brian. Confirm the prompt that appears to proceed with creating the check-in, then wait until you see the success notification indicating the new entry has been created.

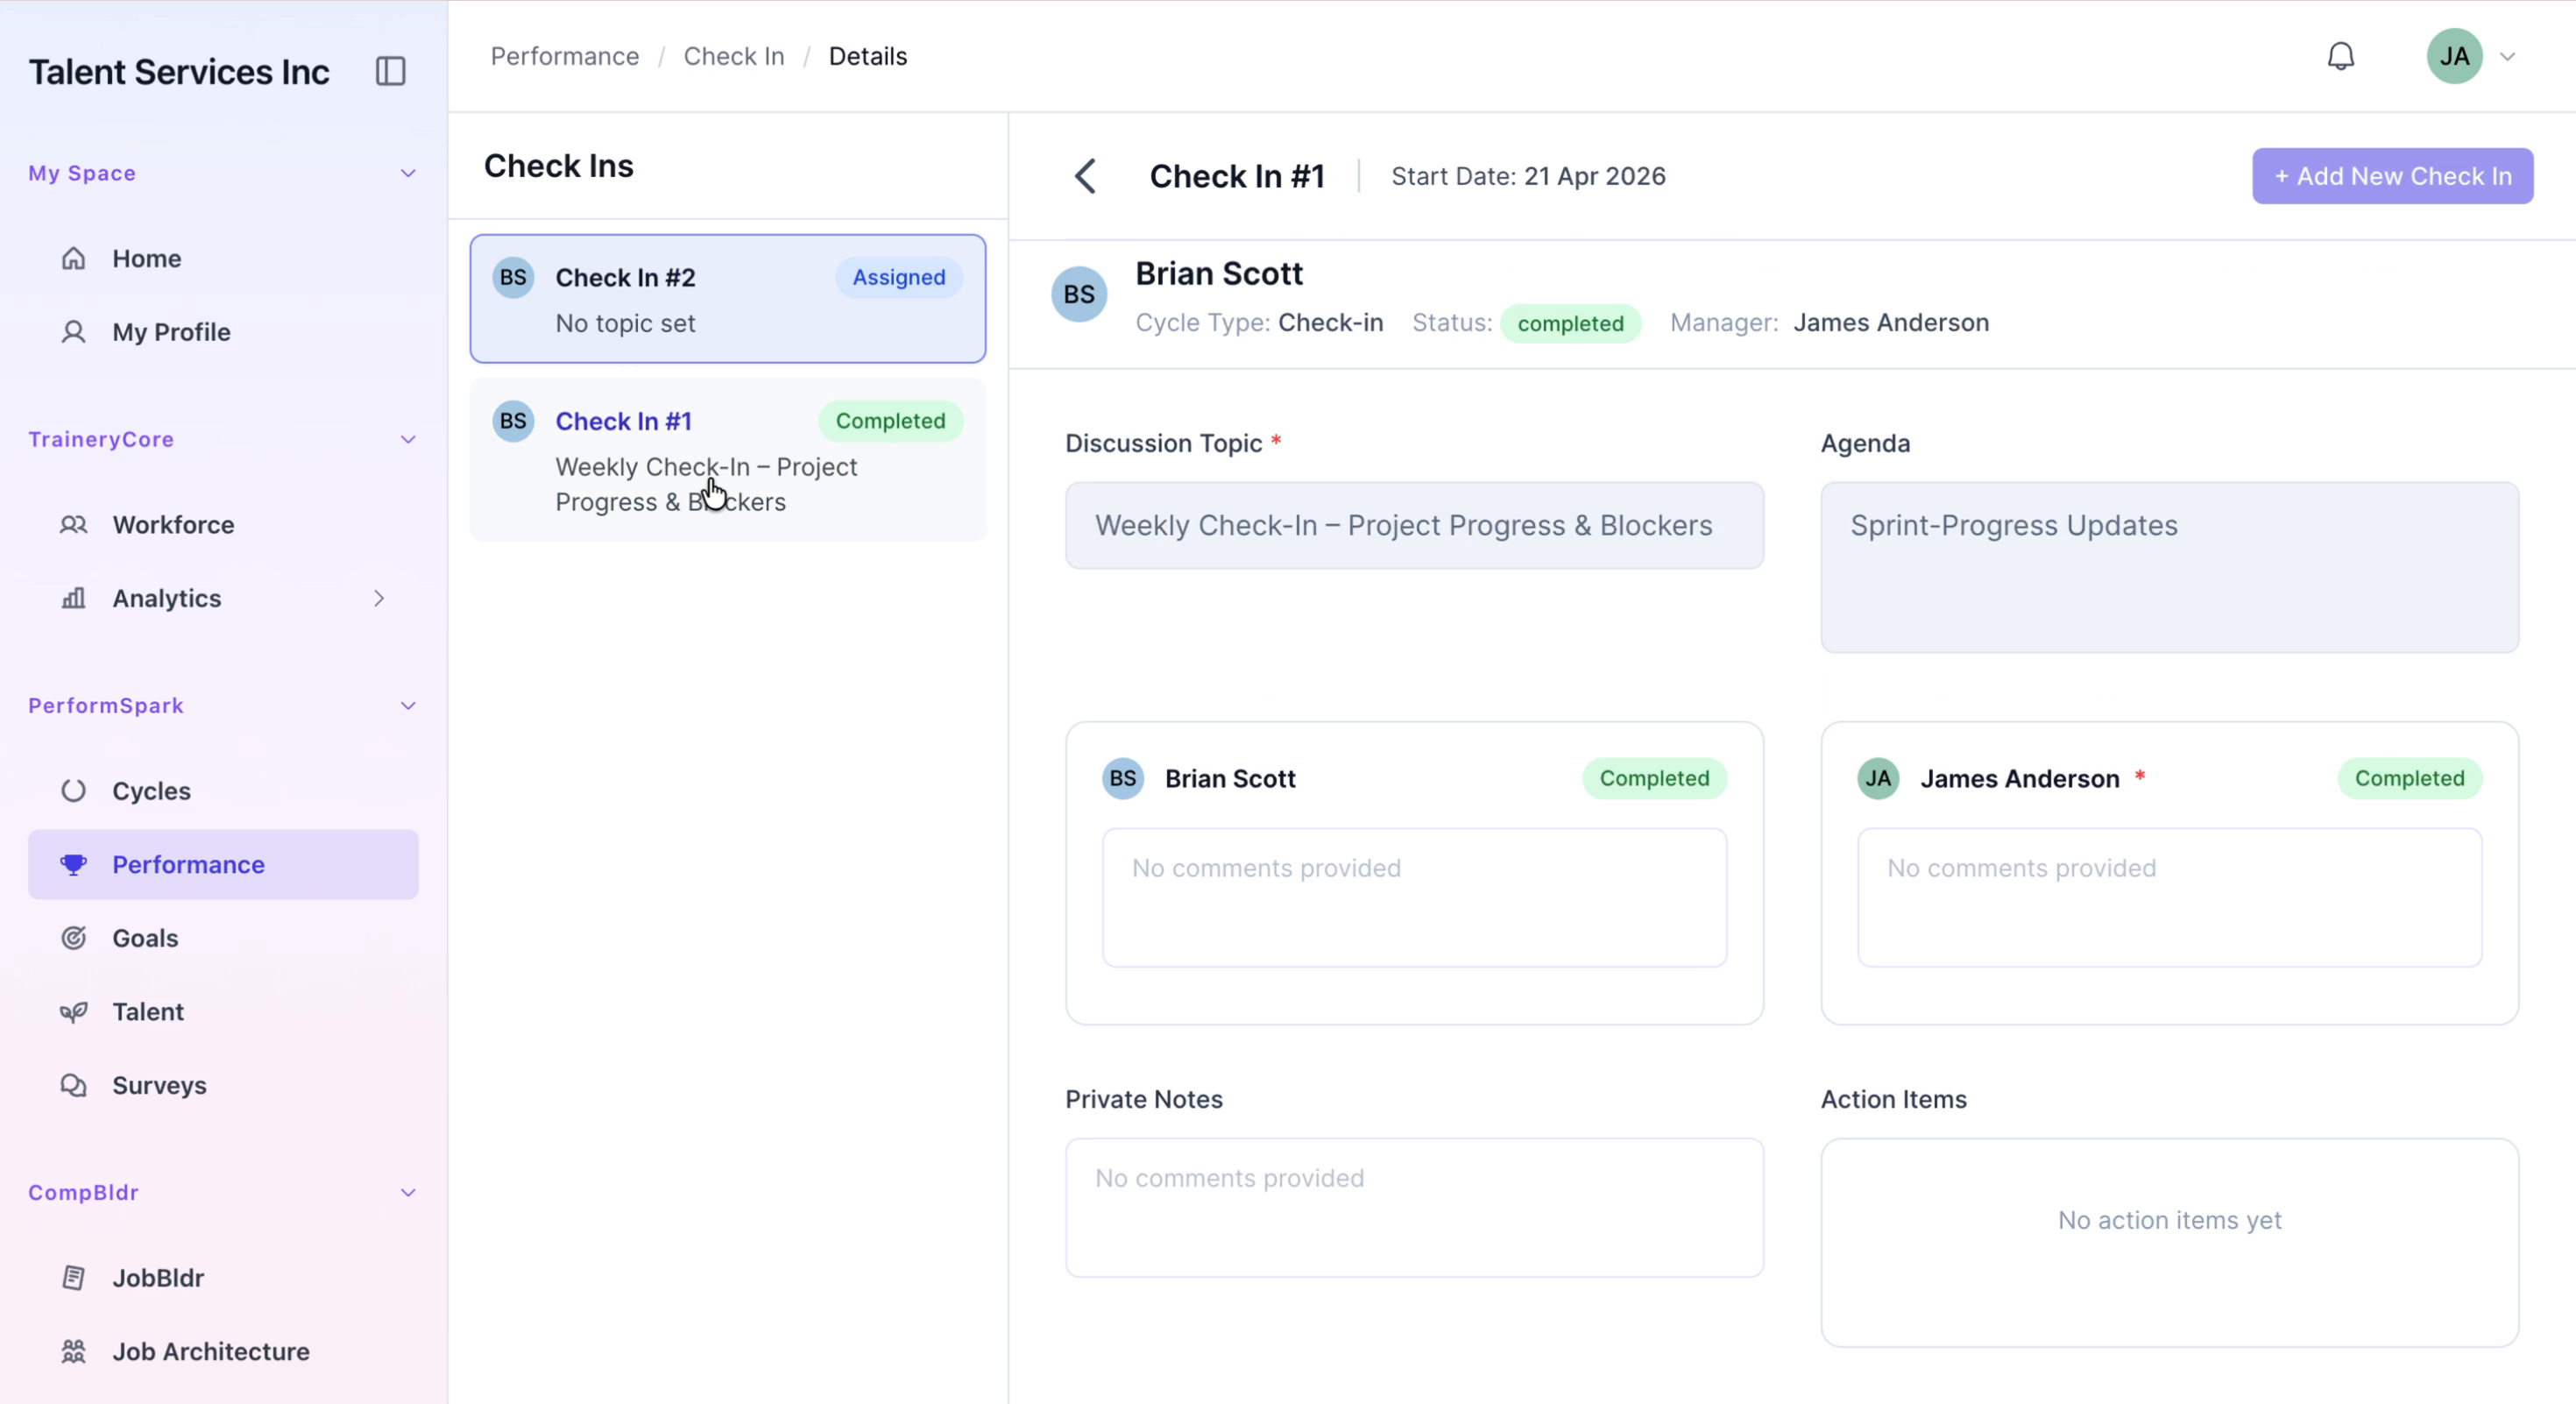
Step 4: Verify Completion and Return to Performance Overview
From the list of check-ins, select the first check-in and confirm that it is marked as Completed. Once verified, navigate back to the main Performance overview page to finish.